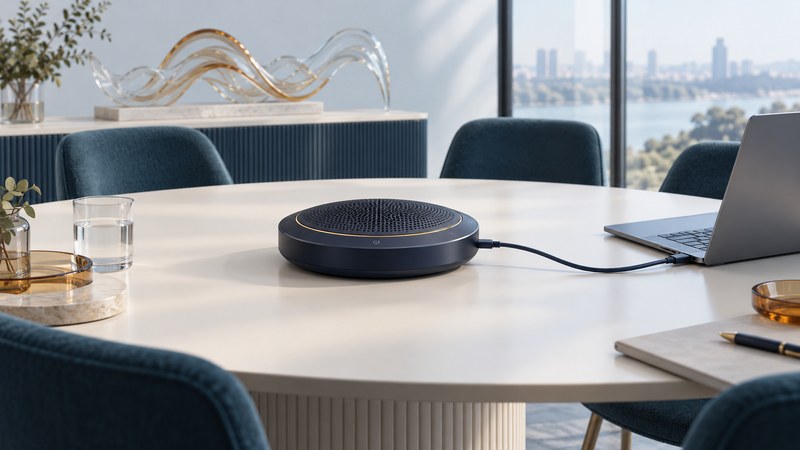
Choose a USB speakerphone for the people, table and calling application it must serve. Then test what remote listeners hear from every seat. Good playback in the room is only half of a successful conversation.
A speakerphone combines a loudspeaker, microphones and audio processing in one endpoint. It suits hands-free personal calls and some small meetings. Larger or difficult rooms may need a designed room system. Begin with your computer's ports, the exact meeting app and the number and positions of local participants.
Select for the complete connection
Swipe horizontally, or focus the table and use the arrow keys.
| Check | Why it matters | How to verify |
|---|---|---|
| Personal or shared use | A desk caller and a long table have different microphone coverage needs. | Compare the manufacturer's intended arrangement with your seating plan. |
| USB path | A dock or adapter becomes part of the audio connection. | Test the supplied cable directly, then through the intended dock. |
| Call controls | Audio support and answer/mute button integration can differ. | Verify the exact model, platform variant, firmware and application. |
| Power and portability | USB-only and battery-equipped models have different operating needs. | Read the manual for power, charging and connection behavior. |
| Shared-room use | Each occupied seat must be intelligible remotely. | Run the same speaking test from every intended position. |
Certification is useful evidence for a named platform and device combination. Microsoft's Teams device documentation identifies tested device categories and capabilities. Check the actual listed model; a similar product name or a working USB audio connection alone does not establish the same control integration.
Use the model's placement guidance
Place the device on a stable surface with its microphones unobstructed. Keep papers, bags and hands away from the microphone openings. Start with the manufacturer's recommended distance and table position, then listen from the far end of a real call.
For a concrete model-specific example, Jabra's Speak2 40 support page recommends a central table position, 0.5 to 2.3 meters from participants. Those distances apply to that guidance; they are not a universal pickup radius or a guarantee in a noisy, reflective room.
A distant speaker's voice competes with room reverberation, ventilation and other conversations. Move the device or seating before turning up the loudspeaker aggressively. If ordinary voices remain hard to understand at required seats, consider a different room arrangement or system.
Connect and select both audio directions
- Connect the speakerphone using the supported USB cable and port. Confirm it appears as an input and output device.
- Select that device for both microphone and loudspeaker in the meeting app. Check microphone permission.
- Use a short local input test to confirm that the speakerphone microphone, rather than the laptop microphone, is being used.
- Set a comfortable listening volume. Verify hardware mute, app mute and any mute-status indicators in a test call.
- Reconnect through the normal dock and repeat. Also test after sleep/wake and unplug/replug if those are routine.
Use one active microphone/loudspeaker pair for the shared room. Additional nearby computers can join for screen viewing with their meeting audio disconnected. This reduces the chance that multiple live audio paths create echo or feedback.
Run a remote-listener acceptance test
Ask a colleague in another room to listen on a headset. From each seat, speak the same short sentence at normal conversational level, then ask a question. Test quiet speech, ordinary keyboard noise and a brief natural interruption while both sides speak. Full-duplex performance concerns the ability to converse in both directions at once; judge whether words remain usable when people overlap.
If remote participants hear their own voice returning, check for a second open microphone/speaker pair in the room and confirm that the app uses the intended device. If everyone hears intermittent missing syllables across several endpoints, follow the call-quality investigation guide.
Leave a usable room setup
Save the working device names, firmware, cable/dock arrangement and placement. A short room instruction should tell the next host which device to select and how to confirm mute. Use the speakerphone acceptance sheet to retain seat-by-seat results and retest after material equipment or room changes.