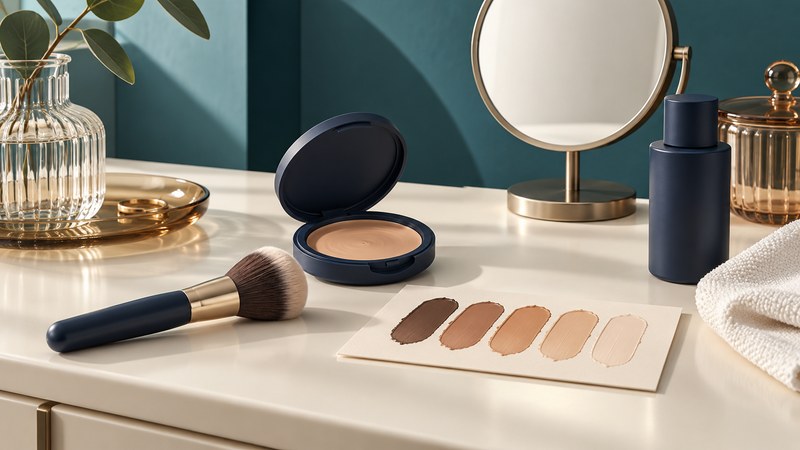
Temporary tattoo coverage works best as a planned makeup trial. Choose a body product for the intended area, test the finish in the light you expect, and check what happens when clothing touches it.
This guide concerns cosmetic coverage of a fully healed tattoo on intact skin. A tattoo artist can discuss covering old ink with a new design; a dermatologist can advise on removal. Those are separate decisions from wearing makeup for a photograph, performance, or event.
Choose an approach that fits the occasion
First decide what success means: less visible ink in a photograph, close-up coverage, or comfortable wear beneath an outfit. Write down the area to cover, event duration, expected heat or water exposure, and the color of clothing that may touch the area. A wrist under a cuff creates a different trial from a shoulder under a loose neckline.
A garment or accessory may meet the need with less preparation. For makeup, look for a product specifically described for body coverage and the area you plan to use it on. Check its application, setting, wear, and removal instructions before buying. Compare those requirements with the time and tools you have.
As one current example, Dermablend Leg and Body Makeup is marketed for tattoo coverage, and its longer-wear claims depend on setting it with the brand's powder. That is a manufacturer's claim for a particular system, not a guarantee for every tattoo, activity, or skin type. The guidance below is a way to assess a result for yourself.
Prepare a trial before the event
Have the chosen makeup, its specified setting product if required, clean application tools, a mirror, a washable light-colored cloth, and the recommended remover ready. Keep the packaging so you can check ingredients and repeat the method.
Use this process only after the tattoo has healed. For recent tattooing, laser treatment, broken skin, or a current skin reaction, ask the treating professional when cosmetic coverage is appropriate. Follow the product's warnings and stop using a product that irritates your skin.
Match the surrounding skin on the body area you are covering. Your facial foundation shade may be a poor match for your arm or leg. Inspect a small application once it has dried; compare the edge with adjacent skin in daylight and the room lighting you expect to use.
Follow the chosen formula's preparation instructions. Adding your usual moisturizer, primer, or spray changes the combination being tested. For outdoor use, plan sun protection as a separate requirement and check that the products and clothing you choose can work together. Cosmetic coverage alone does not establish adequate sun protection.
Apply, let it settle, and assess
- Start with the labeled method. Apply a modest first layer over the area and soften its boundary into the surrounding skin. Keep your initial trial small enough to remove easily.
- Build only where needed. Inspect the dried result before adding more. The Dermablend Canada body-makeup tutorial, for example, instructs users to let Leg and Body Makeup dry fully before adding another layer.
- Set as directed. Use the setting product, amount, and waiting time specified for your formula. The same Dermablend tutorial gives a five-to-ten-minute powder-setting interval for that particular routine; other products can differ.
- Check the result at ordinary distance. Look in a mirror, take a photograph in the intended lighting, and examine the edge as well as the center. Compare skin tone, sheen, and visible texture.
- Try realistic contact. Once the makeup has set, gently press a clean washable cloth against it and check for color transfer. Move normally and repeat later during a trial of the intended wear period. This is a personal rehearsal, not a waterproof certification.
A makeup artist may suggest a compatible color corrector when a tattoo's color still shows through. Ask them to demonstrate the smallest useful amount with your foundation system. The right correction depends on the ink, skin tone, and formula; a universal “put orange over everything” rule is unhelpful.
Use the trial to identify one change
| What you see | What to check | Next trial |
|---|---|---|
| A visible pale or dark patch | Shade after drying, including the outer edge | Revisit the shade match before changing layer count. |
| Ink remains visible | Coverage in the center versus at the edge | Try a small additional layer as directed, or request a professional demonstration. |
| Heavy texture or creasing | Amount applied and movement at the location | Remove and retry with less product; compare with a clothing-based option. |
| Color on the test cloth | Setting instructions, waiting time, and friction | Repeat the prescribed setting routine, then reassess before wearing delicate clothing. |
| The photo looks different from the mirror | Light direction, flash, sheen, and camera processing | Judge a new test in the actual photography setup. |
Keep the successful routine repeatable
- Record the product names, shades, tools, order, and setting time from the trial.
- Allow the practiced application time plus room for a correction.
- Check the final result before dressing and before photographs.
- Bring only the touch-up supplies that worked in the trial.
- Remove the makeup using its instructions; avoid repeated harsh scrubbing.
If a tattoo develops spreading redness, worsening pain, or other concerning symptoms, treat that as a skin concern rather than a coverage problem. The AAD guide to tattoo reactions describes when medical care is needed.
For decorative options, compare temporary body art. For a longer-term design discussion, prepare for a tattoo consultation. Explore the full Body Art collection.
Reviewed October 6, 2026. Sources are linked beside the topics they support.