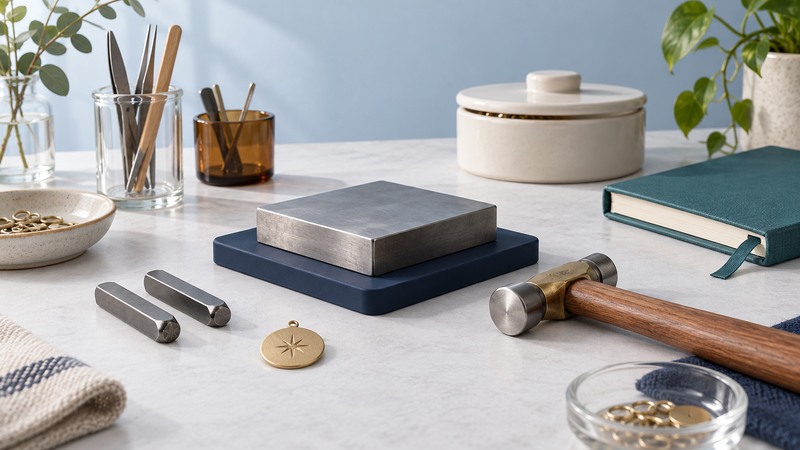
STMT kits cover different activities, including jewelry, journals, and bath products. Choose a specific kit by its contents, age label, tools, and instructions, then make one small project before using all the supplies. The kit name and item number matter more than a photograph of a similar box.
Choose the activity and confirm the exact kit
Scroll horizontally to see all columns.
| Activity | Good first outcome | Check before starting |
|---|---|---|
| Hand-stamped jewelry | One short initial or word on a suitable blank. | Stamp characters, blank material, hammer/block requirements, and tool precautions. |
| Journaling | One complete spread with a clear purpose. | Paper size, writing tools, adhesive, decorations, and drying needs. |
| Bath bombs | One small batch following the supplied recipe exactly. | Ingredient labels, required measurements, molds, drying time, age guidance, and skin-use precautions. |
For a gift, compare the user's interest and available workspace with the actual tasks. A journal can be started in short sessions; stamping needs a stable working surface and deliberate tool control; a bath-bomb project needs its specific ingredients and time to finish and dry.
Check the package's age recommendation. Horizon Group USA's FAQ tells users to follow product age labels and instructions, and provides a route for missing components. Avoid assuming that every STMT product has the same age rating or material composition.
Recover instructions and inventory supplies
Locate the item number above the barcode and photograph the box, contents list, and instruction cover. If instructions are missing, use Horizon Group USA's contact form and choose the instruction-request option. Include the product name and item number so the manufacturer can identify the right edition.
- Spread the contents on a tray and compare them with the list.
- Separate consumables, reusable tools, and anything the instructions say you must supply.
- Read the full project sequence before opening packets or applying adhesive.
- Choose a small first design and set aside enough material for a practice attempt.
- Keep the instructions and packaging until the project is finished and checked.
If something is missing, request the correct replacement before beginning the dependent step. Similar-looking ingredients, cords, or blanks can behave differently. With older kits, inspect packets and components for damage and ask the manufacturer about any uncertainty.
Plan a first stamped pendant
Start with one or two characters that your kit actually includes. Trace the blank on paper, mark its attachment hole, and draw the characters at approximately their actual size. Leave room around the edge and hole. This rehearsal catches spacing problems before the irreversible impression.
For general technique, tool maker ImpressArt's metal-stamping tutorial uses a sturdy surface, a steel block, a secured blank, and a perpendicular stamp. Treat it as background for understanding the task; follow your STMT instructions for its own tools, blank, and assembly method.
- Prepare the supported block and secure the approved blank as the kit directs. Follow the tool manufacturer's protection and handling instructions.
- Confirm character orientation on a practice blank. A mark on one brand's stamp may mean something different on another.
- Place the stamp squarely and make the controlled strike described in the instructions. Examine the result before proceeding to the next character.
- Check the finished impression, edge, and attachment area. Assemble the supplied fittings using the kit's illustrated method, then inspect the connection before wearing.
If an impression is faint or doubled, stop and check support, orientation, blank compatibility, and movement during striking. ImpressArt's troubleshooting FAQ explains how bounce and repeat strikes can create double impressions and why stamp ratings matter for harder metals. Rehearse a corrected technique on a spare approved blank instead of repeatedly striking the finished piece.
Keep material claims precise. Gold-colored and silver-colored describe appearance; verify actual metal and plating from the kit information. If skin sensitivity matters, ask Horizon about the exact component before wearing it.
Complete one journal spread
A manageable first spread has one purpose: a project record, a week of observations, or a memory page. Begin with the information and add decoration after you can see where it will fit.
- Draft the heading and short notes on scrap paper.
- Arrange photographs, labels, and decorations without attaching them. Keep the spine and page-turning edge clear.
- Test a writing tool or adhesive in an inconspicuous spot to check bleed-through, drying, and paper distortion.
- Write and attach the elements using the supplied instructions. Let wet materials dry before closing.
- Turn the page and check that raised decorations or excess adhesive do not obstruct the next spread.
The result is useful both as a creative page and as a record you can consult when ordering supplies or repeating the project.
Keep bath-bomb projects recipe-specific
Use the exact kit recipe, measurements, mold quantities, and drying instructions. Have the required measuring equipment ready before opening ingredients. Keep the project separate from food preparation and follow the package's precautions for handling and use.
Craft glitter, fragrance, and coloring from a different project are not automatically appropriate bath-product ingredients. Keep to the supplied or explicitly approved materials. Horizon's ingredient and allergy guidance directs users with ingredient questions to the company and advises stopping use if irritation occurs.
Record the kit edition, measurements used, mixing observations, and drying time. If a batch crumbles or expands unexpectedly, compare your notes with the instructions before repeating it. That record helps manufacturer support identify what happened without guessing at a replacement recipe.
For a more advanced jewelry project, the design-brief guide shows how to turn a visual idea into materials, dimensions, and questions for a professional.