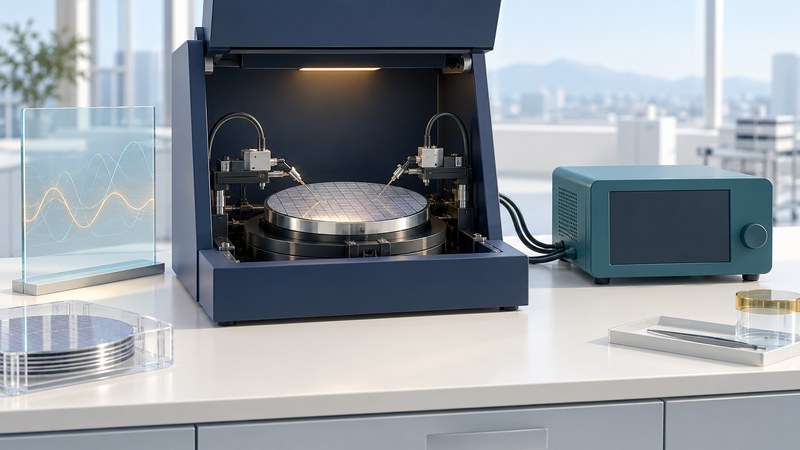
A noisy wafer measurement becomes easier to diagnose when the test team changes one condition at a time and preserves the raw readings. Start with a repeatable baseline, compare an approved reference configuration, then reconnect the evidence to the device and contact conditions. The goal is a traceable explanation of the variation.
Make the baseline reproducible
Bring the instrument and probe-station manuals, test recipe, wafer and die identifiers, and a known reference appropriate to the measurement range. Record bias, range, integration time, sampling interval, filtering, temperature and elapsed time after a change. Define the symptom: drift, intermittent spikes, periodic interference or random spread.
Keep time-stamped raw samples, including overload and compliance flags. Compare equal-duration records after the same settling interval. Standard deviation, peak-to-peak spread and spectral amplitude describe different features; choose a metric and its bandwidth before comparing configurations. A spectrum also needs a stated sample rate, record length and processing method.
Isolate the measurement path
The Keithley Low Level Measurements Handbook describes leakage, electrostatic pickup and currents generated by cable motion or stress. It also explains why filtering changes response time. Use these mechanisms to form testable hypotheses, with connections and controls approved for the actual instrument.
On narrow screens, scroll the table horizontally. Keyboard users can focus it and use the arrow keys.
| Observation | Useful comparison | Interpretation to check |
|---|---|---|
| Variation with the device connected | Repeat the same die and a stable reference using the same range and timing | Device, contact and fixture effects remain candidates; record reference impedance and limits. |
| Spikes during motion | Compare stationary and normally moving cable conditions within the approved setup | Correlated motion points toward a mechanical or cable contribution; preserve timestamps. |
| Periodic pickup | Compare approved enclosure states and nearby equipment states | A repeatable response supports an interference hypothesis; frequency alone does not locate the source. |
| Slow drift after a change | Repeat the same warm-up, bias and settling sequence | Separate time-dependent device response from thermal or instrument settling. |
Have the qualified equipment owner make connection changes using the manuals. Preserve protective grounding and interlocks. An open input or arbitrary short may be an unsuitable reference for a high-impedance device; specify a reference that answers the question without exceeding equipment limits.
Read a before-and-after result
A repeatable reduction supports that particular configuration change. It still leaves the device measurement to verify. Check whether the mean, response time and ability to detect relevant transients remain acceptable; a smoother graph alone does not establish better measurement accuracy.
Close the investigation with evidence
Retain baseline, changed and restored configurations, raw files, settings and unresolved effects. Report the conditions under which the improvement holds and the rule used to accept the measurement. Escalate persistent reference noise to instrument or station support with those records.
For the related low-current setup questions, use parametric testing and measurement integrity. This investigation should identify the dominant cause before replacing equipment or treating every fluctuation as a wafer defect.
Use the working record
Download the editable working record. It includes the task-specific fields, instructions, fictional example and source references needed to preserve the evidence behind a decision. Complete it with the people responsible for the actual process.