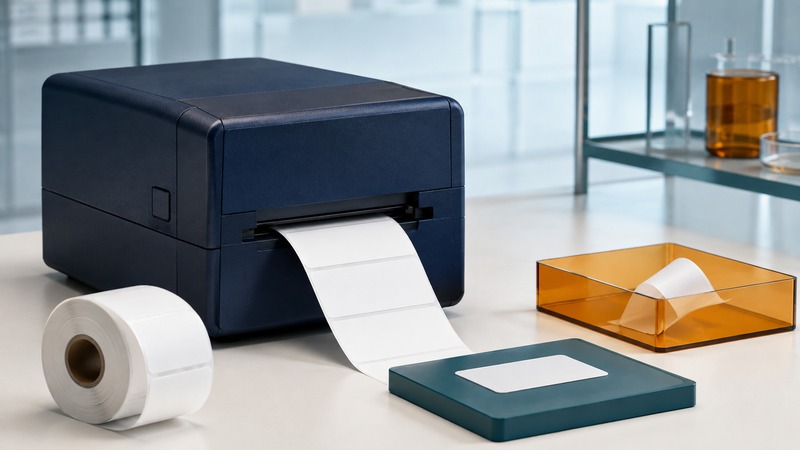
An RFID label has two outputs: visible printing and an electronic identity. A label can look perfect while its tag is unreadable or contains the wrong identifier. A dependable workflow checks both outputs and keeps them tied to the same physical item.
This guide focuses on passive UHF smart-label printing and encoding. The exact tag types, media dimensions, calibration sequence and error behavior depend on the printer, firmware and label software. Use the documentation for the installed model rather than copying settings from another printer.
Prepare the hardware, media and identity together
Confirm that the printer actually includes the required RFID encoder option. Check the approved inlay location, label pitch and media construction as well as the radio protocol. An inlay that works with a handheld reader may sit outside a printer’s useful encoding position. On-metal labels also need a printer and feed path suitable for their construction.
Media calibration and RFID calibration address different things. The first establishes how labels are located and advanced; the second establishes where and how the encoder communicates with the inlay. For example, Zebra’s ZQ630 Plus RFID calibration procedure calls for label-length calibration first, then adjusts the programming location and RFID communication settings. That is a model-specific example, not a universal button sequence.
Keep a commissioning record of printer and reader firmware, media supplier and lot, inlay model, application template version, calibration result and accepted sample. Recheck after changing stock, firmware or the template. A saved configuration is useful only if you know which physical setup it belongs to.
Before printing, define what the identifier names: an individual trade item, a logistics unit or another asset. The GS1 EPC Tag Data Standard defines EPC representations and tag-memory encoding. Choose a suitable scheme and serialize through a controlled source. Do not assign a new identity merely because the print queue restarted.
Check more than a successful write
- Allocate the intended identity and associate it with the job and physical item.
- Render the visible label and encode the tag from that same authoritative record.
- Read the encoded identity back and compare its decoded meaning with the job’s intended identity.
- Scan the printed barcode and check its required data, readability and association with the item.
- Apply the label, then test it on the actual package and through the intended downstream read process.
Barcode and RFID content do not always match character for character. A product barcode may identify a product class, while the EPC also distinguishes an individual item. Compare the fields that the application requires to agree. A plain product code alone cannot validate a serialized item identity.
A printer’s successful encoding result does not establish barcode print quality, correct application to the carton or performance after attachment. Keep a separate acceptance check for those outcomes. A barcode scan is also different from a formal barcode-quality grade; use the verification method required by the receiving partner.
Use the symptom to choose a focused check
The following checks combine workflow diagnosis with the documented failure categories in Zebra’s ZT411/ZT421 manual, RFID troubleshooting (PDF, page 192). Its model-specific instructions take precedence for those printers.
On a small screen, scroll the table sideways to read all columns.
| Observed symptom | Next useful check |
|---|---|
| Every label is rejected | Confirm supported tag type and media calibration before changing power. Compare software settings with the printer configuration. |
| Failures vary through a roll | Check inlay placement and media specification, then investigate interference and read/write settings with controlled samples. |
| Tag reads, but identifies the wrong item | Trace the source record, template and serialization process. More RF power cannot repair the wrong data. |
| Print is readable, but RFID fails after application | Test the label on the final material and orientation. Compare with an unapplied sample using a compatible reader. |
| Printer stops at an inlay rather than the gap | Check how the media sensors determined label length. Follow the model’s manual calibration instructions. |
Change one relevant variable, retain rejected samples and record the result. If a firmware or hardware fault is suspected, preserve the configuration and error report for the manufacturer. Repeated power cycling and unrelated setting changes can make an intermittent failure harder to reproduce.
Make rejected and uncertain labels accountable
Do not equate a printed VOID mark with a guaranteed radio-disabled tag. Treat rejected labels as potentially readable until they have been handled under the site’s disposal procedure. Keep them out of good-label rolls, cartons and test zones. Check what the printer does after a failed encoding attempt: retry count, media movement and host status reporting are part of the integration.
Track labels attempted, labels accepted, rejected labels and replacements separately. Define the denominator before reporting yield; a printer counter and an application’s accepted-job count may cover different things. Also account for blank labels consumed during calibration.
For a stopped job, reconcile the last confirmed item and any uncertain physical output before resuming. Preserve a record of the original job, replacement reason, operator and final disposition. A controlled reprint may retain the item’s identity; it should not create a second active object carrying that identity.
Use the print-and-encode commissioning checklist to record the complete flow, including a deliberate failure and a timeout recovery. Finish with representative labels applied to actual packages, not just a successful demonstration at the printer.
Related resources
- Connect accepted RFID data to warehouse events
- Test RFID performance on real packages
- Separate EPC encoding from radio compatibility
- Explore all RFID resources
Researched and updated September 5, 2026. Check the linked official sources for specifications and policies that apply to your equipment and application.