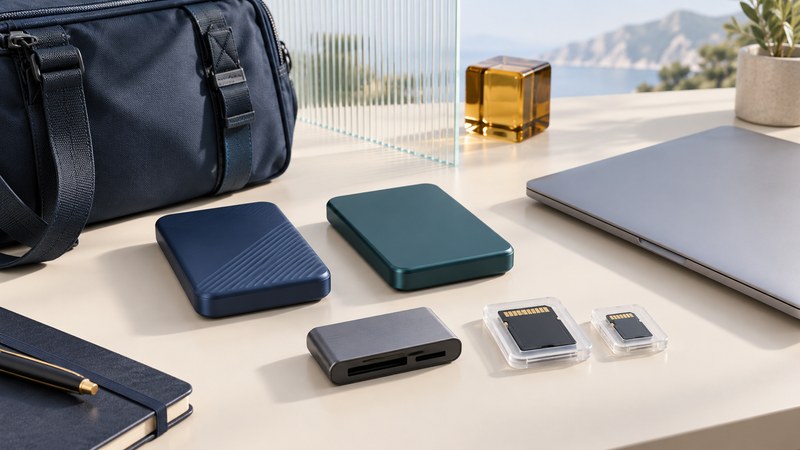
A portable backup kit is useful when it produces complete, verifiable copies you can find again. Plan capacity and power before leaving, keep each card’s contents together, and record what was checked before releasing that card for reuse.
Choose a kit you can prove before departure
List the camera cards, reader, computer or standalone copier, storage devices, cables and power sources. Test the exact combination with a representative card and your largest expected video file. Include a recovery test: disconnect the source card and open the copied media from each destination.
Portable photo stores such as the FlashTrax XT paired a screen, card ingestion and a hard drive in the mid-2000s. The enduring task is still to separate convenient viewing from dependable copying. With a surviving older unit, recover its existing files before experimenting with resets, formatting or replacement parts. Check the exact model documentation for its supported cards and file systems.
A laptop makes copy reports and playback checks easier to inspect; a standalone copier may reduce the kit you carry. Evaluate either route by its error reporting, verification method, power needs and ability to preserve the entire card. Two folders on one drive share that drive’s failure risk. Use independent storage devices and keep the source card until the required checks are complete.
Budget capacity per complete copy
Check actual free space after formatting and existing files. Software may report binary GiB even when a package uses decimal GB. Add room for unexpected takes, logs and any viewing copies. Avoid allocating the same free space to both backup and editing plans.
Check the largest individual file as well as the total. Microsoft’s file-system comparison lists FAT32’s approximately 4 GiB per-file limit. Select a file system supported for reading and writing by every device in your workflow. Formatting erases existing contents, so prepare and verify empty destination drives before the trip.
Time also needs a test. Illustratively, 120 GB at a sustained 80 MB/s takes 1,500 seconds, or 25 minutes, for one copy alone. A second copy, read-back verification, many small files and slower source media add time. Measure your real card and reader, and leave enough battery and working time to finish the entire process.
Copy first, then verify
- Label the card and record the shoot, camera and expected content. Create a unique outer folder for it on each destination.
- Copy the complete card structure, including companion files and metadata. Keep internal names unchanged. For P2, follow the P2 card-copy guide.
- Save the copy report outside the preserved card tree. Investigate unreadable files or interrupted transfers before proceeding.
- Use the copying software’s documented read-back or checksum comparison to compare each destination with the source or a verified baseline. Save the method and results.
- Open representative clips from each copy, including long recordings and important takes. Check picture, sound, duration and continuity.
- Record a separate release decision for the card only after the required independent copies and checks are complete.
File counts and total bytes are useful cross-checks. A checksum comparison provides stronger evidence of byte identity; playback checks whether the material is usable and expected. An identical copy can faithfully contain a damaged original, so retain both forms of evidence. The NDSA Levels of Digital Preservation treats storage, integrity, metadata and content as complementary areas of preservation.
Respond to incomplete results
| Observation | Next action |
|---|---|
| Copy completed, verification unfinished | Keep the card and label the destination as unverified. |
| Missing file or checksum mismatch | Retain all copies and the card; isolate the failed copy or connection and repeat a controlled transfer. |
| Files match but a clip will not play | Keep the originals; check format support, companion files and another compatible playback route. |
| Only one destination is available | Keep the card as the remaining source and arrange another independent copy before reuse. |
| Both backup drives travel in one bag | Separate them where practical; plan another location after the trip. |
Use the field backup log for each card. It includes capacity planning, two destination records, integrity and playback checks, and the final release decision. Keep private project information in your own copy of the log.
Move from travel copies to ongoing preservation
At home, verify the files again as they enter the main archive. Keep logs, descriptive notes and the camera folder structure with the retained originals. Create viewing or editing versions in separate folders and record their relationship to the originals.
The Library of Congress digital-file preservation guidance recommends multiple copies in separate physical locations and periodic checks. Assign responsibility and a next review date. Confirm that a cloud copy has completed and can be restored; a synchronized deletion can affect more than one location. A trip’s successful offload becomes lasting preservation only when those copies remain readable and discoverable.
Continue with masters, editing and viewing files or return to the Digital Video library.