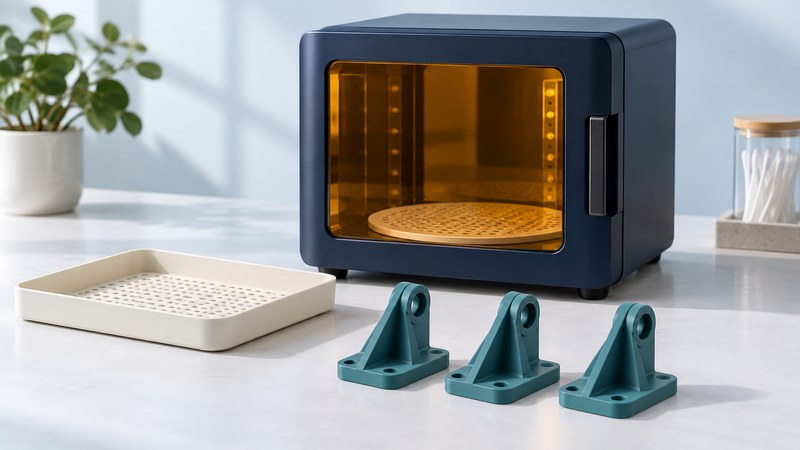
Post-curing an SLA resin part means following the applicable material and equipment instructions, then checking the final part against its requirements. Begin with the exact resin version, printer and cure unit. Preserve the wash, dry and cure history so an acceptable dimension can be connected to a documented material condition.
Find the applicable processing route
Identify the resin name and revision, lot, intended application and build record. Obtain its current technical data, safety information and post-processing instructions. Confirm that the printer, wash system and cure unit are supported for that route. The material's published properties may depend on particular processing and test conditions.
Formlabs' post-curing guidance explains that recommendations vary with resin and equipment and that curing can change properties and dimensions. Use the specified schedule for the actual combination. A setting that worked for another resin remains an unqualified substitution until appropriately evaluated.
State what the finished part must do: maintain a dimension, carry a specified load, withstand an exposure or serve as a visual prototype. The required evidence scales with that use. A material data sheet can help select a candidate, while the actual part still needs its agreed inspection and qualification.
Make the handoffs visible
On a narrow screen, scroll the table horizontally. Keyboard users can focus it and use the arrow keys.
| Stage | Record | Check before advancing |
|---|---|---|
| Wash | Approved equipment, medium condition, cycle and part ID | Required cleaning, including accessible internal features |
| Dry | Specified method and evidence of completion | Part satisfies the resin instructions before curing |
| Post-cure | Unit, schedule revision, load and actual cycle result | Compatible process completed without unresolved interruption |
| Inspect | Conditioning, dimensions, defects and required property evidence | Results evaluated against the final acceptance specification |
For a specific example, Formlabs' Rigid 10K instructions require fully dried parts before post-curing and provide material-specific processing options. Apply that source only to the covered material; obtain the corresponding instructions for another resin. Document any geometry that makes cleaning, drainage or exposure difficult and resolve it before production.
Use trained operators and the applicable safety sheets and equipment procedures for resin, wash media and waste. Keep protective controls tied to the real materials and equipment. This guide supplies a record structure, not a chemical-handling or machine-operation recipe.
Record the support-removal and finishing sequence specified for the job. If support removal, sanding or heat changes a critical feature, inspect in the agreed final state. Label trays and retain part identity when several builds enter the same post-processing area.
Verify the final condition
Inspect after the specified cooling or conditioning interval using the agreed datum scheme and measurement method. Note warpage, cracks, surface condition and inaccessible features as relevant to the part. Keep individual results linked to build and cure batches.
Fictional acceptance check: a bore specification of 10.00 ± 0.10 mm gives an interval of 9.90 to 10.10 mm. A final measurement of 9.95 mm falls within that interval under the agreed measurement decision rule.
If the required cure-cycle record is missing, the dimension still leaves the specified material condition unverified. Hold the unresolved requirement for the responsible reviewer. Repeating a cure cycle requires an approved disposition based on supplier guidance and qualification; additional exposure is not an automatic repair.
Where mechanical or environmental performance matters, establish the required test evidence and its relationship to the actual part, orientation and processing route. Keep dimensional inspection and material-property evidence as distinct records.
Use deviations to improve the route
Investigate a failed dimension by comparing build, support, wash, cure and inspection records. A change that improves one feature may affect another. Retain an accepted control and evaluate the changed route with representative parts before updating the work instruction.
Review compatibility when the resin revision, cure unit, load arrangement or geometry changes. For a deeper explanation of why exposure measurements need wavelength and geometry context, see UV curing measurements. Such measurements support process understanding; the resin manufacturer's qualified route and the part's acceptance evidence remain central.
Use the working record
Download the editable sla post cure record. Save a copy, complete the actual requirements and evidence fields, and review open issues with the responsible owner. The plain-text record includes instructions, units where needed, the fictional example, and source references.