Updated October 9, 2026
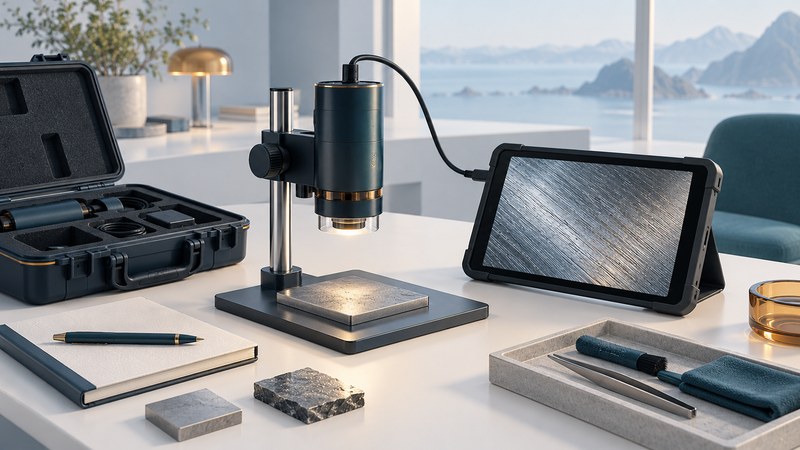
A portable digital microscope is useful when the surface is easier to reach than to move: a large object, an installed part or a collection item. Choose one around the area you must see, the clearance you have and the record you need. A maximum magnification number tells you much less about those tasks than a trial image of a representative surface.
Choose around the inspection task
Write a one-sentence question before comparing equipment: “Can I document the texture around this marked location?” is a workable starting point. “Can this certify the part?” needs an applicable inspection method, acceptance criteria and qualified interpretation beyond a microscope purchase. A surface image describes the visible area under the recorded conditions; internal condition and unexamined areas remain separate questions.
| Requirement | What to ask or test | Why it matters |
|---|---|---|
| Field of view | How many millimeters of the actual surface fit across a saved image at each useful setting? | A wider overview makes locations easier to recover; a detail setting must still resolve the feature of interest. |
| Working distance | What clearance exists between the front of the optics and the focused surface? Can the support fit around the object? | A focusable instrument can still be awkward to place in a recess or beside an obstruction. |
| Support and contact | Can a stand or approved spacer hold the view steady? Is contact acceptable for this surface? | A shifting view makes focus, location matching and measurement less repeatable. |
| Illumination | Try the actual glossy, dark or curved surface; compare available light directions and diffusion. | Glare can hide detail while a changed lighting angle changes the apparent edge. |
| Field workflow | Confirm battery runtime under use, offline capture, software/device support and export of originals. | A successful preview is only useful if the images and records can be retrieved later. |
Leica’s guide to field of view and working distance explains these optical selection criteria. Its measurement-system guide shows why optics, camera sampling and illumination all affect the usable result. Apply these principles to the complete portable system being evaluated.
Connect each close view to a location
- Identify the object and region. Take an overview photograph and mark positions on a separate copy or sketch. Record an orientation reference that will still make sense to another reader.
- Make a coverage plan. Define the surfaces and boundaries to be examined, including inaccessible areas. For a large region, use a numbered grid or a consistent path with overlap that preserves recognizable landmarks.
- Stabilize the view. Use the instrument’s supported stand or fixture and arrange cables so they do not pull on the head. Follow the object’s handling requirements and the equipment manual.
- Find the region at a wide setting. Save context before moving closer. Keep the same location identifier in overview and detail filenames.
- Record illumination and focus. Save the first sharp image, then repeat it after releasing and resetting the support. Compare whether the same boundary or texture is still recognizable.
- Close the record. Save originals, notes and the coverage sketch together. State what was visible and what remained obscured or inaccessible.
Calibrate before adding dimensions
For measurements, image an appropriate reference of known dimensions at the same optical and capture settings. Save the calibration image and identifier. Recheck after changing lens, zoom, binning or saved image dimensions. Follow the software’s calibration procedure and verify the result by measuring a known interval on the reference. Leica’s calibration guidance describes this confirmation step.
Illustrative calculation: if a verified 2.00 mm reference spans 1,000 pixels, the scale is 0.002 mm/pixel. A feature spanning 150 pixels in a matching image corresponds to 0.30 mm. This arithmetic alone establishes neither uncertainty nor acceptance against a specification. Focus, calibration quality, edge definition, surface tilt and repeatability still matter.
Keep the reference and measured feature in comparable geometry. A curved surface or tilted plane can make a two-dimensional image distance misleading. For decisions close to a tolerance limit, ask the measurement specialist to establish an appropriate method and uncertainty. The photography guide explains calibrated scale bars and image resizing.
Leave a usable inspection record
Download the portable inspection record (TXT). It includes the object/region identifiers, coverage map, settings, calibration reference, image filenames and unresolved observations. Use it during a trial before relying on a new field workflow.
Check success by asking someone who was absent to locate the photographed region from your record. If they cannot, improve the context image or orientation notes. If repeated measurements disagree, resolve stability, calibration and boundary selection before reporting additional decimal places.
Explore the Microscopes library. Sources are linked beside the explanations they support.