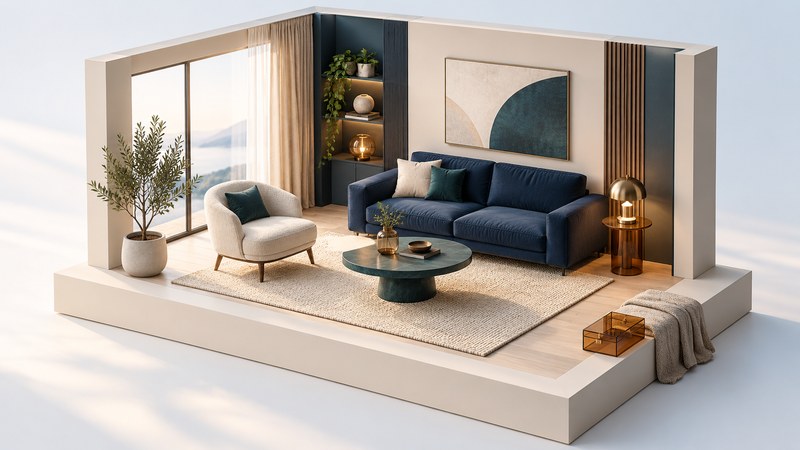
Prepare a home for sale by making its rooms easy to understand, its condition easy to see, and its photographs consistent with a visit. Start with cleaning, clutter and small maintenance tasks; then decide whether furniture changes or a staging service solve a specific problem.
This guide is for sellers preparing an occupied or vacant home. Set a spending limit and a target photography date before buying anything. Keep a separate list for repairs and disclosures so presentation work does not hide a condition that a buyer needs to evaluate.
Choose the changes that make the home easier to assess
Walk from the entrance through the home with a phone camera and a notebook. In each room, write down its intended use, anything obstructing movement, a maintenance issue, and the one change that would make its purpose clearer. Review the photographs at a small size: a crowded countertop or blocked doorway is often easier to notice there than during daily life.
Sort the list into three groups. Condition includes a leak, damaged fitting or faulty light that needs appropriate attention. Preparation includes cleaning and storing possessions. Presentation includes rearranging furniture and choosing a few accessories. Complete condition decisions first, including any professional work and applicable disclosures; then prepare the home for photographs.
The National Association of Realtors' 2025 staging survey reports that 83% of responding buyers' agents said staging helped buyers imagine a property as a future home. This is an agent survey, not a controlled estimate of what a particular seller will earn. Use staging to improve clarity and presentation, and assess pricing separately with relevant local evidence.
Occupied and vacant homes need different plans
For an occupied home, choose changes you can reset before every showing: a basket for daily items, a place for pet supplies and a short cleaning routine. Keep essential seating, accessible routes and the household's daily needs workable. A room that requires an hour of moving furniture before each visit is difficult to maintain.
For a vacant home, consider whether a few furnished rooms would explain scale and function. Before renting furniture, measure access doors and lifts, check building move-in rules and compare the initial term with the likely listing schedule. Record delivery, removal, extension and damage charges in the quote.
Give each room one clear job
| Area | Useful work | Check the result |
|---|---|---|
| Entry and routes | Store loose shoes and parcels; organize the entry; arrange furniture around a clear route. | Doors open freely and a visitor can move through without stepping around possessions. |
| Living room | Choose a coherent seating group and remove surplus pieces that obscure the room's shape. | A photograph shows where people sit and how they reach the next room. |
| Kitchen | Clean working surfaces, sink and appliances; leave only a few everyday objects on counters. | The photograph shows usable work space and the actual finishes. |
| Bedroom | Make the bed, organize bedside surfaces and keep wardrobe access usable. | The bed fits naturally and storage doors can be opened. |
| Bathroom | Clean surfaces and remove personal products; arrange towels simply. | Fixtures, surfaces and their condition remain visible. |
| Outdoor space | Tidy the approach, put away loose equipment and define a modest seating area where it fits. | The route and usable outdoor space are apparent without concealing defects. |
Use existing items first. A spare bedroom used as an office can be presented as an office with its dimensions available; inventing a cramped bedroom arrangement can make the space harder to understand. Store sensitive documents, medicines, valuables and personal photographs before photography and visits.
Give spending a purpose and a stopping point
For every proposed purchase or service, name the problem it solves, its full cost, who will do it and when it must be finished. Separate a consultation from a full installation when requesting quotes. Ask for a written scope and photographs of comparable work, and check cancellation and extension terms.
Set a completion test: all agreed tasks are finished, photographs represent the home accurately, and the showing routine is manageable. If the home attracts little interest, review price, marketing, availability and buyer feedback with the agent before adding more decorative spending.
Make the photographs match the visit
Photograph after the preparation work is complete. Check every room for items that reveal private information, distracting reflections and objects left at the frame's edge. Ask the photographer for angles that explain connections between rooms and preserve a realistic sense of scale.
With virtual staging, keep the original image and identify the edited version clearly. Furniture can illustrate possible use; structural changes, removed damage or altered views change what buyers think exists. NAR's consumer staging guide discusses physical staging, consultations and digital treatments, including disclosure of material photo alterations. Have the listing professional check applicable MLS and local requirements before publication.
- Confirm the repair/disclosure list and the presentation list are both addressed appropriately.
- Complete the room check using the same route a visitor will take.
- Review the photograph set against the actual home, including any edited images.
- Prepare a short reset routine for surfaces, bedding, lighting and personal items.
- After the first visits, ask for specific feedback about clarity, condition and layout.
Use the preparation worksheet
Open the printable home-staging plan or download the PDF worksheet. It has space for room priorities, costs, owners and a final photograph check. Print a copy for handwritten notes or keep the PDF for reference.
Continue the property decision
Use the listing-verification guide to see which details buyers will want to confirm. Return to Real Estate guides and historical coverage for related reading.