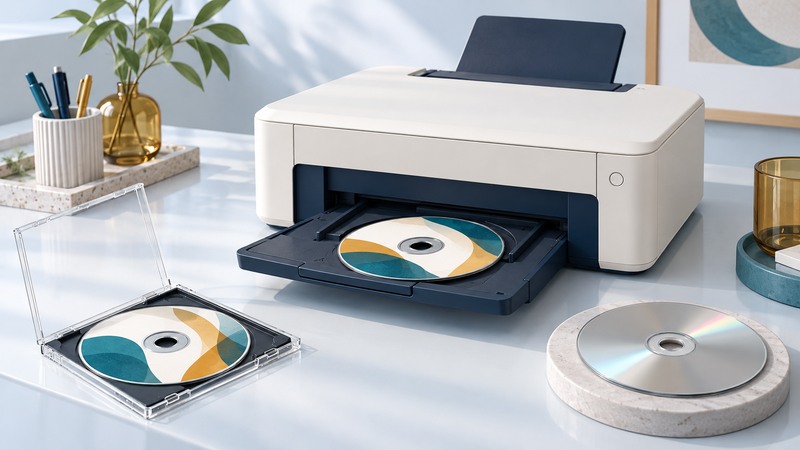
Direct DVD printing puts artwork on a disc's printable coating. A successful result needs the right media surface, the printer's own tray, a correctly sized design and enough drying time. Approve one complete recorded-and-printed disc before producing a batch.
Match the surface to the printing process
Read the disc packaging and printer manual together. For example, Epson's Artisan 50/T50 disc-printing guidance specifies inkjet-printable media, the supplied tray and recording the content before printing. Thermal-printable and ordinary uncoated discs are unsuitable for that inkjet process.
Keep the media product code with the project. Similar-looking white surfaces may have different printable areas or drying behavior. A disc recorder's compatibility check concerns the recording layer; the printer's check concerns the top coating and tray geometry. Both must be satisfied for a finished deliverable.
On narrow screens, focus the table and use the arrow keys or swipe to see every column.
| Item | Check | Record for the next batch |
|---|---|---|
| Disc | Correct printable coating and readable recording | Brand, product code and lot |
| Tray | Correct model, clean and seated as instructed | Tray identifier and loading procedure |
| Template | Inner and outer printable diameters | Dimensions in millimeters and alignment offsets |
| Output | Dry surface, legible label and successful read-back | Settings, drying interval and approval result |
Design inside the printable ring
Enter the manufacturer's printable inner and outer diameters in the disc-layout software. These describe circles across their full width; the radial width of the printable ring is half the difference. Keep essential text farther inside the safe region so small placement variations cannot clip it.
Illustrative ring calculation
For hypothetical media with a 24 mm inner printable diameter and a 118 mm outer diameter, the ring is (118 − 24) ÷ 2 = 47 mm wide. A design inset of 2 mm at each radial boundary gives inner and outer artwork diameters of 28 mm and 114 mm. Those invented dimensions explain the geometry; use your media's actual limits.
Use a short title, revision identifier and any information the recipient needs to choose the right disc. Inspect small text at the intended physical size. A paper proof is useful for spelling and composition; it cannot establish tray alignment or ink behavior on the disc coating.
Use the printer's documented alignment procedure on one test disc. If an otherwise circular design is shifted to one side, investigate the template's position and tray seating. Enlarging the printable area to hide an offset can put ink onto an unsuitable surface.
Record, verify, print and dry
Prepare and verify the recorded content first, then print the label using the printer's prescribed tray procedure. Leave room to place each printed disc separately while it dries. Avoid scheduling packaging immediately after the printer finishes.
For the Artisan 50/T50, Epson specifies 24 hours before using or touching the printed surface. Treat that as a model-specific instruction and check the guidance for your own printer and media. Epson also notes that some media can remain sticky or smear and may require a settings or media change.
After drying, inspect the label and read the disc again in the recipient's intended equipment. Record the pilot result. A good-looking surface and a successful content check answer different questions, so retain both in the batch record.
Use the defect to choose the next test
Ink outside the coating: recheck the inner and outer diameters and alignment. Smearing: verify the coating, settings and drying instruction before adding more ink. Unexpected color: compare a small proof under the viewing light and use the documented media settings. Read errors: separate recording and handling problems from artwork problems by comparing with the verified, unprinted pilot stage.
Change one variable and keep the accepted settings with the artwork file. For a longer production run, the disc duplication guide supplies a batch-planning method and verification record. For distributing files without optical media, compare the practical requirements in the portable storage guide.