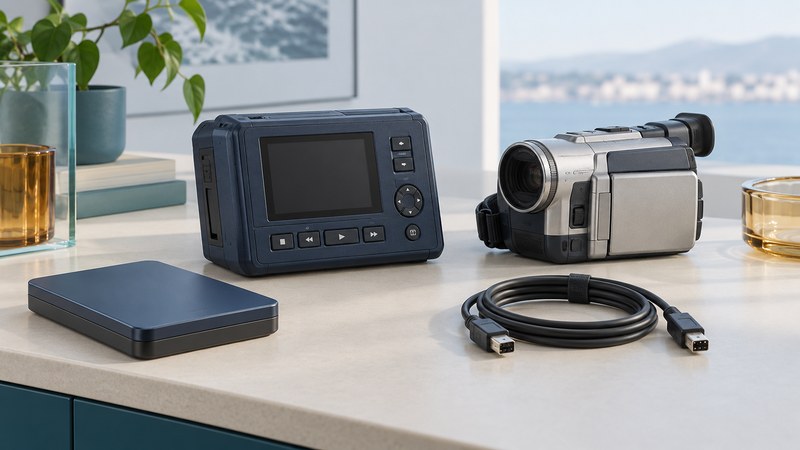
Start an older DV disk-recorder project by preserving the recordings already on the device. Identify the exact model, establish a supported computer connection, copy the files and check complete takes before changing recording settings or preparing new shoots.
Match the manual to the recorder
Read the model label and record the firmware version if it is accessible without changing settings. Photograph the connector labels and note the power supply. Keep FS-4, FS-4 Pro, FS-4 HD and FS-4 Pro HD distinct when looking up procedures.
The Focus Enhancements FS-4/FS-4Pro Release 1.0 manual (mirrored by Manuzoid) describes DV25 recording and several DV file wrappers. The FS-4 HD/FS-4Pro HD manual MANL-0954-04 (PDF, hosted by Sirkom) identifies HD recording features for the HD variants. An HD-capable camcorder or an HDV label elsewhere in the kit does not establish what the recorder actually saved.
Record what you know about the shoot: camera, date, expected takes, DV or HDV mode and whether a tape backup exists. If the source was tape, retain that tape and its identification alongside the disk-copy notes.
Establish the computer connection
For the original FS-4 family, the manual describes a FireWire/IEEE-1394 computer connection and DD DRIVE mode under HDD Mode. The computer interface and camera DV interface serve different roles. Follow the exact manual for the port, power and mode sequence; the recorder must appear as a mounted volume for a file-copy workflow.
Check that the host supports the complete interface and required drivers. A cable with matching ends alone cannot supply missing protocol or operating-system support. The operating systems listed in a 2005 manual are historical compatibility information. Prove the route with the actual workstation before relying on it.
With valuable material, prioritize a stable read and copy. Do not initialize or format the volume to make an error disappear. If the disk repeatedly disconnects, reports read errors or makes unusual mechanical noises, stop the routine transfer and seek a recovery assessment before further experimentation.
Copy first and keep the companion files
- Create a source folder named for the recorder and transfer session. Record the volume label and its visible folder layout.
- Copy all recording folders and companion files to a destination with sufficient free space. Retain filenames, folder relationships and available timestamps. Save any copy errors.
- Create a file inventory and checksum manifest using a trusted copying or checksum tool. Verify a second copy on separate storage.
- Work from a copy in the editor. Leave the retained source set unchanged while testing imports or conversions.
Some FS-4 recording choices store separate audio files, including the Matrox, Pinnacle and Avid OMF arrangements described in the original manual. Preserve the whole set even when one picture file appears playable. Avoid renaming just one member of a related group.
Use the shared video transfer log to record hardware, copy method, errors, checks and backup locations. Keep the model/manual version in that record so another person can repeat the reading route.
Check every segment of a long take
The Release 1.0 manual describes numbered 2 GB recording segments, roughly nine minutes of DV per segment. Treat this as that recorder’s behavior. Keep the sequence together and verify the joins in the edit; a long take may be represented by several files.
| What you see | What to check next |
|---|---|
| The recorder is absent from the computer | Exact computer port, DD DRIVE mode, host interface, driver and documented power setup. |
| A take ends earlier than expected | Other numbered segments, additional recording folders and the expected shoot duration. |
| Picture imports but sound is missing | Companion audio files, editor support for the wrapper and channel mapping. |
| A file is rejected by the editor | Codec and container identification, supported importer and a tested conversion on a copy. |
| Read errors or unstable mounting | Preserve the error record and stop routine retries; assess the device before further use. |
Use MediaInfo or the editor’s clip properties to inspect the copied codec, frame size, frame rate and audio streams. A filename extension such as AVI or MOV describes a container family; inspect the media inside it. Check the join for a repeated or missing picture, audio discontinuity and timecode behavior.
Where conversion is necessary, test one representative take containing sound and motion. Compare duration, aspect ratio, interlacing and all required audio channels. Preserve the original files alongside the converted result; the HDV guide explains format and field-rate distinctions.
Decide whether the recorder still fits a new shoot
Once existing footage is protected, make a disposable test recording using the intended camera and recording mode. Transfer it through the full workflow, including a take long enough to exercise segmentation. Review start/stop control, picture, sound, duration and joins.
Use that test to decide whether the legacy recorder adds useful redundancy or creates an avoidable dependency. Keep serviceability, power reliability, available interfaces and the ability to replace the workflow in the decision. Old launch capacities and speed claims are less useful than a complete successful test with the equipment you will actually use.
For card-based recording, continue with P2 offload and verification. For retained masters and editing derivatives, see video file strategy.