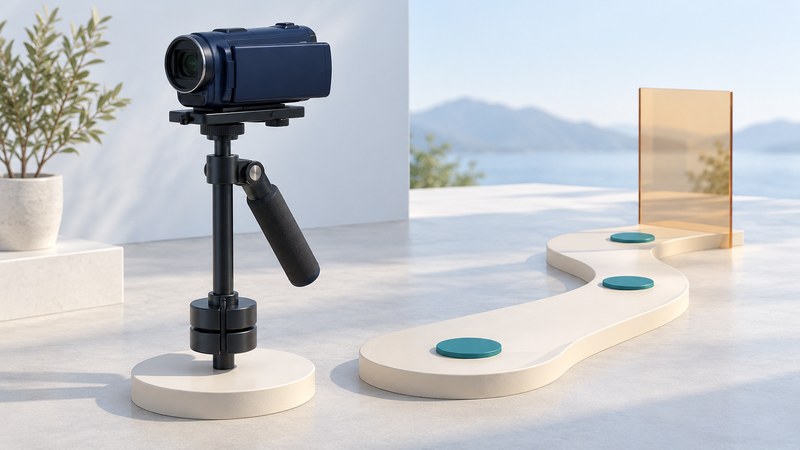
A useful moving shot starts with a camera that is balanced in its shooting configuration and a route you can repeat. Use the setup checklist, then record short controlled tests. Keep notes about the changes that actually improve the frame.
Choose support for the shot
A tripod gives you a fixed position and controlled pans or tilts. A small mechanical Steadicam isolates the camera from some of your hand rotation through a gimbal and balanced mass; your hands still position and guide the rig. A powered gimbal adds motor control, with its own balance, payload and operating requirements. Start with the movement the shot needs, the space available and the equipment you can operate comfortably.
For a walking reveal or a short follow, test the stabilizer you already own. For an interview, a long lens or a frame that must stay fixed, a tripod may solve the task more directly. Stabilization helps camera orientation; framing, focus, vertical movement and an unobstructed route remain part of the operator’s job.
Make the camera configuration repeatable
Identify the exact stabilizer and find its manual through Tiffen’s Steadicam instruction library. The original Merlin and Merlin 2 have related designs but different documentation. Use the model’s specified mounting hardware, camera-weight range and adjustment sequence.
- Fit the battery, recording media and accessories you intend to use. Put the screen in its shooting position and remove items that will be absent during filming.
- Check the mounting plate, fasteners and locks using the manual. Support the camera while adjusting it; work where a dropped or swinging rig cannot hit someone.
- Photograph the configuration and note the mounting position, weights and adjustments. These notes are a starting point for the same camera configuration next time.
- Follow the model’s balancing sequence, then repeat a short stationary and moving test. Recheck after moving the screen or changing accessories.
The original Merlin setup manual in Tiffen’s library describes slight bottom-heaviness and a drop test of about one second from sideways through vertical. The Merlin 2 manual in the same library gives its own setup procedure. Treat the timing as model-specific guidance, not a universal target for every stabilizer. Follow the illustrated test with the rig supported as shown.
Separate balance from operating errors
Static balance describes how the rig rests. Its behavior during a pan or a start and stop is another test. A level stationary camera alone cannot establish that every moving shot will stay level. Keep the route and camera settings consistent while comparing adjustments.
| Observation | Next controlled check |
|---|---|
| Camera leans while stationary | Return to the manual’s fore-and-aft and side-to-side trim checks. |
| Camera swings after a start or stop | Review bottom-heaviness and compare a gentler start using the same route. |
| Small abrupt changes when guiding | Compare a lighter guiding touch; the support hand carries the load. |
| Balance changed after setup | Check screen position, accessories, plate position and locking points. |
| Frame rises and falls while walking | Review the recorded movement separately from horizon control; compare a slower, shorter route. |
The Merlin manual’s troubleshooting section connects excessive bottom-heaviness with pendular behavior and excessive finger pressure with uneven movement. Use those as diagnostic leads, then verify the effect in your own test. If parts bind, loosen unexpectedly or appear damaged, stop and use the manufacturer’s service guidance.
Use a short practice sequence
Choose an open, level area and rehearse the route without filming first. Begin with a stationary subject and short forward movements. Keep stairs, running and complex backward tracking out of these beginner drills. Rest when fatigue changes your control.
| Drill | What to review |
|---|---|
| Hold, start, stop | Record a still beginning, a short walk and a still ending. Check whether each transition settles cleanly. |
| Follow a straight route | Keep one subject at a consistent position in the frame. Review headroom and horizon separately. |
| Small reveal | Move past a stationary foreground object. Check focus and whether the movement has a clear ending. |
| Repeat one shot | Change one setup or handling choice, then compare with the previous take at normal playback speed. |
Label each take with its setup and the one change you tested. Judge the result on the intended viewing screen, including the beginning and end. Slow motion can make a movement feel different, so also review the speed you plan to deliver. Upgrade when you can name a limitation the current support cannot meet after practice, such as a required payload or shot duration.
Yenra’s Merlin field notes — December 12, 2015
This firsthand account records Yenra’s experience with the Merlin, changes of camera and a conversation at Katsucon. The personal demonstrations and equipment comparisons reflect that period. The controlled practice sequence above is the starting point for learning.
When the Steadicam Merlin was announced several years ago, I placed my order with B&H Photo Video and awaited shipment. When my order arrived, I was impressed by how much came with it: the weights, the plate, the multi-gimbled unit. My camera then was the first compact Sony HDV high definition video camera. It took a while to get the balance right, but when I saw the results, I was amazed. The Steadicam took all the unpleasant motion out of a moving videocamera. Since then, I have moved to a small Canon HD camcorder, solid state based, very light, and with it too, I found a way to add just the right amount of weight to make the unit slightly bottom heavy, which is what it is all about. Like balancing a pie pan on your finger, which works best: edges up or edges down?
When I show my Steadicam to the people who ask, I lift it up and down, back and forth, moving my hand and showing the smooth glide of the camera. I explain that I can run up stairs and it is like an angel floating up them, that I can run along a sports field and stay with my son as he runs, that I can walk along a trail and then when I come to a forked tree, pass it from one hand to the other and it appears as if one is flying along the path, flying above the branches.
Tiffen, the company that makes Steadicams, has plenty of videos that show how great they are. Many of my videos utilize my Steadicam. All the moving shots are that way. Like all good gear, there are steps up and even better items that one can get. For instance, even my Steadicam Merlin can be improved with a belt and flexible arm in front. When I was shooting the Katsucon videos on Yenra.TV, I had the privilege of speaking with Ackson Lee, a great Steadicam shooter and editor of gorgeous cosplay convention videos. He showed me how my little Steadicam fit on his belt and arm system. Going back through Ackson's videos from the past, one can see that he started with the Merlin too. When I spoke with him, he explained that the wobble was too much for him, particularly with the camera he uses (he shoots with a Canon DSLR - 60 frames a second which gives him smooth slow motion).
Nonetheless, as it is an aspirational motto of mine to use what I own, I need to use my existing equipment to the max before upgrading, and I have plenty to learn about how to make good shots.
Plan the next stage
For tape-based recordings, use the HDV identification and capture guide. For an edit that combines pictures or titles, continue with digital video effects and clean composites. Return to the Digital Video guides to plan the rest of the workflow.