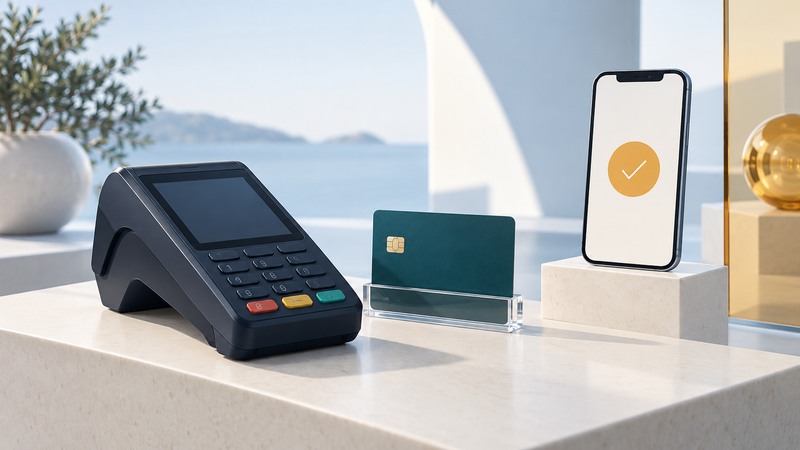
Contactless checkout lets a compatible card, phone or wearable communicate with a nearby reader. For a straightforward purchase, check the amount, present one payment device at the marked reader, and wait for the merchant to confirm completion. A tap is a step in payment processing; the final transaction status is what matters.
Know which payment method you are using
| Method | Prepare before checkout | What to check |
|---|---|---|
| Contactless bank card | Look for the contactless indicator and follow any issuer activation instructions. | The merchant accepts the card network and its reader is ready. |
| Phone wallet | Add an eligible card and complete issuer verification on a compatible phone. | The intended card is selected and any required device authentication is complete. |
| Watch or other wearable | Check support for the exact device, bank, card and country. | The payment credential is provisioned on that wearable; setup on a phone alone may be insufficient. |
Visa's contactless explanation identifies the terminal's contactless symbol as the place to present the device. It also explains the transaction-specific code used by compatible contactless payments to reduce counterfeit fraud. Continue checking the amount and transaction history, because that protection addresses a particular fraud mechanism.
Make the first payment deliberately
- Wait until the cashier has entered the purchase and the reader is ready. Review the displayed amount and currency.
- Take one card out of your wallet, or select one payment card on your phone or watch. Keep other contactless cards away from the reader.
- Authenticate as your wallet requests. Hold the appropriate part of the device close to the marked area until it responds; rapid repeated tapping can make the process harder to follow.
- Read the terminal and listen to the cashier. Complete any requested step, then retain the receipt or check the completed order.
For example, Apple's purchase instructions say to hold the top of an iPhone near the reader after selecting and authenticating a card. On Apple Watch, double-click the side button, select the card and hold the display near the reader. Button actions and confirmation signals vary across products.
Device authentication proves that you can unlock or approve use of the wallet under its rules. The issuer and merchant still need to complete the payment. Apple also notes that the merchant must accept the underlying payment card and network.
Use the response to choose the next step
| What happened | Useful next check | Fallback |
|---|---|---|
| No reader response | Ask whether contactless is enabled and ready; reposition the card or the device antenna area. | Use the card chip or another method the merchant accepts. |
| Wallet asks for verification | Complete the displayed unlock or issuer-verification step in the official app. | Use a separate payment method if setup cannot be completed there. |
| Terminal says declined | Check with the merchant that the first attempt failed, then follow issuer guidance. | Try an accepted alternative; repeated taps do not resolve an issuer decline. |
| Device responds, merchant is uncertain | Ask the cashier to check the transaction status before starting again. | Retain the receipt and resolve any posted duplicate with the merchant and issuer. |
| Phone works, watch does not | Verify the card is set up on the watch and the watch meets its own requirements. | Use the working phone or physical card while checking the watch documentation. |
A pending entry and a final posted charge can look different in an account. Read the issuer's status descriptions and ask about entries you cannot reconcile. Keep the amount, date and merchant receipt available, without sending full card details through ordinary email.
Check the limits that apply to your trip
Payment support depends on more than an NFC chip. The wallet, card issuer, merchant, device software and country each affect the available route. Google's supported-payment-method lookup lets you select a country and examine bank and card eligibility. Check the exact card product instead of assuming every card from a listed bank works.
For travel, keep an independent way to pay and know the issuer's support contact. Confirm any foreign transaction costs with that issuer. Some terminals or transactions request a PIN or another verification method; follow the actual prompt and the provider's instructions instead of relying on a universal tap limit.
Prepare for loss before it happens
Know how to lock a physical card and how to suspend a wallet credential. These can be separate controls. A replacement card, a restored phone and a new watch may each need provider-specific setup.
For Apple Watch, marking the watch as lost locks it and suspends Apple Pay use of credit and debit cards in Wallet. Use the current provider instructions for your own device, then contact the issuer about any suspicious transaction. Check access to your recovery account while you still have the device.
Practice once with a small ordinary purchase while another method is available. Success means the correct card was used, the merchant completed the sale, and you can find the matching record afterward.