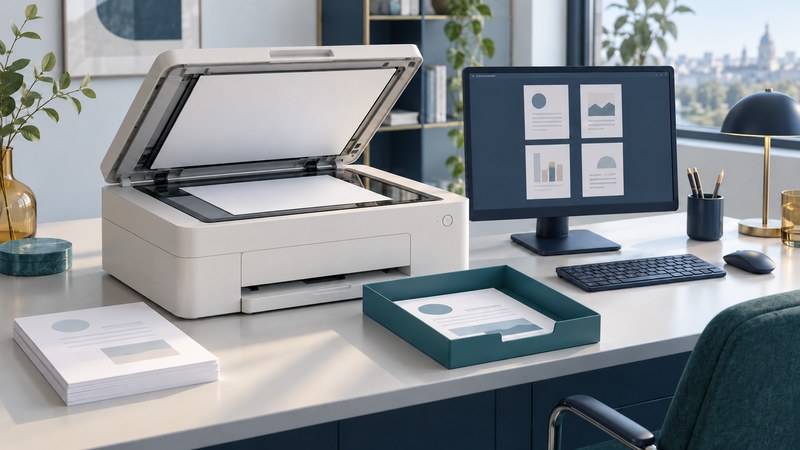
A scanner, printer and fax combination works best when you prepare the original once, inspect every captured page, then choose the delivery format. Clear input saves time whether the destination is a printed copy, a PDF or a fax number.
This guide covers document preparation and checking. For equipment selection, see multifunction fax machines. For confirming a transmitted fax, use the two-way workflow test.
Count pages and choose a capture path
Establish what must be included before loading the machine. Count document sides containing required information, put them in order and note any double-sided sheets, small originals or unusual sizes. Remove items the feeder manual prohibits and use only originals within its specified limits.
A flatbed gives you control over individual placement. An automatic document feeder is convenient for a supported stack. Consult the model's instructions for fragile, bound, thick or irregular originals instead of forcing them through rollers. Place the original against the glass or in the feeder with the orientation shown by the machine's markings and manual.
| Original | Capture question | Preview check |
|---|---|---|
| Single loose sheet | Glass or supported feeder path? | All edges and required text present |
| Double-sided packet | Does this capture path scan both sides? | Reverse sides present and upright |
| Mixed sizes | Is automatic size detection supported for this job? | Small sheets preserved; large pages unclipped |
| Faint pencil or coloured annotation | Which mode preserves the required marks? | Annotation readable at normal viewing size |
| Bound or delicate original | What does the flatbed manual permit? | Text near the binding remains legible |
Verify two-sided capture explicitly
Automatic two-sided printing and automatic two-sided scanning are separate capabilities. If your machine captures only one side, follow its documented manual sequence and then verify the assembled order. Keep the original stack intact until the result is checked.
Brother's two-sided fax instructions for the MFC-L2750DW/L2759DW distinguish long-edge and short-edge layouts. A wrong choice can leave reverse sides upside down. Use the same idea as a check on your own model: open both the front and back images, rather than trusting the first thumbnail.
Example: three sheets become five pages
A fictional packet contains two double-sided sheets and one single-sided sheet: five information-bearing pages. A separate one-page cover creates a six-page delivery. Decide whether a blank reverse is intentionally omitted, and verify that the blank-page setting has not removed faint writing by mistake.
The useful count is the number of intended document pages. The number of sheets loaded into the feeder is a separate count. Record both when troubleshooting a missing-page complaint.
Choose settings from the document's purpose
Start with the manufacturer's document preset that fits the original. Preview the smallest important text, faint marks and fine lines. Increase capture detail only when the result requires it, keeping an eye on file size and the recipient's limits. A larger numerical resolution setting alone does not establish better communication.
Colour can preserve highlighted annotations or photographs. Grayscale preserves tonal variation; a black-and-white mode may suit high-contrast text. Compare the actual result when marks are faint or colours carry meaning. The colour fax guide explains how to check those distinctions at the receiving end.
Keep an unedited scan when the original's appearance matters. If you rotate, crop or adjust contrast, confirm that signatures, marginal notes, page numbers and other required details survive the edit.
Save a file the recipient can use
Confirm the accepted format, maximum size and page requirements before sending. A multipage PDF can keep a packet together; a set of image files requires a clear naming and ordering convention. Use the recipient's specified format when a portal or business process dictates it.
Brother's scan-to-file documentation illustrates the distinction between an image PDF and a searchable PDF with an OCR text layer. The listed software requirements belong to those models and software versions. Check the equivalent options in your installed application.
Treat recognized text as a convenience that needs checking. Compare names, amounts, reference numbers and dates with the image. A successful text search does not establish that every character was recognized correctly. Keep the image version when it is the record the recipient needs.
Inspect the final output, not just the scan preview
Open the saved file from its destination folder. Walk through every page in sequence and inspect it at a practical reading size. Check page count, orientation, missing edges, blank pages, duplicate pages and file size. Use a descriptive filename that staff can distinguish from an earlier draft.
For printing, inspect a representative physical copy, including margins and both sides. For fax, preview the outgoing job where the equipment permits and include the cover page in the expected count. For scan-to-email or another file channel, confirm the recipient accepts that channel before using it.
Send a dummy example through a new process first. Ask the recipient to inspect the pages and report what arrived. Save the final job result with the approved document version under the office's access and retention procedures. A queued job, a saved file and a readable received packet are different stages; check the stage your task actually requires.