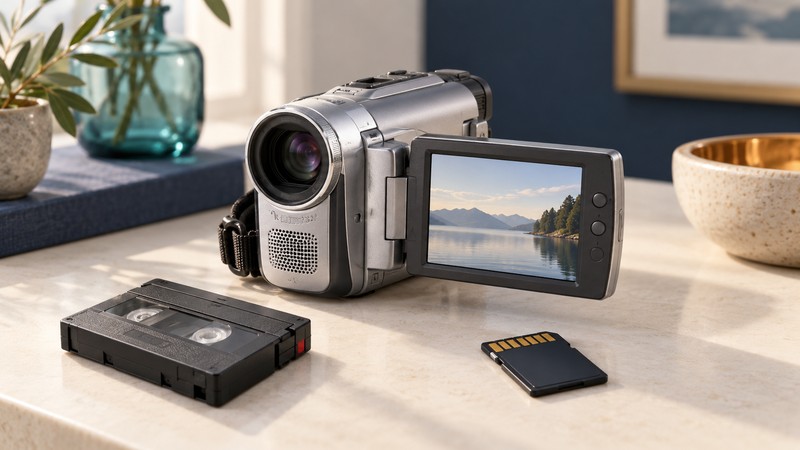
Begin an Optura project by identifying the camera and the medium that holds the recording. These 2004 camcorders combine MiniDV tape, memory-card functions and several connection choices. A successful card copy does not confirm that a tape has been captured.
Identify the model before choosing controls
The Canon Optura 30/40 specification sheet (PDF, manufacturer document hosted by Full Compass) identifies a 12× optical zoom for the Optura 30 and 14× for the Optura 40. It marks manual audio-level control as an Optura 40 feature. Use the complete model name on the camera rather than a listing that groups the family together.
The Canon Optura 40/30 instruction manual, hosted by ManualOwl is the model-specific reference used here. Its model markers identify features restricted to one camera. Match the actual control and marked instructions before changing a setting. Other Optura models and regional relatives need their own documentation.
Before loading valuable tape, check the power supply, cassette mechanism and any existing fault indication. Photograph settings and labels. Use a separate expendable cassette to assess a newly acquired camera; keep an existing recording protected against accidental recording. For broader tape handling and capture planning, start with the MiniDV preservation guide.
Choose a route for the material
| Material or task | Documented route | What to verify |
|---|---|---|
| MiniDV tape footage | DV / IEEE 1394 connection to a compatible capture system | A complete capture with the expected picture and sound. |
| Card photographs | Compatible card reader or documented USB card transfer | Original files, names and folders copied successfully. |
| Card movies | Copy the memory-card files | These are small Motion JPEG recordings, not a tape-quality replacement. |
| Television viewing | Documented analog video and audio outputs | Display input, aspect ratio and sound on the receiving equipment. |
The manual separates tape transfer on page 92 from card functions beginning on page 93. It lists SD Memory Cards and MultiMediaCards; card movies use Motion JPEG at 320 × 240 or 160 × 120. The USB transfer instructions address card material. Do not infer modern card-capacity or computer compatibility from a connector’s shape.
Treat an inherited card as a source to copy, not something to initialize when a computer asks. Keep the card’s directory structure in a clearly named outer folder. If it cannot be read, record the error and stop changes to the source while assessing the reader and card.
Check recorded sound, including a second audio pair
For new tape recording, the manual offers 16-bit audio or 12-bit recording with room for later dubbing. On an Optura 40, use its documented level controls while listening to a test; headphone loudness and recording level answer different questions. For an Optura 30, plan microphone placement and the test around the controls actually available.
Speak an identification, record normal speech and a short quiet interval, then review the captured result. Listen for overload on louder words, cable noise, missing channels and sound that no longer follows the picture. A visible meter confirms activity, while listening establishes whether that activity is useful.
An older 12-bit tape may contain added sound. The manual’s page 91 describes original, dubbed and mixed playback choices. Note those settings and check which audio pairs the capture application retains. Preserve the initial capture before producing a chosen listening mix; a pleasing stereo export alone does not document everything on the source.
Keep widescreen geometry and recorded detail distinct
The 16:9 shooting mode changes the intended picture shape; it does not make this a high-definition tape format. Check a round object or a familiar face in playback. If the image looks narrow or stretched, establish the correct aspect interpretation before cropping or resizing a derivative.
For a new recording test, include fine detail, a slow pan, bright highlights and an ordinary speaking subject under the expected light. Compare the recorded file with the camera’s playback. Do not judge tape detail from a still-photo pixel count or from the camera LCD alone.
- Record the model, medium, tape recording mode, audio choice and intended aspect ratio.
- Capture a short representative tape segment through the planned IEEE 1394 hardware and software. A passive USB cable cannot supply that interface.
- Inspect duration, picture geometry, motion and every relevant audio stream. Keep capture warnings.
- Copy card material separately and open representative photographs and movies.
- Keep original media, the first capture or copy, and independent verified backups before editing.
Save the working setup in the video transfer log. Return to the Digital Video library for backup and editing guidance.