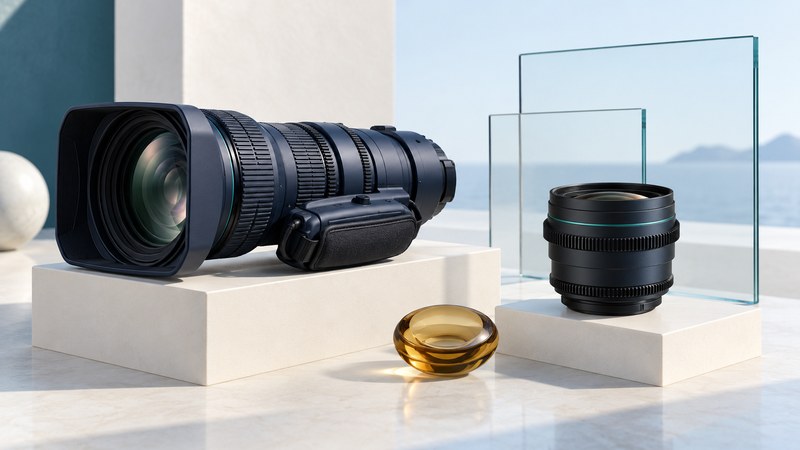
A useful lens match begins with the exact lens and camera, including the camera’s recording area and the controls you need. “HD lens” describes an intended use; a dependable combination requires a mechanical, optical and operational check.
Read the whole model designation
Record the complete lens model and suffix, camera model, mount, recording mode and any adapter. Obtain the manuals for that combination before buying or renting. Photograph labels when working with used equipment: similar-looking lenses can have different mounts, servo units or intended sensor formats.
Canon’s HD-EC lens family served 2/3-inch electronic cinematography in the early 2000s, including prime and zoom designs. That context explains its relationship to broadcast-sized camera systems. A modern large-sensor cinema camera may require a very different lens or a specifically documented optical adaptation.
The Canon broadcast and cinema lens catalog (2016 PDF) separates 2/3-inch broadcast families from Super 35 and other cinema designs, and lists model-specific accessories. Use this historical catalog to interpret families and specifications; establish present compatibility from the exact camera, lens and adapter documentation.
Check three kinds of compatibility
| Check | What must agree | How to confirm |
|---|---|---|
| Mechanical | Mount, flange distance, clearance and support | Exact mount specifications and approved mounting/support instructions. |
| Optical | Image coverage and the camera’s active recording area | Manufacturer coverage data and a recorded test at the intended mode and focal lengths. |
| Operational | Iris, focus, zoom, power and control connections | Supported interfaces, servo requirements and the controls available in the complete setup. |
A mount adapter can solve a physical connection while leaving image coverage or control unanswered. An optical adapter can also change field of view and light transmission. Read its specified lens and camera combinations, magnification and exposure effect. Keep those changes in the equipment record so a later operator can reproduce the setup.
The camera’s active recording area matters as much as its sensor label. A crop mode changes the area the lens must cover and changes framing. Test the exact resolution, frame-rate mode and crop setting planned for production. Check the corners at both ends of a zoom and with any extender engaged. A clean center image alone leaves coverage untested.
Compare lenses on the same recording area
Focal length becomes a useful comparison when sensor area and subject distance are held constant. On the same camera mode, a shorter focal length generally gives a wider view; a different sensor crop changes the comparison. For a practical decision, mark the camera and subject positions, then record each candidate with the same framing requirement.
Separate maximum aperture, transmission, zoom range, close-focus ability and handling. Test the aperture and focal lengths you will actually use, including difficult highlights, fine detail near the edges and a focus change between two subjects. Keep exposure comparable when assessing contrast or flare.
Check focus through the zoom
On a broadcast zoom with an adjustable flange-back system, correct flange back helps the focused subject remain sharp as focal length changes. Use the procedure for that specific model. Canon’s BCTV zoom-lens manual (PDF, English adjustment section) gives different target distances for different lens groups and describes repeated telephoto/wide-angle checks. That variation is a reason to avoid a single universal distance or adjustment recipe.
Begin by confirming correct mounting and the model’s setup prerequisites. Record a high-contrast subject through the zoom and review it at a useful display size. If focus shifts, follow the matching manual or have the rental house or service provider assess the combination. Avoid turning an unidentified adjustment or treating camera autofocus as proof of correct flange back.
For a used lens, also check smooth focus and zoom movement, iris response, the required servo controls and repeatability. Test supported extenders or adapters in their actual operating positions. Document any defect or limitation with the relevant clip and settings before relying on the equipment for an unrepeated event.
Treat anamorphic accessories as a system
Canon’s ACV-235 belongs to the history of HD-EC widescreen accessories. With any anamorphic accessory, obtain its exact compatibility list, squeeze factor, mounting requirements and the camera mode it expects. Also plan monitoring and the final desqueeze or crop. A broad “cinema” label leaves those decisions open.
For a simple illustration, a 16:9 recorded image with a 1.33× horizontal desqueeze has an uncropped display ratio of (16 ÷ 9) × 1.33, approximately 2.36:1. This is a geometry example, not a specification for the ACV-235 or a promise of coverage. Record a circle or grid to check geometry, then evaluate the intended delivery crop and usable edges.
Keep a test record with the equipment
- Camera model, recording mode and active area; lens model and suffix.
- Adapter, extender, support and control connections, with their documentation.
- Focus, zoom, iris and servo checks that were actually performed.
- Coverage and geometry tests, including corners and any anamorphic treatment.
- Test clips, observed limitations, operator and date.
Make a purchasing or rental decision from the requirements that the tested combination meets. Keep unresolved coverage, control or support questions with the supplier until there is model-specific evidence. For a moving camera, use camera-support and balance planning; for the recording and finishing path, return to the Digital Video library.