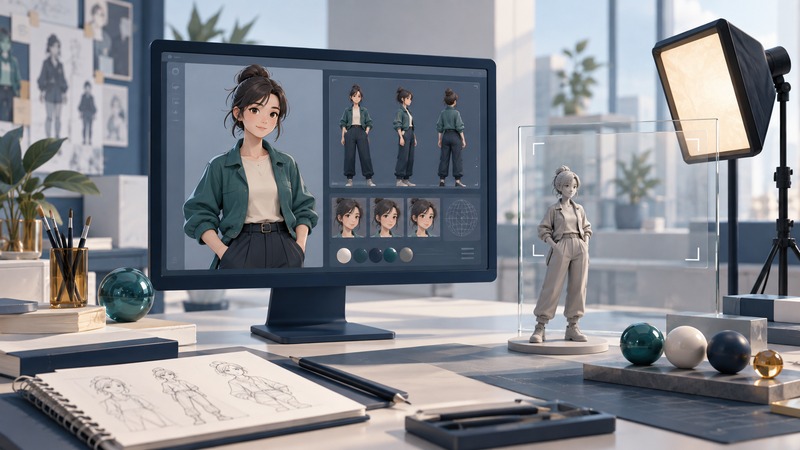
A first 3D anime-style image needs a readable character, a clear pose, a camera and light. Start with a small scene you can render successfully, then change one element at a time. This guide includes an original practice character so you can test that workflow without searching for a compatible model.
The downloadable exercise was tested in Blender 4.5.13 LTS. Blender’s 4.5 release page identifies this supported version. You need a computer that can run Blender, basic file navigation and a place to save the scene and renders. Rendering time depends on your hardware.
Choose a workflow for the result you want
A still illustration lets you solve one camera view. A comic needs consistent views and expressions across panels. Animation adds timing, motion and reliable deformation. Decide which you are making before choosing a character or investing time in a complex rig.
On a narrow screen, swipe the table sideways or focus it and use the arrow keys.
| Starting point | Useful for | Check before committing |
|---|---|---|
| Simple articulated model | Learning pose, camera and lighting | Which controls move each part and where joints become visible |
| Pre-rigged character | Repeated poses and expressions | Application version, rig instructions, textures and permitted uses |
| Your own mesh and rig | A distinctive character with custom behavior | Modeling, topology, deformation and expression work required |
Blender is used here because the entire example can be distributed as one scene. Asset-centered applications can offer another route, but their characters, add-ons and renderers must be checked as a complete compatible system. Keep the software decision tied to the work you need to finish.
Open the original starter scene
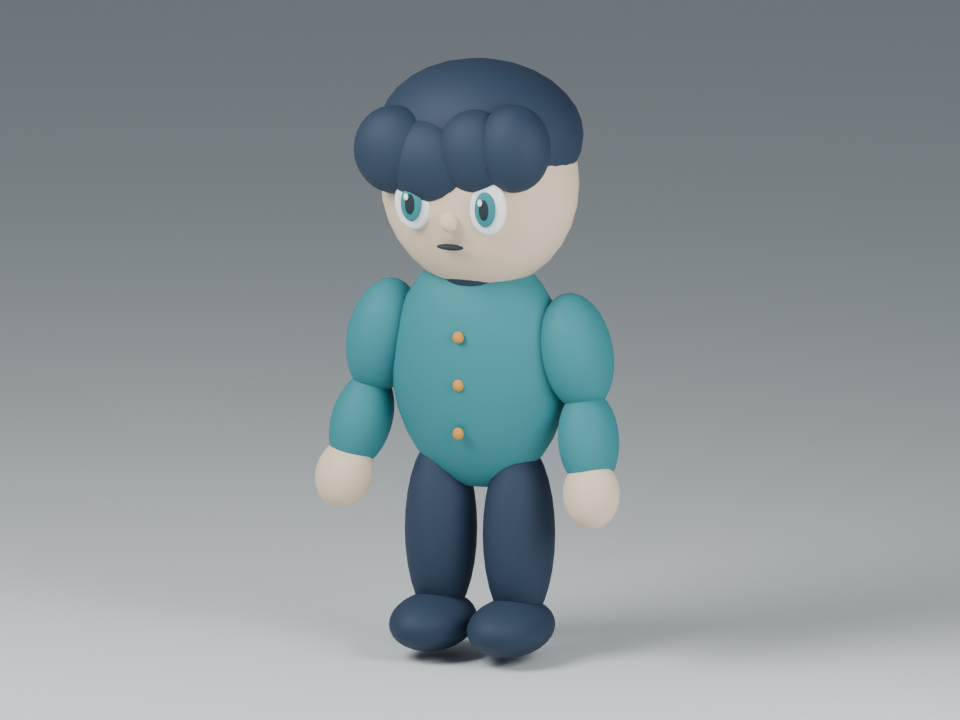
Download the anime-style starter kit (ZIP). It contains anime-starter.blend, a reference render and a README with instructions and reuse permission. The scene uses original geometry and materials, with no external textures, add-ons or scripts required to open it.
- Extract the ZIP into a folder you can write to.
- Open the
.blendfile in Blender and save a personal copy. - In the Outliner, find
Camera,Key,Filland the objects beginningPose.. - Use View → Cameras → Active Camera, or Numpad 0, to inspect the composition.
- Choose Render → Render Image, or F12. Compare the result with the supplied reference PNG.
The starter uses Cycles on the CPU, 32 samples and a 960 × 720-pixel output. These are test settings for this scene, not universal production recommendations. If rendering is slow, set the output percentage to 50% for a 480 × 360 preview, then restore 100% for the final image.
Make a pose that reads through silhouette
The Pose. controls in this kit are ordinary object pivots for a segmented character. Select them in Object Mode and change rotation in the Item sidebar or Object Properties. L and R mean the character’s own left and right. The head, shoulders and elbows have separate controls.
For a different downloaded rig, follow its own controls. An armature-based character is typically posed in Pose Mode; Edit Mode changes the armature’s rest structure. Blender’s posing introduction explains that distinction. The object-pivot controls in this exercise do not use Pose Mode.
Check the outline at thumbnail size. Separate hands from the torso when the action needs to be clear, and inspect contacts between feet and floor. The starter’s segmented joints can separate or intersect under extreme rotations; keep movements modest or return to the saved baseline. A finished deforming character needs additional rigging and mesh work.
Use the camera to make the pose legible
The starter camera is orthographic, which keeps parallel lines parallel and simplifies the first comparison. Select Camera and adjust Orthographic Scale to change how much of the scene fits in the frame. A smaller value makes the character appear larger; verify that hair, hands and shoes remain inside the frame.
Perspective is another useful choice, especially when depth and foreshortening support the scene. Blender’s camera documentation explains the lens types and framing controls. Change the camera deliberately and compare the silhouette after each move; a pose that reads from the front can become ambiguous from the side.
Keep enough space in the direction the character looks or gestures. For a comic panel, reserve room for lettering before rendering. The manga page exercise explains how staging and panel order work together.
Light the face and keep the palette under control
The scene contains two area lights named Key and Fill. Select Key and inspect its Light Data properties. Try reducing its power from 600 W to 400 W while keeping everything else fixed. Compare face detail, jacket shading and the floor shadow. Restore the baseline before testing a different light change.
Blender’s light-object documentation describes the available light types and settings. A large area light gives this scene a broad, soft source. Its effect depends on position, size and the rest of the lighting, so treat a power value as part of this setup.
The kit uses a restrained palette and smooth shading. A more graphic anime look can use flatter value groups, carefully designed highlights and controlled outlines, but those choices should reinforce form. Inspect the eyes and face before adding more surface detail.
Save both the scene and the finished image
Saving the .blend preserves the scene. After rendering a still, use Image → Save As in the render window to save the image file as well. Check pixel dimensions, file format and destination, then open the saved PNG outside Blender. The output documentation explains image formats and output settings.
For animation, test a few frames before a long render and use an image sequence that can be resumed. Keep a record of external assets and their licenses in a production scene. The starter’s README grants reuse of this original kit; permissions for any models you add must be checked separately.
Your first finished deliverable is a scene you can reopen and an image you can reproduce. Keep the baseline, one successful variation and a note explaining what changed. That small record makes the next experiment purposeful.