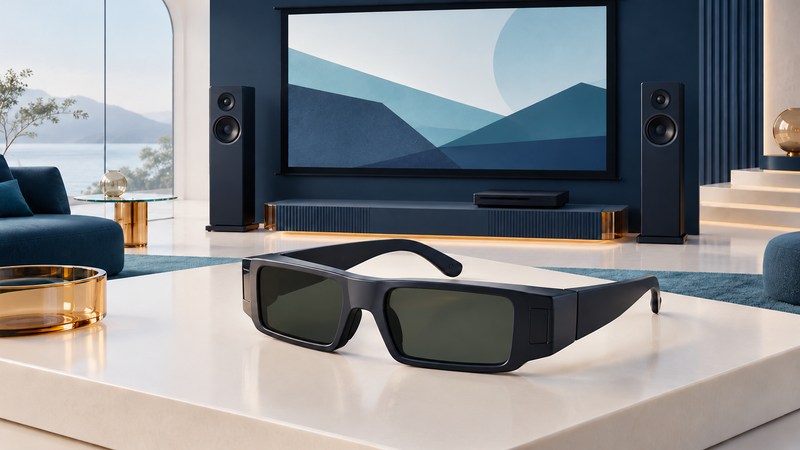
A working 3D home theater is a matched playback chain. Identify the content format, player, intervening receiver, display, and glasses before replacing any one part. The label “3D” covers several technologies, so write down the exact model and mode at each step. A successful ordinary 2D picture is the baseline test, followed by a known supported 3D source.
Inventory the complete playback chain
Choose the particular movie, disc, or file you want to watch. Confirm that it contains the intended stereoscopic version and that the player supports that format. A title offered in several editions may have different playback requirements. Save the player and display manual pages that identify the supported 3D formats.
| Part | What to record | Question to resolve |
|---|---|---|
| Content | Edition, disc or file type, and 3D format. | Is this the stereoscopic version the player supports? |
| Player | Model, firmware, output mode, and supported media. | Can it output that format through the chosen connection? |
| Signal path | Cable, switch, receiver, and exact input/output ports. | Does each intermediate device pass the required signal? |
| Display | Model and supported input format or 3D mode. | Which mode and viewing position does its manual specify? |
| Glasses | Model, active/passive type, and any emitter or pairing. | Are they listed for this display or synchronization system? |
Keep this record with the home-theater connection sheet. Note the picture path and audio path separately. A receiver can be useful for sound even when a different, supported route is needed for the picture.
Match glasses to the display’s system
Active shutter glasses alternately control what reaches each eye and synchronize with the display system. Their supported signaling method and any required transmitter matter. Passive glasses separate the eye views optically and must match the display’s intended system. Select by documented compatibility, including the exact model suffix where relevant.
Sony’s projector compatibility table provides a concrete example: it lists the infrared TDG-PJ1 for the VPL-HW40ES, while the TDG-BT500A is listed for the VPL-HW65. Those are different synchronization families within one brand. The table was checked in October 2026; consult it and the specific projector manual when identifying a pair.
For a passive example, Sony’s 2014 BRAVIA passive-3D guide specifies TDG-500P glasses for the models covered by that guide. It also distinguishes side-by-side, over-under, and simulated-3D modes. The applicable model and input format determine which settings are available.
Understand the wireless link in older 3D systems
Early SENSIO home-theater systems in the mid-2000s used a separate video processor and wireless LCD shutter glasses. The wireless link coordinated the glasses with the alternating eye views. When evaluating such equipment, inventory the original processor, supported source material, display requirements, and glasses as one legacy system.
This is a different compatibility question from wireless surround speakers or network movie playback. Later Blu-ray 3D, infrared glasses, radio-linked glasses, and passive displays each have their own requirements. Preserve the original documentation and establish a working reference configuration before substituting a newer player or accessory.
A useful comparison is Sony’s 4K projector white paper, whose page 42 describes radio-frequency synchronization for the projector range it covers. Read that statement within its listed models, rather than applying it to every projector carrying a 4K label.
Test the simplest supported picture path
- Confirm normal 2D playback, then use a known supported 3D title and the player’s documented 3D output setting.
- Where the manuals permit it, connect the player directly to the display for a comparison that removes intermediate switches and receivers. Follow their connection and power instructions.
- Check the display’s input-information screen and select the documented mode for that signal.
- For active glasses, check power, charge or battery, pairing, and emitter requirements. For passive glasses, confirm the specified type and viewing position.
- After the direct test works, restore one intermediate device at a time. Repeat the same scene and save the working configuration.
The HDMI guide explains how to record port and cable requirements. Follow the 3D equipment’s own cable guidance for the test. A newer cable cannot add a processing feature missing from a player or receiver.
Illustrative isolation test
A supported 3D disc plays correctly with the player connected directly to the display, but fails when routed through an older receiver. That comparison directs attention to the receiver’s passthrough capability, ports, settings, and the additional cable. Test those items before replacing the glasses, which worked in the direct comparison.
Record the symptom and stop at a useful result
Two side-by-side pictures suggest checking the selected display mode against the incoming format. Loss of the 3D effect with active glasses suggests checking their power and synchronization. Double outlines can involve content, settings, viewing position, or display behavior, so repeat with a known working title and the documented setup.
Keep a brief log: scene, signal information, glasses model, seat, one changed setting, and result. Follow the display’s viewing-comfort instructions and take a break if viewing becomes uncomfortable. A reliable short test is more useful than repeatedly changing several settings during a whole film.
Use the Home Theater hub to coordinate room layout and audio, and the receiver setup guide to restore the sound path after the picture test.