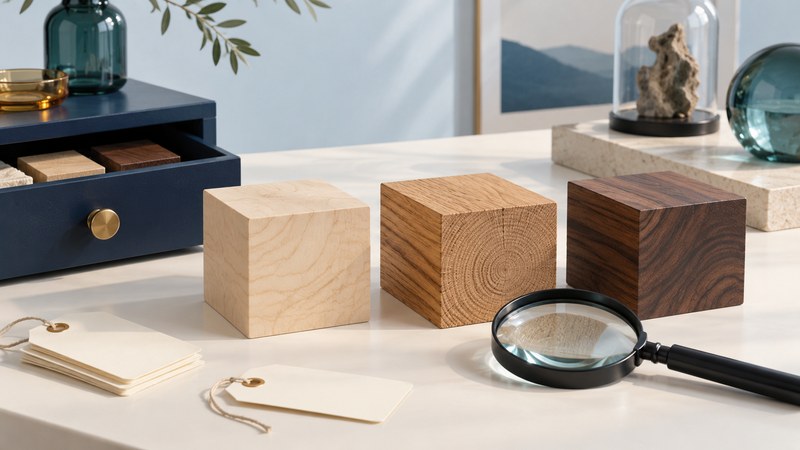
Wood identification begins with a recorded set of observations: where the sample came from, which surfaces you can see, and how its structure compares with a reliable reference. A useful result may be a likely genus or a short list of candidates. Keeping that uncertainty visible makes a wood collection more informative.
Begin with the sample and its history
Assign an item number before rearranging samples. Record the supplier or donor, acquisition date, claimed name, and whether that name is documented. Note any finish, stain, weathering, glue, or composite construction. Those features affect what you are actually examining.
Use a loose, legally obtained offcut with an accessible end surface when possible. Leave furniture, musical instruments, antiques, and other finished objects intact; a specialist can advise whether sampling is justified. A small collection of reliably named offcuts is a better reference than a large box of attractive but untraceable pieces.
Have a hand lens, a ruler, good light, a notebook, and a camera ready. Photograph the sample with its ID and scale, then take separate views of the end and long surfaces. Keep the lighting similar when comparing specimens. Color is an observation, but finish, aging, and photography can change its appearance.
Compare structure on the right surface
The end grain is the surface across the length of the wood's fibers. Long surfaces show the grain running along the piece. Each reveals different features, and an identification reference may require a particular view.
The USDA Forest Service chapter Basic characters used in the identification of wood with a hand lens explains the role of vessels, rays, and other anatomical characters in systematic comparison. Use it as an illustrated learning reference, paying attention to the range of woods a key actually covers.
| Look at | Record | Useful next check |
|---|---|---|
| End surface | Visible openings, their size and arrangement, and growth-ring boundaries | Compare the same surface in a documented reference sample. |
| Long surfaces | Grain direction, figure, and visible bands or flecks | Check whether the face orientation matches the reference image. |
| Surface condition | Finish, stain, roughness, weathering, or dirt | Decide whether the feature belongs to the wood or its surface treatment. |
| Sample history | Supplier, claimed identity, and supporting record | Separate an attributed name from an independently checked one. |
Record “not visible at this magnification” when appropriate. That is more informative than concluding a structure is absent because a rough surface or photograph conceals it. Avoid tasting wood or creating dust as an identification shortcut.
Use a reference to narrow the possibilities
- Choose a reference suited to the likely group and geographic scope.
- Match the orientation and scale of the specimen and illustration.
- Write down at least two structural observations that support a candidate.
- Look for a feature that would contradict that candidate.
- Keep alternatives when the available evidence cannot distinguish them.
A common name can cover several botanical taxa. Record the scientific name supplied by the reference and the level of identification it supports. Do not upgrade a genus-level result into a species name because that species is familiar.
Build a reference collection that stays useful
Put the sample ID on a tag or storage compartment and connect it to the record. Keep attributed names, your observations, reference citations, and later expert results in separate fields. When an identification changes, retain the previous attribution and the reason for the change.
Open the printable wood-sample record for a blank form and example. It includes space for dimensions in millimeters, face/end photographs, provenance, tentative identification, confidence wording, and follow-up work. Store photographs under the same ID so the object and evidence remain connected.
Arrange samples by a practical rule—item number, botanical group, or teaching theme—and record the location. Protect loose samples from damp and direct display sunlight. Inspect for changes before placing a newly acquired sample beside the rest of the collection.
Know what an expert service can answer
The Forest Products Laboratory's public identification service uses wood anatomy and typically reports a genus rather than an exact species. It does not determine a sample's age or geographic origin. Its published service for private U.S. citizens has eligibility and sample-submission limits; check the current instructions before sending anything.
State the question you actually need answered. “Is this sample consistent with the labeled genus?” is different from “Where was this tree grown?” or “Is this timber legally sourced?” The latter questions require other evidence. For collection-wide records, the documentation approach in Coin Collecting for Beginners also transfers well to wood samples.