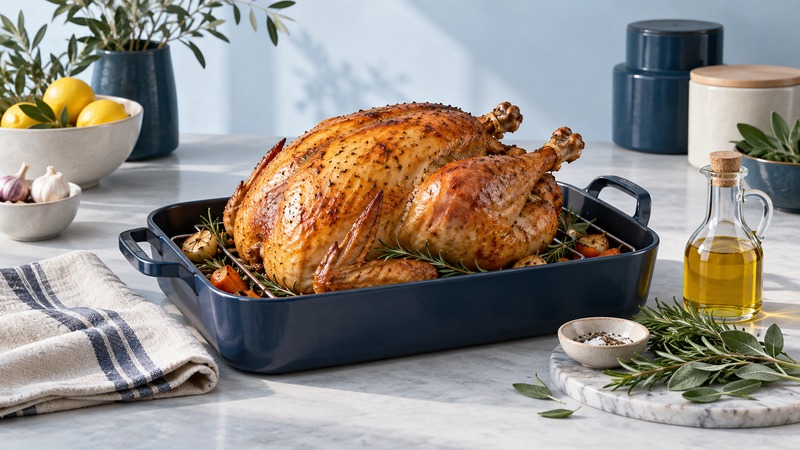
Start an olive-oil roast turkey with three decisions: the weight of the bird, the day it must begin thawing, and the time you want to carve. This guide uses one fully thawed, unstuffed 8–12 lb turkey in a conventional oven. A food thermometer, a rack and a shallow roasting pan are essential.
Choose the bird and start thawing
Read the label before seasoning. A turkey described as enhanced, self-basting, injected or kosher may already contain salt. Keep its package instructions and use-by date. This plan leaves the cavity empty and cooks any stuffing separately.
USDA’s refrigerator-thawing guidance allows about 24 hours per 4–5 lb at 40°F or below, with a further 1–2 refrigerated days after thawing. An 8–12 lb bird generally needs 2–3 days; allow the full three for a 12 lb turkey. Put the wrapped bird on a tray that catches leaks, below ready-to-eat food. Never thaw it on the counter.
If it is still icy, use the source’s cold-water method: leakproof wrapping, cold water changed every 30 minutes, about 30 minutes per pound and immediate cooking afterward. The roast times below assume complete thawing.
Measure a small herb-and-oil mixture
For one 8–12 lb turkey: ¼ cup (4 tablespoons) olive oil; 1 tablespoon finely chopped fresh rosemary; 1 tablespoon finely chopped fresh sage; 1 teaspoon dried thyme; ½ teaspoon ground black pepper; and, for a bird without added salt, 1 teaspoon table salt. Omit the added salt for a pre-seasoned bird. These are Yenra’s seasoning proportions, not a brine or a kitchen-tested restaurant formula.
Heat the oven to 325°F (about 163°C). Remove the neck and giblet packets from both cavities. Do not rinse raw poultry. Pat the surface with paper towels, discard them, then wash hands and clean contaminated surfaces. Set the bird breast-up on the rack. Mix the seasonings and oil, brush over the skin and gently spread a little beneath accessible breast skin without tearing it. Discard mixture or utensils contaminated by raw turkey before preparing ready-to-eat foods.
Roast to measured doneness
Roast uncovered, tenting the breast loosely with foil if the skin darkens too quickly. Allow approximately 2¾–3 hours for this weight range, starting checks before the end of that window. A colder bird, oven variation or frequent door opening changes the time.
USDA’s conventional-oven method requires at least 165°F (74°C) in the thickest breast and innermost thigh and wing. Check several places without touching bone. Continue roasting when any required location is below the target; browned skin or clear-looking juices cannot replace the thermometer. Rest the cooked bird about 20 minutes before carving.
Illustrative schedule for a 4 p.m. meal: preheat and prepare around noon; aim to roast by 12:30 p.m.; begin checking around 3 p.m. Allow time for a longer roast, the rest and carving. Shift serving if the temperature checks require it. Use the printable turkey planner to record your actual times.
Carve, serve and save
Move the rested turkey to a stable board with a juice groove. Separate a leg at the hip joint, then divide thigh and drumstick at their joint. Repeat on the other side. Cut each breast away along the breastbone and rib cage, place it flat and slice across the grain. Use a clean platter and utensils.
For a simple gravy, whisk 2 tablespoons olive oil and 2 tablespoons all-purpose flour in a saucepan over medium heat for about two minutes. Gradually whisk in 2 cups lower-sodium chicken or turkey broth; bring to a boil, then simmer until it coats a spoon. Taste before adding salt. This optional broth gravy uses no raw giblets or unmeasured drippings.
Refrigerate leftovers promptly in shallow containers within two hours after cooking or removal from hot holding, or one hour above 90°F. Keep at 40°F or below, use within 3–4 days and reheat to 165°F. Freeze portions you will keep longer. Follow USDA’s cooling and reheating guidance; time spent on the table counts toward the limit.
Remove remaining meat from the carcass and divide it into small containers promptly. A large intact bird cools slowly. USDA’s turkey handling guide covers storage and serving in more detail.