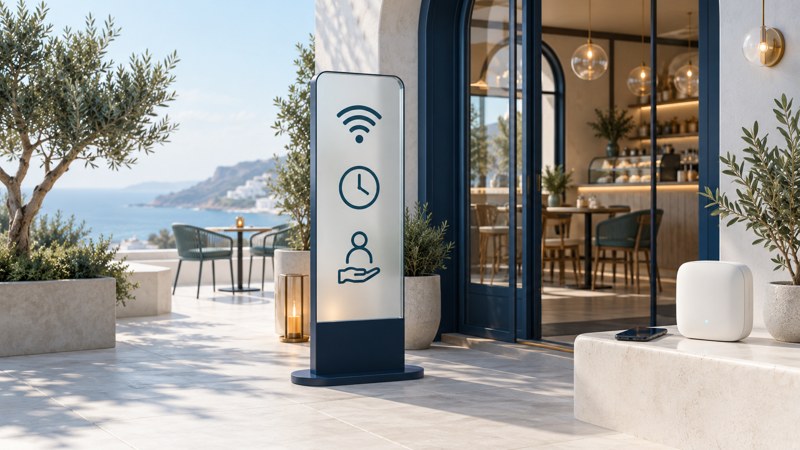
A useful Wi-Fi zone is easy to recognize and easy to enter. For a cafe, community room or waiting area, the immediate job is to communicate the actual guest network and the steps needed to use it. This guide helps a venue prepare that information and test it from a visitor’s point of view.
From a directory brand to useful local information
Wi-Fi ZONE was also the name of an early public-hotspot program. A June 2003 SoftBank announcement documents Yahoo! BB Mobile joining the program and describes a searchable listing of participating service locations. That is historical evidence of the discovery problem early hotspot operators were trying to solve.
For today’s venue information, use your own plain-language heading and verified access details. A historical logo is evidence of a period program, not a substitute for checking the venue’s current service. Use third-party marks only under the applicable permission and brand rules.
Write one complete guest information card
On a narrow screen, scroll the table sideways. Keyboard users can focus the table and use the arrow keys.
| Field | What to publish |
|---|---|
| Network | The exact guest SSID, preserving spelling, spaces and capitalization. |
| Access | Password or voucher collection point if applicable; whether a welcome page and terms acceptance are required. |
| Conditions | Actual eligibility, charges, session limits and opening/access hours. State only rules the venue currently applies. |
| Coverage | The rooms or seating areas where guests should expect service; flag known exclusions. |
| Help | A reachable desk, staff role or support channel during the published hours. |
| Verification | The date and responsible staff role for the last successful guest walkthrough. |
Use the editable guest Wi-Fi information worksheet to collect the facts. Replace every placeholder, have the service owner confirm the conditions, then produce the sign in a legible format. Keep private administrator credentials out of the guest copy.
Walk through as a first-time guest
- Start at the public entrance with a device that has not saved the guest network. Check whether the sign can be found before joining.
- Compare the printed name with the device’s network list. Confirm any password or voucher instructions without using staff-only access.
- Complete the actual welcome flow, including terms and any required approval. Note whether the sign accurately predicts the steps.
- Load a fresh page in each advertised seating area. Ask a second staff member to follow the help instructions.
- Correct the sign and the online venue information together. Retest after a network-name, password, portal or policy change.
A QR code can be a convenience when correctly configured and tested, but keep the essential text available beside it. Guests may be using a laptop, have trouble scanning, or need to identify the network before trusting a code.
Turn a vague promise into an actionable instruction
Illustrative wording: “Guest Wi-Fi: Example-Cafe-Guest. Ask the counter for today’s access code, then follow the welcome page. Available in the indoor seating area during cafe hours. For help, speak to the counter team.” This example requires replacement with the venue’s real name, rules and tested coverage.
Keep the sign focused on joining and help. Put longer acceptable-use information where the welcome flow makes it accessible. Technical promises such as guaranteed streaming or whole-building coverage need evidence from the actual service. For configuration decisions, use the wireless guide collection; for visitor-side recovery, see restaurant sign-in troubleshooting.