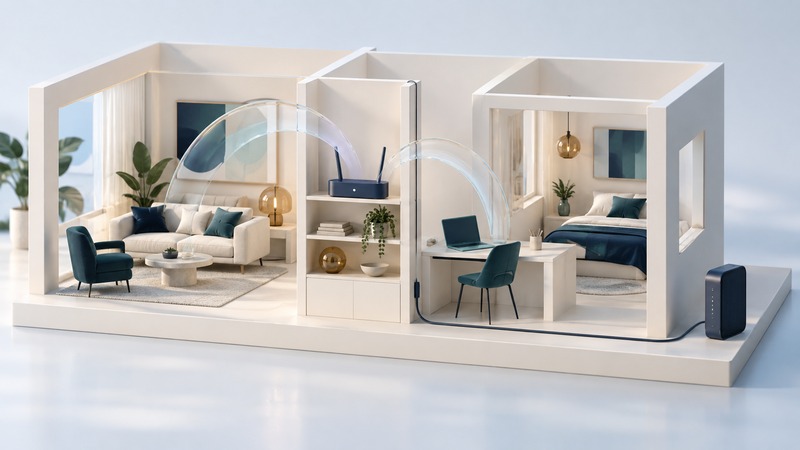
A useful home Wi-Fi network reaches the places where you work and relax, supports your actual devices, and has settings you can maintain. Start by identifying the equipment you already have. Then establish one working connection before adding coverage or changing advanced settings.
This guide is for a household setting up or replacing its own network. Have your provider’s installation instructions, router administration access, an Ethernet cable, and one current phone or laptop available. Keep the old configuration until you have verified the replacement.
Identify the boxes and their jobs
Your internet connection enters through a modem, fiber optical network terminal (ONT), or fixed wireless receiver. A router connects the home network to that service. An access point provides the Wi-Fi radio connection. An Ethernet switch adds wired connections inside the network. A provider’s gateway often combines several of these roles in one enclosure.
For a separate modem and router, the usual path is provider connection → modem or ONT → router WAN/Internet port → home devices. Wired computers and downstream switches connect to the router’s LAN ports. Follow the provider’s instructions where its equipment requires authentication or other special configuration.
If a provider gateway already routes your traffic, adding a second router in router mode creates another network boundary. That can complicate device discovery and some applications. Before replacing it, establish whether the provider supports bridge mode, whether your new equipment offers access-point mode, and which arrangement preserves services such as provider-managed voice. Google’s hardwiring examples illustrate why downstream placement and router roles matter for its mesh products.
Choose a layout around rooms and devices
On a narrow screen, scroll the table sideways. Keyboard: focus the table and use the arrow keys.
| Your starting situation | Sensible first layout | What to verify |
|---|---|---|
| Small home with one central location | One router with built-in Wi-Fi | Calls and downloads work in the farthest occupied room |
| Distant office with an Ethernet run | Router plus a wired access point | Cable link, access-point mode and coverage at the desk |
| Several rooms with no practical cable route | Compatible mesh system | Each node has a useful connection back toward the router |
| Fixed wireless receiver works best at an outside wall | Keep receiver placement; extend local coverage separately | Both the provider link and indoor Wi-Fi work well |
Place Wi-Fi equipment in the open, with ventilation, where its installation guide allows. A cabinet that hides a router also adds obstacles to its signal. A better location may solve a coverage problem without new hardware. Microsoft’s home-layout guidance explains the effects of placement, obstructions and frequency bands.
Wi-Fi generation and frequency band describe different things. Wi-Fi 6, 6E and 7 describe capabilities; 2.4, 5 and 6 GHz identify radio bands. Client hardware, regional availability and router settings determine which combination a device can use. Check the exact adapter and router specifications, especially when a purchase depends on 6 GHz support.
Bring the network online in stages
- Record the current arrangement. Photograph cable connections and note equipment models. Store administration details privately; leave passwords out of a shared troubleshooting log.
- Connect the provider link. Use its prescribed port and activation procedure. Wait for the documented ready indication.
- Set up the router. Obtain its app from the manufacturer’s official link or use the documented local address. Install available firmware, set a unique administrator password, and secure any cloud-management account.
- Create the main Wi-Fi network. Choose a recognizable name that reveals little personal information and a strong, unique joining password. Use supported modern security; the wireless security guide explains compatibility decisions.
- Connect one device first. Open several websites and test a real activity such as a call. If this fails beside the router, resolve the basic connection before installing extra nodes.
- Add coverage and other devices. Configure one access point or node at a time. Recheck the first device after each addition so a new problem has a clear starting point.
Apple recommends consistent network names across bands for its devices, WPA3 Personal where supported, and WPA2/WPA3 Transitional when older clients require it. Its router-settings guidance also recommends a 20 MHz channel width on 2.4 GHz. Treat these as documented starting points, then follow your equipment’s compatibility instructions.
Accept the network room by room
Use the same laptop or phone at the kitchen table, work desk and other important locations. Test with doors in their usual positions. Note the location, time, connection type and whether the actual task succeeded. Repeat the busiest location while someone else uses the connection normally.
Fictional example: a new router works well in the living room but a video call breaks up in the upstairs office. First test the same laptop beside the router. If the call succeeds there, move the coverage investigation upstairs. A wired access point may suit an available cable; a mesh node needs a useful intermediate position. Buying a faster internet plan would leave that location problem unresolved.
Check a guest device on the guest network and confirm its permitted access. If a printer or streaming receiver must be shared, decide deliberately which network it belongs to and test discovery from the devices that need it. Finally, save the configuration through the manufacturer’s supported backup method and record how to restore access.
For inconsistent speed, continue with repeatable Wi-Fi tests. For extra coverage, compare mesh placement and backhaul with a wired access point.