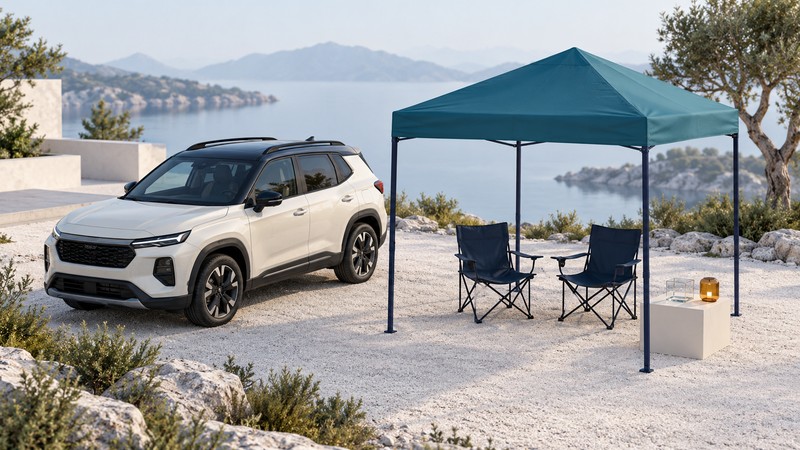
Choose a tailgate shelter by where it will stand, how it connects to the vehicle and what the venue permits. Check the complete setup footprint and the manufacturer’s instructions before comparing shade area or price. A shelter that fits the car can still be unsuitable for the parking space.
Choose a shelter type
Scroll sideways on small screens. Keyboard users can focus the table and use the arrow keys.
| Type | Useful characteristic | Compatibility question |
|---|---|---|
| Freestanding canopy | Its frame stands separately from the car. | Will the full footprint and required securing system fit the space? |
| Vehicle-attached tarp or shelter | Fabric and poles use the vehicle as part of the setup. | Are the specified attachment points, straps and clearances suitable? |
| Rack-mounted awning | An awning remains mounted to an approved rack or adapter. | Do the vehicle, rack, brackets and awning form a supported installation? |
As examples of the distinction, Kelty describes its Waypoint Tarp as a non-permanent vehicle attachment, while the Thule HideAway rack-mounted awning uses roof-rack mounting and an adapter sold separately. These are construction examples, not a claim that either fits your vehicle.
Consider whether you will need to move the car during the outing. Ask how the shelter must be detached or stowed, and where wet fabric will go afterward. Include the packed length and weight in the decision if you must carry it from a distant parking space.
Measure the vehicle and usable space
Record the vehicle’s model and year, roof or rack arrangement, rear-door type and the height and swing of the open hatch. Measure the actual usable space beside or behind the vehicle. Include pedestrian access, chairs, poles and any securing lines required by the manual.
Kelty’s vehicle-compatibility guidance says it has no exhaustive compatible-vehicle list and that owners need to compare measurements and product information. Treat “most vehicles” as an invitation to check the details. Use only the attachment methods the exact product supports; do not improvise a structural connection from an advertising photograph.
- For a rear setup: check the hatch at its full opening and the space needed to load and unload.
- For a side setup: check door travel and the route people use to enter the vehicle.
- For a mounted awning: confirm the correct rack, brackets, installation instructions and applicable load limits with the suppliers.
- For every type: mark the complete setup boundary, including securing equipment, before deciding that the roof dimensions fit.
Use the exact weather and setup instructions
Read the manual before purchase, including wind, rain, anchoring, unattended-use and takedown instructions. Record any limits in the manufacturer’s units and keep their conditions attached. Fabric water resistance, a vent or the presence of weights alone does not establish a wind rating.
For example, Thule’s awning safety manual requires use while the vehicle is stationary and closure before driving. It warns about accumulated water, snow and debris and requires appropriate supporting legs. Those instructions apply to its products; a different canopy or tarp needs its own procedure.
Match the securing method to both the product instructions and the venue. A paved lot may prohibit stakes, while another location may restrict guy lines or additional parking-space use. Ask the organizer about shelter size, permitted securing methods, setup times and weather closures before buying equipment for that event.
Keep cooking and heat sources at the distances required by the shelter and appliance instructions. Plan where people will go and how you will pack away if conditions exceed the shelter’s permitted use. A shade purchase should include a workable exit plan.
For lightning, the National Weather Service advises going to a substantial building or an enclosed metal-topped vehicle when thunder is heard. A canopy is not a lightning shelter. Plan that destination before setup.
Rehearse, then pack for the outing
- Inventory the fabric, frame or poles, approved attachments and securing components against the manual.
- Practice the prescribed setup in suitable conditions with the intended number of helpers.
- Check doors, hatch travel, circulation space and every contact point with the vehicle.
- Rehearse takedown and stowage, including how to separate wet or dirty fabric from other luggage.
- Pack the instructions and recheck weather and venue information before departure.
A rehearsal reveals missing components, awkward lifting or interference with a hatch while you still have time to change the plan. Record what you learn and keep it with the shelter, especially when someone else will help set it up.
Download the tailgate shelter fit checklist (plain text). Use one copy per candidate. Leave unknown ratings marked unknown and obtain clarification before relying on them. A good final choice has a documented vehicle fit, a permitted footprint and a setup you can complete as instructed.