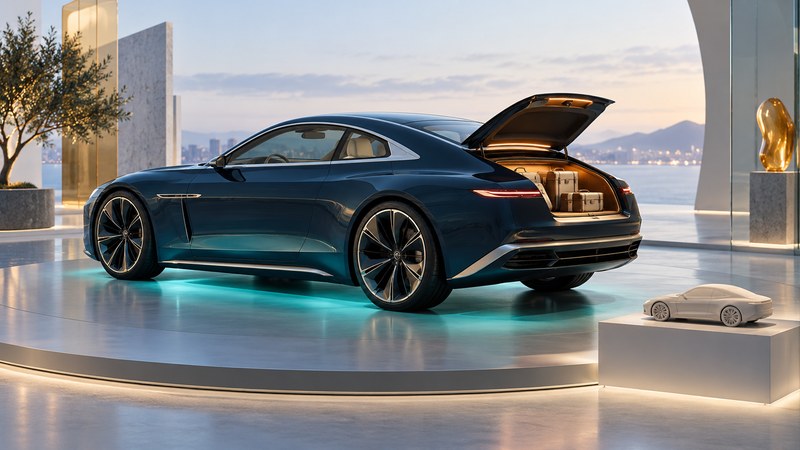
A strong show-car lighting display gives the eye a clear place to begin. Color, reflected light and the surrounding room can support the vehicle's form, highlight a finished compartment or help explain a custom build.
StreetGlow in show-car culture
A March 2004 announcement outlined a StreetGlow-sponsored competition in Daytona Beach, with planned awards for interior lighting, exterior lighting and best of show. That period vignette provides a starting point for a more durable subject: how lighting contributes to the presentation of a stationary display vehicle. Source: the March 24, 2004 show announcement.
Choose a focal point before choosing effects
Write one sentence describing what visitors should notice first. For example: “The open rear compartment should reveal the craftsmanship inside.” That sentence gives every lighting choice a job. A supporting floor wash may establish the silhouette, while a stronger local accent draws attention to the intended feature.
On a narrow screen, scroll the table sideways. Keyboard users can focus the table region and use the arrow keys.
| Zone | Visual purpose | Review in the actual setting |
|---|---|---|
| Surrounding floor | Define the vehicle's outline and relationship to its platform. | Reflections, spill into neighboring displays and visible light sources. |
| Cabin or open compartment | Show a selected material, fabrication detail or finished installation. | The audience's sightline and the visibility of the featured detail. |
| Supporting accents | Repeat a color or connect separate parts of the display. | Whether competing highlights pull attention away from the focal point. |
Use a small palette and assess the display from the positions visitors will actually occupy. A close photograph can make a subtle effect look prominent; a person across a bright exhibition hall may see something quite different. Review both the whole vehicle and the intended detail under the venue's ambient light.
A simple planning exercise is to photograph or sketch the proposed display from front, side and rear audience positions. Mark the first feature your eye reaches in each view. If the focal point changes unintentionally, revise the balance of the zones before adding more effects.
Plan the venue setup and the journey separately
For a US project, review both vehicle-equipment requirements and the rules where the vehicle will travel. NHTSA's auxiliary-lighting interpretation explains the federal restriction on covered automotive businesses installing equipment that impairs required lighting. It also distinguishes state and local road-use rules. Brightness, color, location and activation pattern matter to its impairment assessment. Source: NHTSA auxiliary-lighting interpretation.
As one location-specific example, Michigan State Police's vehicle-equipment FAQ says neon underbody lighting must be covered and unlit on public roads and adjacent rights-of-way. Check the current official requirements for the actual equipment and jurisdictions on the route, as well as the event organizer's written conditions.
Give the installer the exact product manual, vehicle information and intended display conditions. Record the approved power arrangements, operating limits and shutdown procedure. This page develops the visual brief; installation decisions depend on the product and vehicle documentation.
Carry one clear display plan
Download the show-lighting planning sheet (plain text). It brings together the visual concept, venue rules, equipment records, responsible people and arrival-to-departure checks. Use it to keep the display team working from the same information.
For the wider project, see custom-car design and build planning.
Explore Autos: vehicle guides, technology and design · Cars: buying, maintenance and ownership