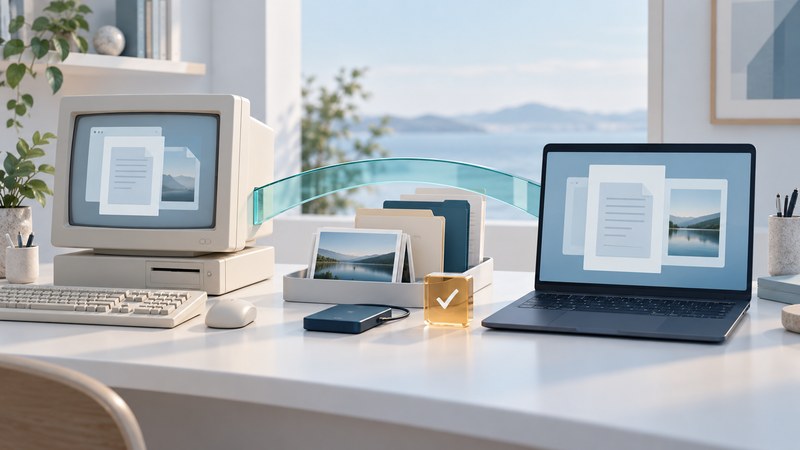
Move your everyday work to a supported computer by testing the tasks you need, one at a time. Preserve the original files, choose compatible applications and devices, and verify the result before retiring the old PC. For a Windows XP machine, the practical route is usually a new environment and a controlled transfer of information.
Windows XP arrived in 2001 amid upgrade offers, compatibility demonstrations and in-store learning programs. The lasting lesson is that installation is only one part of a successful transition: your documents, software, peripherals and working habits all have to make the journey.
Choose a supported destination before buying or installing
Write down the source PC's Windows version and edition, computer model, installed applications and attached devices. On many Windows versions, pressing Windows key + R and entering winver displays the version. Keep product keys and account secrets in a secure record separate from your migration checklist.
For the destination, check both the computer's eligibility and the support status of the exact Windows release. Microsoft's Windows 11 requirements include a compatible processor, TPM 2.0 and UEFI firmware with Secure Boot capability. Its PC Health Check assessment is intended for a PC already running Windows 10; it is not an XP migration utility. Minimum specifications also leave the application's own memory, storage and graphics needs to assess.
On a narrow screen, focus this table and use the arrow keys, or swipe horizontally.
| Starting point | Practical route | Decision before proceeding |
|---|---|---|
| XP or another much older PC | Set up supported Windows on suitable hardware; copy data and install supported applications. | Can the replacement applications read your files and work with your peripherals? |
| An eligible Windows 10 PC | Evaluate Microsoft's supported Windows 11 upgrade route, with a verified backup first. | Check eligibility, available storage and application/vendor requirements; resolve any upgrade safeguard hold through official guidance. |
| A PC that fails Windows 11 requirements | Choose an eligible replacement, including a verified refurbished option if appropriate. | Confirm the exact model and processor, current OS support, license and vendor driver availability. |
| An essential XP-only application or device | Move ordinary work now and make a separate preservation plan for that dependency. | Use the XP preservation guide to assess bounded old-hardware or virtual-machine use. |
There is no supported direct XP-to-Windows-11 in-place upgrade that carries the old installation forward. Installing Windows 11 through a hardware-requirement bypass also fails the supported-destination goal. A suitable replacement PC lets you test the new workflow while retaining the original.
Inventory a working day, not just a folder
List the jobs you actually do: open the household budget, edit photographs, retrieve an old email attachment, print a form, or export customer records. For each job, identify the application, file location, account, device and expected result.
- Documents and photographs: check every user profile, Desktop, document/picture folders and any extra drives. Include linked files, fonts and original photo files when an application needs them.
- Email and contacts: distinguish server-held messages from local-only archives and address books. Record the old mail program and version. Signing into a mailbox on the new PC may leave a local archive behind; use a supported import/export path for that exact format.
- Applications: record versions, installers, license evidence and vendor-supported export formats. Keep original databases or project files alongside any PDF, CSV or other export.
- Browsers and accounts: preserve bookmarks and confirm access to recovery methods from a supported device. Avoid putting passwords in an unencrypted general-purpose export or checklist.
- Peripherals: identify printer, scanner, audio device and specialist hardware models. A matching connector says little about driver or application support.
Use the Windows migration checklist to record each task, its source, its destination and its acceptance test. It is an editable plain-text worksheet; record secure locations for secrets, not the secrets themselves.
Preserve an original, then transfer a working copy
- Make a backup before changes. Copy irreplaceable data to separate storage and verify you can open representative files from that copy. If a drive is failing or files are unreadable, stop repeated migration attempts and seek suitable recovery help.
- Prepare the destination. Apply Windows and vendor updates, establish account recovery and install the applications needed for a pilot. Use the supported PC to obtain current software from its publisher.
- Choose a transfer method both ends support. External storage can avoid putting XP online. Check its connection and filesystem compatibility with the old machine. Do not format a disk containing your only copy. Microsoft's external-storage transfer instructions describe Windows 10/11 interfaces; XP has different controls.
- Copy into a clearly named staging folder. Keep the old folder structure and a transfer record. Scan transferred content on the updated destination before opening it; avoid launching unknown executables or enabling document macros. A clean scan is one check, not a guarantee about every file.
- Verify coverage and usability. Compare folder counts and total sizes to catch obvious gaps, inspect copy errors, and open important files. Counts alone cannot establish that file contents survived. Keep the original backup unchanged while testing working copies.
For an eligible Windows 10/11 consumer device, Windows Backup can help restore selected folders, preferences and app information through a personal Microsoft account. Its documented workflow applies to those operating systems, not XP. Check what completed, available cloud storage and how apps are restored. Folder synchronization deserves a separate review because deletions can propagate; keep an independent backup of irreplaceable material.
Transfer encrypted material only after establishing that the destination can decrypt a test copy. Retain the necessary certificate, recovery key or application credential securely. A copied encrypted file can be intact yet inaccessible.
Reinstall or replace the software behind the files
A copied application directory rarely represents the whole installation. Programs may depend on registry entries, services, fonts, drivers and activation. Use a legitimate installer and a license that permits the intended installation. Confirm vendor support for the destination's Windows release and processor architecture, particularly for drivers and specialist devices.
When replacing an application, test an export on a small sample first. A PDF preserves a readable presentation; a CSV can preserve tabular values. Neither preserves every formula, relationship, macro or editing feature of the source application. Retain native originals and document any losses.
If an old application is the only way to access important records, finish the preservation assessment before removing it. This guide handles the move to everyday supported computing; Windows XP Today covers the remaining legacy dependency in more detail.
Accept the migration by completing real tasks
- Open, edit, save and reopen a representative document; compare layout and calculated results.
- Retrieve both an old and a recent email attachment where mail history matters.
- Print and scan a real sample using the intended settings.
- Check account recovery without signing out of your only working session prematurely.
- Restore one test file from the new backup and confirm where future work is being saved.
Record each result as pass, failed or unresolved. Resolve failures that block essential work before making the new system the only working environment.
Complete the move and decide what to retain
Choose a cutover time. Stop editing on the old PC, copy any final changes, repeat the important tests, and make the new computer the primary working location. This prevents two diverging versions of the same document.
Keep a dated original backup and a record of any conversion decisions. Set a review date for the old equipment. If it is retained for a specific legacy task, document its limited purpose and connections. For resale or recycling, use an appropriate data-sanitization procedure for the actual storage device; deleting visible files is insufficient. Establish verified backups and recovery access before any erasure.
If you hire help, ask for a written inventory, the applications and devices included, the backup/rollback approach and the acceptance tests. Ask who will enter credentials and how temporary copies will be removed. Agree on the result before handing over the only working copy of your information.