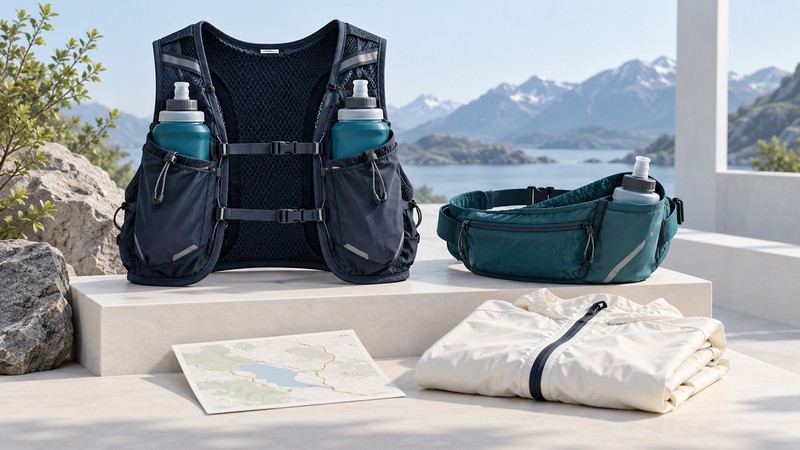
Choose a sports pack around what you need to carry and how you need to reach it. A useful comparison starts with your route, refill opportunities, clothing and equipment, then tests each candidate with that load.
Start with the outing
Write down the route, expected time outdoors, weather exposure and places where supplies are reliably available. List your phone, keys, layers, food, drink containers and route-specific essentials. Separate items you need while moving from those you can unpack during a stop. An event may have a mandatory kit list; check the organizer’s current rules before choosing capacity.
Water capacity and total storage capacity describe different things. A pack advertised as 8 liters may use that figure for gear space; check whether a reservoir is included and how much space it occupies when full. Fluid needs vary with conditions and the person. This guide compares carrying equipment and does not prescribe a drinking volume.
Compare the carrying arrangement
| Arrangement | Useful when evaluating | Potential sticking point |
|---|---|---|
| Handheld bottle | A small load and immediate bottle access | Whether the loaded bottle feels comfortable in either hand |
| Waist belt | Keeping the shoulders free with modest storage | Ride-up, bounce and reaching the bottle without awkward twisting |
| Running vest | Several accessible pockets and a close torso fit | Chest adjustment, breathing comfort and loaded pocket placement |
| Small backpack | Bulkier layers or equipment | Back access, strap movement and whether stopping to unpack is acceptable |
As a concrete design example, Nathan’s Pinnacle range uses different pocket and fluid arrangements across belts and vests. Treat those features as things to test with your own belongings. A manufacturer’s “bounce-free” description cannot establish the fit on every body.
Run a loaded fit check
- Use the intended clothing. Follow the model’s size chart and fitting instructions. Test over the layer you expect to wear.
- Pack the real objects. Fill compatible containers to your planned starting level. A phone-shaped shop insert may conceal an awkward fit for your actual phone.
- Adjust and move. Following the manufacturer’s directions, settle the pack and walk or jog in an appropriate trial area. Notice pressure, rubbing, restricted arm movement and shifting.
- Check access while stopped. Retrieve and replace each frequently used item. Confirm that caps, zips, retention loops and clips still close securely.
- Try the reduced load. Repeat with partly emptied bottles. Check the return policy before taking a trial outdoors.
Record what failed as well as what felt good. “Left bottle touches my arm when loaded” gives you a useful comparison; “comfortable” alone is hard to reproduce.
Check cleaning and replacement parts
Read the pack’s textile-care label separately from the flask or reservoir instructions. Establish whether the drink tube and valve detach, which cleaning tools reach the interior, and how every part dries. A shared brand name does not guarantee identical construction across generations.
HydraPak’s reservoir-care instructions distinguish reservoir designs and explain cleaning, rinsing and complete drying. Use the instructions for your exact container before reversing it, detaching a tube or using a dishwasher. Follow the pack label for washing the fabric.
Before buying, check replacement caps, valves, flasks and reservoirs for the exact model. Add their cost and availability to the comparison. Download the loaded pack comparison checklist and keep a brief note after the first outings. Recheck fit when your clothing or carried load changes.
Explore the fitness library
Browse fitness guides for planning, movement, equipment and evidence. Source links appear beside the information they support.