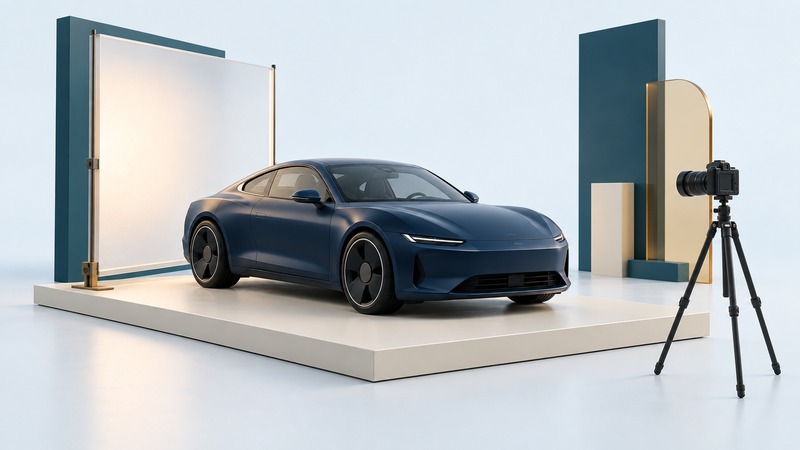
Good car-show photographs begin with where you stand. Walk around the parked car, look at the background and reflections, and decide which shape or detail you want to show. A phone or familiar camera is enough to build a coherent set: a defining view, a profile, the rear, the cabin and a few distinctive details.
Make a small story before taking many frames
Start with one whole-car view that establishes the subject. Add a side profile for proportions, a rear three-quarter view for the tail and one or two details that make the car distinctive. Photograph an information placard separately if the owner permits it, so you can verify the model and modifications when writing captions.
Keep the session to parked vehicles and permitted visitor areas. Ask before opening a door, leaning inside or photographing private documents. Follow the event’s rules for tripods and commercial use, and leave room for other visitors. If you want the car repositioned, ask the owner and use an appropriate permitted location.
Choose the viewpoint before the focal length
A front three-quarter view shows the nose and one side. A profile emphasizes wheelbase, roofline and stance. Lowering the camera changes how prominent the wheels and body sides appear; raising it reveals more hood and cabin. Try a few heights deliberately and compare the effect instead of assuming the lowest position is always best.
Standing very close with an ultra-wide lens exaggerates the near end of the car. To make the proportions calmer, move farther away when space permits and select a tighter field of view. Nikon’s ultra-wide guidance illustrates how a wide view can emphasize perspective. Camera position controls the near-to-far relationship; changing a zoom setting from the same spot primarily changes framing.
Use reflections to describe the surface
Watch what the hood, glass and doors reflect as you move a step sideways. A tent edge, tree or bright shirt may cut across the bodywork. Choose an angle where the reflected shapes support the car’s contours. Overcast light or open shade can make a broad, gentle reflection easier to handle; inspect the result rather than chasing a reflection-free surface.
A compatible circular polarizer can reduce some reflections, particularly in glass, as Nikon’s polarizer examples demonstrate. Rotate it while watching the image, then compare a frame with and without the effect. It reduces the light reaching the camera, and its effect varies across differently angled surfaces. Keep enough reflection to show the paint’s shape and finish.
For a phone, first clean the lens and try a different position. Avoid leaning equipment against the car. Keep any diffuser or reflector under control and use it only with permission and enough clear space.
Check sharpness and bright paint before moving on
On a narrow screen, scroll the table horizontally. Keyboard users can focus its region and use the arrow keys.
| Situation | Starting action | Review on the screen |
|---|---|---|
| Whole car | Choose a focus point on the car and enough depth of field for the important surfaces | Near and far body details look acceptably sharp. |
| Bright sky reflected in paint | Adjust exposure for the important body highlights | Large paint areas retain shape and detail. |
| Interior beside bright windows | Focus on the desired cabin detail; adjust exposure for that subject | The intended controls or seat texture remain readable. |
| Handheld image looks soft | Steady your stance and use a shutter speed you can hold reliably | Inspect a magnified detail and repeat if needed. |
| Busy background | Move, change height, wait for a gap or frame a detail | Poles and people no longer intersect the car awkwardly. |
Use your camera’s focus and exposure controls deliberately. For example, Apple’s iPhone camera guide explains focus, exposure adjustment and locking behavior on supported devices. Check the instructions for your model. A dramatic portrait-mode blur can produce errors around mirrors, antennas and glass; inspect those edges before keeping it.
Select and caption a coherent set
Choose a small group with different jobs. Straighten carefully, crop distractions and use modest exposure and color adjustments that preserve the finish. Save the originals. For a sale listing or condition record, retain visible defects and avoid edits that misrepresent the car. For an artistic composite or generated illustration, label the treatment clearly.
Caption verified facts: the event, date, model and any owner-confirmed modification. Separate an identification you have confirmed from a visual guess. A well-captioned set helps another person understand the car as well as enjoy its shape.
Save a working record
Download the Sports Car Pictures working record (plain text). Open it in a text editor, save a private copy and fill in the relevant prompts. Record unknowns explicitly and attach the evidence that supports each conclusion. The file includes instructions, source links and this article’s address.