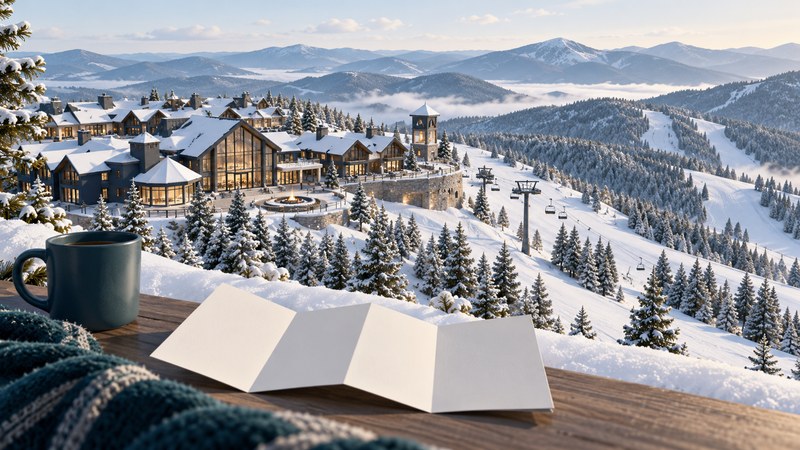
Snowshoe Mountain in West Virginia rewards a little orientation before booking. Its mountaintop village and distinct ski areas make the location of your lodging, equipment pickup and lesson meeting point especially useful planning details. Build the trip around those connections.
Understand the three ski areas
Snowshoe’s official visitor guide identifies the Basin, Western Territory and Silver Creek as its three ski areas. The resort’s first-visit guide describes the Village at the top of the mountain, Silver Creek as a shuttle ride away, and Western Territory as advanced terrain.
Use the official winter, Village and mountaintop maps together. The trail map answers how skiing connects; the Village and mountaintop maps help with buildings, parking and the walk to services. Save the current versions before leaving home.
| Area | Planning role | Check before committing |
|---|---|---|
| Basin / Village | Orient your day around the Village and surrounding ski access. | Actual lesson location, rental pickup and suitable open trails. |
| Silver Creek | A separate area to consider when planning the day or evening. | Operating dates/hours, shuttle arrangements and access for your ticket. |
| Western Territory | An option for appropriately skilled advanced skiers. | Current openings, terrain difficulty and an agreed meeting plan. |
On a narrow screen, swipe the table or focus it and use the arrow keys.
The resort describes daily tickets as covering the three areas. Confirm the terms of your exact product and the day’s openings; access rights and operating terrain are separate questions.
Choose lodging around the first morning
Start with the official lodging directory, then locate each candidate on the maps. Compare the route to lessons and rentals, parking arrangements, steps or elevators, equipment storage and the return after an evening out. Ask the property about the specific unit when accessibility or bed configuration matters.
A useful comparison is the number of transfers in the busiest part of the day. “Room → rental shop → lesson meeting point” is easier to evaluate than a broad claim of being close to skiing. Confirm what any ski-in/ski-out description requires of the skier and whether that route depends on a particular trail opening.
Coordinate tickets, lessons and rentals
Use Snowshoe’s lesson options to choose the correct age and ability group. Read the selected product for lift access, rental inclusions, duration and arrival requirements. Keep the exact meeting location from the confirmation; different products can use different arrangements.
- Confirm each person’s ski dates and lesson session before booking overlapping activities.
- Record what is included in the lesson package and purchase only the additional access or equipment needed.
- Follow the stated rental-fitting and check-in lead times; reserve room for travel, parking and carrying equipment.
- Save confirmation numbers, the provider’s contact information, change deadlines and pickup requirements.
Use the resort’s pre-arrival guide to refresh arrival and service information. Prices, parking and shuttle arrangements can change; the current resort instructions and your booking confirmation should settle those details.
Check the mountain and journey
Before departure, review the mountain report, National Weather Service forecast and alerts and West Virginia 511 road information. Check the route to your actual lodging or check-in point, not just a general destination pin. Allow for winter travel and follow current restrictions.
- Save maps and booking details for use if connectivity is limited.
- Write down the day’s lesson meeting point and a second meeting plan if the group separates.
- Check lift closing times and return connections before moving between areas.
- Bring the clothing and accessories your rental does not supply; confirm those inclusions in advance.
- Recheck road information for the departure home.
If a lift hold or closure disrupts the plan, ask staff about suitable available options. Keep the first day manageable enough to learn the layout. The ski-day record provides a place to keep operating and travel checks together.