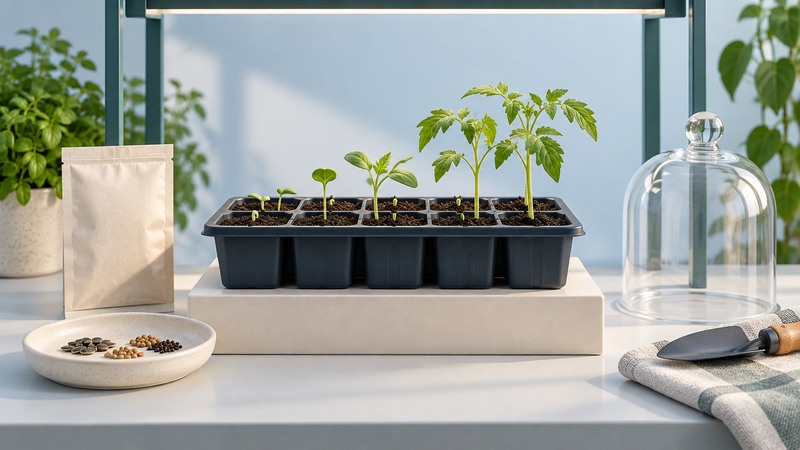
Starting seeds works best when you plan backward from the day a particular crop can live outdoors. Give the seedlings suitable light, a draining growing medium and room to develop; use the packet to set the sowing depth and temperature. This guide is for ordinary vegetable and annual-flower seeds. Woody plants and many native perennials may need additional dormancy treatments.
Decide what deserves an indoor start
Start with the plants you actually have room to grow. Indoor sowing buys growing time for crops such as tomatoes and peppers. Fast-growing crops and plants sensitive to root disturbance may be simpler to sow where they will grow. Carrots are a good direct-sowing candidate; tomatoes are a useful first indoor project. Check your local extension planting calendar for the crop and season.
Maryland Extension's vegetable seed-starting guide distinguishes the head start needed by warm-season crops from the early establishment that helps cool-season vegetables. Local weather and soil conditions determine the transplant date. A frost-date average is a planning reference, with earlier and later years possible.
Before buying, record the crop, variety, intended planting place, mature spacing and number of plants. A twelve-cell tray can become twelve much larger pots. Reserve space under the light for that later stage. For packet comparisons, use the seed-catalog guide.
Build a crop-specific calendar
Find the packet's recommended indoor lead time. Count that interval backward from a locally appropriate outdoor date, then allow a gradual transition outdoors near the end. Recheck the forecast and soil conditions before moving plants permanently. Starting earlier is useful only when you can keep plants healthy until planting time.
Use the printable seed-starting planner to keep packet directions, dates and observations together. It includes the example and a blank record.
Set up before opening the packet
Gather seeds, clean draining containers, a tray to catch water, fresh seed-starting medium, durable labels and a suitable light source. Pre-moisten the medium so it is evenly damp and loose. Fill the cells gently; heavy compaction removes useful air spaces.
The University of Minnesota guide recommends individual cells and drainage holes, explains seed-specific light requirements for germination, and describes thinning by cutting unwanted seedlings rather than pulling through neighboring roots. Follow its crop guidance in context: its calendar is written for Minnesota.
Choose a bright growing setup you can inspect every day. A timer makes a repeatable light period easier. Follow the fixture's instructions for distance from leaves; a close fluorescent fixture and a powerful LED can require different placement. Keep water away from electrical connections and use equipment intended for the setting.
Sow, then respond to the seedlings
- Label first. Record variety and sowing date before similar-looking containers become mixed up.
- Use the packet's depth. Some seeds need light and remain near the surface; others need covering. Check special instructions before applying a general rule.
- Moisten gently. Apply water without washing seeds into a corner. If using a germination cover, inspect daily and remove it as seedlings emerge so growth has air and space.
- Provide light promptly. Inspect stems and new leaves. Leaning, stretched growth is a reason to review light coverage and distance.
- Check moisture through the container. A misted surface can conceal a dry root zone. Water evenly and drain surplus water from the tray.
- Thin and make room. Retain strong seedlings at the intended spacing. Move them into suitable larger pots when roots and foliage outgrow the cells.
- Feed according to the medium and stage. Check whether the mix already contains nutrients. Use the fertilizer label's seedling directions when feeding becomes necessary.
Maryland's guidance explains why saturated medium can deprive roots of oxygen and favor seedling disease. A fixed daily watering dose is less useful than checking how fast each container dries.
Diagnose the pattern before changing everything
| What you see | What to check first | Useful next step |
|---|---|---|
| Few seeds emerge | Packet temperature, depth, age and expected germination interval | Compare the actual setup with the packet; wait the stated interval before resowing |
| Tall, leaning seedlings | Light reaching the whole tray; crowding | Adjust the light using its instructions and provide space |
| Seedlings collapse at the soil line | Persistently wet medium and spreading damage | Remove affected seedlings; review drainage and hygiene before restarting |
| Some cells wilt while others stay wet | Uneven filling, tray position and root development | Check each cell and water according to its condition |
| Plants struggle after moving outside | Exposure changed too quickly; weather unsuitable | Provide shelter and resume a slower transition |
For failed emergence, Maryland Extension's germination troubleshooting explains the roles of seed condition, moisture and soil temperature. A symptom can have several causes; record conditions instead of diagnosing from one photograph.
Move outside gradually and keep the useful record
Over roughly one to two weeks, introduce plants to sheltered outdoor conditions, then increase sun and wind exposure as they tolerate it. Check moisture more often outside. Protect tender plants from cold and delay planting into unsuitable ground. After transplanting, water the root zone and check establishment.
Save four observations: sowing date, emergence date, actual planting date and what you would change. “Started two weeks too early for the available light” is more actionable than “seedlings were disappointing.” A modest repeatable record makes the next batch easier.
For a small edible planting project, continue with kitchen herbs. For choosing their permanent location, see garden design.