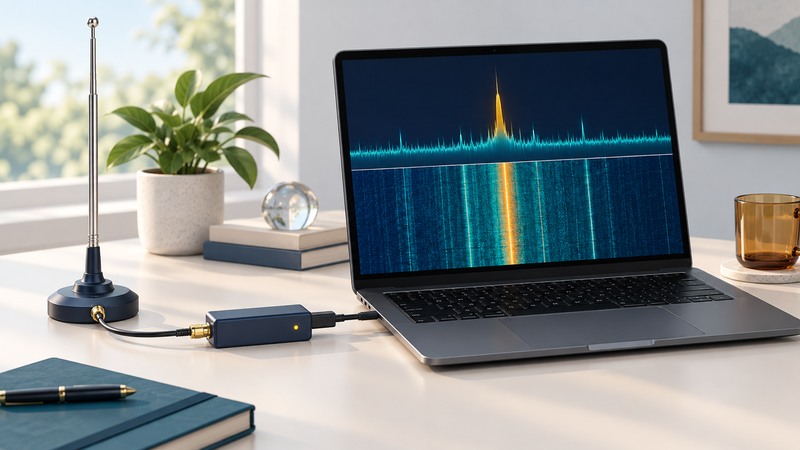
A software defined radio moves parts of radio processing into software. A USB receiver supplies sampled signals to a computer; an application selects and demodulates a channel into audio or data. A first listening session is easiest with a strong, public FM broadcast station and a receive-only USB SDR.
On a narrow screen, swipe a table sideways or focus it and use the arrow keys.
Know what each part contributes
The antenna gathers radio-frequency energy. The receiver’s front end selects and converts a portion of the spectrum; its analog-to-digital path supplies samples. Software filters and demodulates a selected signal, and your computer sends the resulting audio to an output device. The hardware still determines frequency coverage, overload behavior and available sample rates.
| Setting | What it controls | Beginner’s check |
|---|---|---|
| Center frequency | Where the captured slice of spectrum sits | Put the desired station inside the displayed span. |
| Sample rate | How many signal samples arrive each second | Use a rate supported by both receiver and application. |
| Demodulation filter bandwidth | How much of one selected signal enters the decoder | Choose broadcast FM / WFM for this exercise, with a suitable broadcast-FM preset. |
A spectrum plot shows signal level versus frequency. A waterfall adds time: persistent signals tend to form vertical traces, while brief activity appears only in a few rows. Colors depend on display settings. Treat them as a relative view unless you have a calibrated measurement system.
Match the driver to the exact receiver
Have a supported computer, a USB data connection, an antenna intended for the FM broadcast band, and the receiver model’s installation instructions. Download the receiving application from its official project site. A generic USB television driver and an SDR driver may expose the same hardware differently.
For an RTL-SDR Blog device, follow the manufacturer’s Quick Start Guide. On Windows, its Zadig procedure depends on selecting the correct RTL device and interface. Check the displayed identity before replacing a driver; selecting another USB peripheral can disrupt that device. Follow the current guide for your operating system instead of copying an old screenshot.
The RTL-SDR Blog V4 requires compatible driver support. The V4 model documentation identifies software and driver requirements that differ from older dongles. Leave antenna bias power off for an ordinary passive antenna; enable it only when the connected accessory and receiver documentation call for it.
Receive your first public FM station
- Find a strong local FM station’s published frequency. Start with a station you can already hear on an ordinary radio.
- Connect the antenna and receiver. In the SDR application choose that receiver as the input, then start receiving.
- Enter the station frequency with the correct units: for example, 100.1 MHz equals 100,100,000 Hz. This is a unit example, not a station recommendation.
- Select WFM or broadcast FM. Begin with the application’s broadcast-FM filter preset, typically around 150–200 kHz; refine it while listening if the software supports adjustment.
- Start with modest manual RF gain and raise it gradually. Watch the desired signal relative to the surrounding noise and listen for clear audio.
- Select the correct computer speaker or headphones and raise audio volume gently. Verify that you hear the expected station identification.
A display spanning roughly 2 MHz can show several FM stations when the hardware and application support that sample rate. The selected audio filter covers only one station. Widening the spectrum view and widening the audio-channel filter are separate actions.
Keep the first exercise to public broadcasting. Receiving hardware, decoding software and any transmitting capability are separate features. This procedure uses reception only.
Recognize overload before adding amplification
More gain amplifies unwanted signals too. If many broad peaks appear, the background rises sharply, or one strong station seems to repeat across the display, reduce RF gain. Compare the result before buying an amplifier. A strong out-of-band transmitter can overload an inexpensive front end even when the channel you want is weak.
| Observation | Check first | Expected progress |
|---|---|---|
| Receiver absent from input list | USB data connection, exact driver and another application using the device | The SDR appears and starts without an input error. |
| Waterfall moves; only hiss | Frequency units, WFM mode, selected filter and antenna | A known local broadcast becomes identifiable. |
| Strong trace; silent audio | Application mute and computer output routing | Audio follows the selected signal. |
| Stuttering across all stations | Lower sample rate; check USB connection and CPU load | The sample stream and audio run continuously. |
Save the working receiver, software version, frequency, mode, sample rate and gain in a text note. That baseline makes the next antenna or software experiment much easier to interpret.