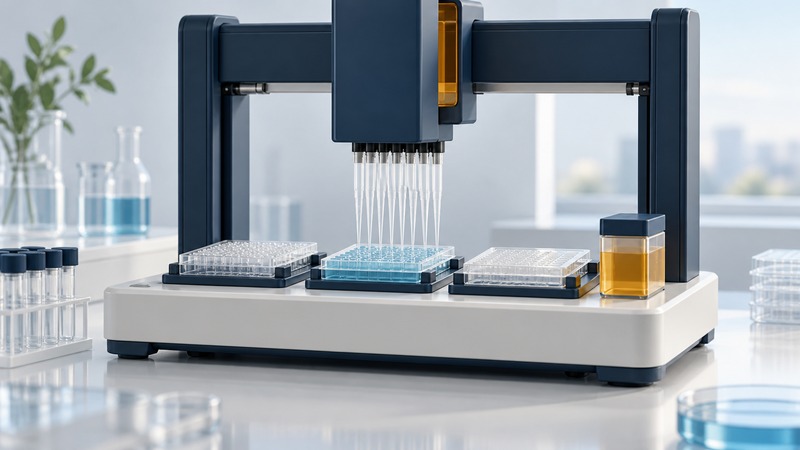
Automated liquid handling turns a sequence of transfers into a repeatable program. A reliable method also defines which liquid goes where, how much remains usable in each source, and what evidence shows that the assay performs as intended. Begin with the assay and its acceptance criteria before optimizing the robot's speed.
This planning guide is for researchers moving an established assay onto a liquid handler. Use the instrument's current manual, training and your laboratory's approved procedures for setup and operation. The pipetting guide explains transfer accuracy and precision; this page focuses on the larger automated workflow.
Translate the assay into an explicit transfer map
List the sample and reagent identifiers, source wells, destination wells, volumes and order of addition. Include mixing, incubation, temperature and timing requirements. A plate map should show controls and replicates as clearly as experimental samples. Give the method and plate map version identifiers so later results can be connected to the run that produced them.
Check labware identity separately from its general format. Two 96-well plates can have different geometry, bottom shape or usable volume. A correct well address combined with an incorrect labware definition can still cause a failed transfer. Agilent's Bravo software overview distinguishes labware definitions, liquid classes and device profiles; these are related records with different jobs.
Treat a liquid class as a method setting
A liquid class collects parameters affecting aspiration and dispensing. The same nominal volume can behave differently with water, a viscous sample or a volatile solvent. Agilent's liquid-class documentation says its default entries are examples and may only approximate particular reagents. It also distinguishes classes by liquid, volume and operation.
Record the selected class and the evidence that it works for your transfer. Verify with the relevant liquid and volume range, or document why a surrogate is suitable. A successful water check is useful information, but the actual assay introduces additional liquid properties, surfaces and timing.
On a narrow screen, focus this table and use the arrow keys to scroll.
| Factor | Planning question | Evidence to keep |
|---|---|---|
| Source depletion | Can the final transfer aspirate reliably from every source? | Minimum usable volume and the reservoir or well geometry. |
| Carryover | Could a previous sample influence the next one? | Tip policy and a suitable blank or challenge sequence. |
| Evaporation | How long do small volumes remain exposed? | Run timing, covering strategy and position-dependent checks. |
| Mixing | Will the delivered concentration be uniform? | A verified mixing step suited to the material and assay. |
Budget source volume before filling the deck
For multiple sources, perform this calculation per source well or reservoir compartment. Include priming, repeats and any transfer that the software performs outside the obvious assay step. The total volume in a bottle does not guarantee enough accessible liquid at every aspiration position.
Use a pilot run to find the failure pattern
Define acceptable transfer and assay behavior in advance. Use a suitable reference method and checks distributed across relevant plate positions and stages of the run. Compare early and late transfers, low and high source levels, and locations that could reveal an edge or channel effect. Preserve individual observations; a plate-wide average can conceal a recurring bad channel.
Investigate a pattern before changing several settings at once. A late-run failure suggests checking depletion and timing; a repeated well-position pattern suggests examining labware, channels and mapping. Assay failure after acceptable volume checks may point to mixing, order of addition, reagent stability or contamination. These are starting hypotheses to test against the run record.
Record interruptions and the recovery action. Resuming after a partial dispense can duplicate some additions or leave others missing. Reconcile completed steps with the plate map using the software's documented recovery process before accepting results.
Keep a method that another operator can reproduce
Keep the procedure, software and device configuration, labware catalog identifiers, liquid-class version, plate map, reagent lots, verification results and deviations together. Repeat the relevant checks after changes that could affect the result, such as a different reservoir, tip type, liquid formulation or timing sequence.
Download the automation planning sheet to record these decisions before a pilot run. It includes the volume-budget example and spaces for the laboratory's own acceptance criteria. Physical footprint and hood compatibility should be assessed with the laboratory's containment requirements and instrument guidance.
Related science guides
- Check transfer accuracy and repeatability
- Plan controls and independent replicates
- Preserve method and analysis versions
Explore all science guides. Sources reviewed September 11, 2026.