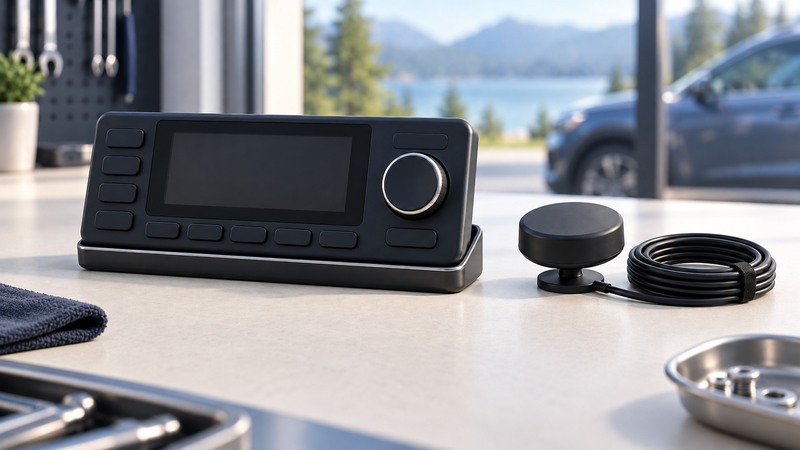
A dock-and-play satellite radio moves its tuner between compatible accessory kits. For a car installation, the complete system includes the receiver, vehicle dock, antenna, correct power adapter, mounting hardware and an audio connection to the car stereo. Confirm that entire path before buying a loose used tuner.
On a narrow screen, swipe a table sideways or focus it and use the arrow keys.
Identify the complete kit
This guide concerns consumer satellite-audio receivers and U.S. SiriusXM examples. Availability, plans and supported equipment vary by market. Factory-installed systems and aftermarket head-unit tuners have their own compatibility requirements; the dock-and-play connector is model-specific.
| Part | Record this information | Common purchasing gap |
|---|---|---|
| Receiver | Exact model and Radio ID | A product name without the tuner’s identity. |
| Dock | Supported receiver models and vehicle use | A home cradle mistaken for a vehicle kit. |
| Antenna | Compatible connector, cable and placement instructions | A receiver sold without its satellite antenna. |
| Power | The manufacturer’s adapter part number | A plug that fits but has the wrong electrical specification. |
| Audio | Car input and receiver/dock output | Assuming every USB port accepts this radio’s audio. |
| Mount | Approved mounting method for the kit and vehicle | A loose radio with no usable mount. |
The Onyx EZR vehicle-kit support page is a concrete example of the parts-and-manual lookup. It lists the compatible accessories and provides the vehicle user guide. Use it as an example of what to verify, not as a claim that those parts fit other radios.
Choose the audio route before mounting
A supported auxiliary cable provides a straightforward analog connection when the car has an AUX input. Select that input on the stereo. A supported Bluetooth dock or receiver can use a compatible Bluetooth audio input, but Bluetooth support must be established for both ends. A built-in FM option or direct FM adapter follows its own kit instructions.
For an FM audio link, the satellite tuner receives the satellite program and passes audio to the car’s FM radio. The selected FM frequency belongs to that local audio link. If interference appears there, you may still have good satellite reception. The Onyx EZR vehicle manual (PDF) explains its supported AUX, PowerConnect and other connection choices.
Test in a controlled sequence
- Find the exact receiver and vehicle-kit manuals. Identify a mounting location and cable route that comply with both the kit and vehicle instructions. Keep cables and hardware clear of controls, sightlines and airbag deployment areas.
- With the vehicle parked, assemble the specified dock, antenna, power adapter and audio path. Follow the antenna’s exterior-placement and cable-routing instructions for the vehicle type.
- Power the tuner and select its preview channel. Check the displayed signal or antenna message. A preview demonstrates basic reception and audio before paid-channel troubleshooting.
- Use the official Radio ID lookup instructions and activation process for that receiver. Confirm the desired plan, channels and current terms before completing an order.
- After service is confirmed, test several included channels. Adjust audio level using the model’s guidance and save a few presets.
- Check stability on a normal route after installation. Make any tuning or mounting adjustments while parked.
SiriusXM’s Radio ID instructions say most radios show their identity on channel 0, with model-specific alternatives. The identity belongs to the receiving hardware. A dock or speaker accessory may carry a different serial number.
Download the satellite setup checklist (plain text) to record part numbers, the audio route and the result at each stage. It is a planning record; the exact manuals supply installation details.
Separate four common fault paths
| Symptom | First check | Useful distinction |
|---|---|---|
| No power | Correct adapter, working outlet and seated dock | Reception checks become useful once the tuner starts. |
| Antenna error or acquiring signal | Antenna connection, cable condition and clear sky view | A channel-plan change will not fix an antenna fault. |
| Preview works; desired channel unavailable | Radio ID, activation status and plan/channel compatibility | Basic reception is already demonstrated. |
| Screen works; silence or FM noise | Stereo input, audio cable and chosen FM link frequency | The audio path can fail independently of satellite reception. |
Obstructions such as garages, tunnels and dense buildings can interrupt satellite reception. SiriusXM’s lost-signal guidance helps distinguish reception conditions from account checks. If the installation needs trim removal or an unfamiliar audio interface, use a qualified installer with the exact manuals.