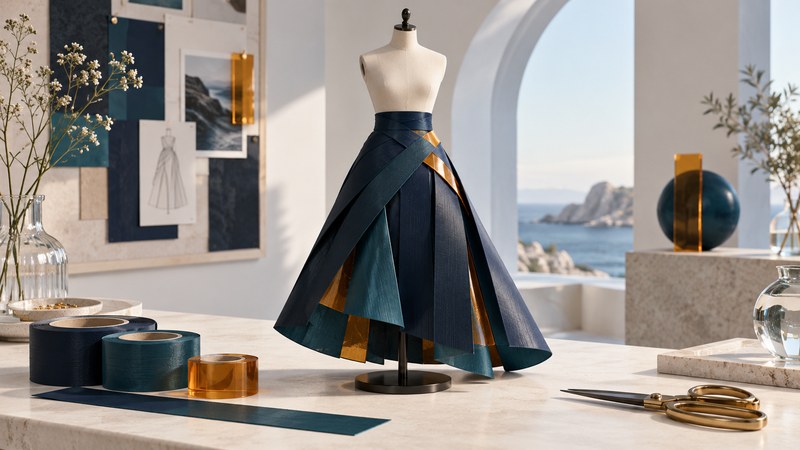
A duct-tape prom outfit is a design project with materials, fitting and documentation work. Start by deciding whether you want a creative outfit, a small accessory or a scholarship-contest entry. That choice determines how much you need to build and which rules you must check before spending money.
Check the contest year first
The 2026 rules describe individual entries in dress or tux categories, require specified Duck Brand tape, and allow additional materials. They include age, high-school enrollment, residence and previous-finalist restrictions. The organizer's FAQ says wearing the outfit to prom is not required. Read the complete official rules for eligibility, required attire, submission content and rights before planning an entry. Where a summary sounds different, use the official rules and ask the organizer to resolve uncertainty.
A project can still be worthwhile without entering a contest. Set its spending and time limits around what you want to learn or make; treat a possible award as uncertain.
Write a brief you can actually build
- Purpose: an outfit for an event, a photograph, a craft exercise or a qualifying entry.
- Scope: the complete garment and every accessory you intend to make.
- Design: a simple silhouette, a limited palette and one main detail.
- Constraints: budget, available work sessions, tools and the help or garment-making experience you have.
- Finish line: when fitting, photography and any submission must be complete.
Sketch the front and back, then identify difficult areas such as closures, seams and movement at the hips or shoulders. A decorative surface that looks convincing while standing may behave differently when you sit. Ask someone with garment-making experience to review the design before committing to a complex full outfit.
Prototype before making the final pieces
Work on a table or an appropriate dress form rather than using your body as a wrapping surface. Make a small sample with your intended materials and overlaps. Check flexibility, weight, the appearance of joins and whether adhesive remains exposed. This is a project assessment, not a tested garment pattern; follow the tape and tool manufacturers' directions.
- Create one small decorative panel and record the tape used and the time spent.
- Make a paper or inexpensive fabric mock-up to check the silhouette and access for putting it on and taking it off.
- Decide how the finished pieces will be supported and joined before covering a large area.
- Test a completed section under the conditions you can reasonably reproduce. Revise uncomfortable, restrictive or unreliable parts before continuing.
- Keep an ordinary outfit available for the event if the craft garment does not pass your comfort and movement checks.
Do not tape adhesive directly to skin or wrap a person tightly to make a pattern. A conceptual illustration can suggest a look; it cannot establish a safe or wearable construction.
Estimate materials and work sessions
Use your sample to estimate covered area, then add separate allowances for overlaps, test pieces, mistakes and accessories. Roll length and width vary; read the actual package. Record purchased quantities and receipts as you go rather than reconstructing them later.
Schedule designing, sampling, construction, fitting and photography separately. Track actual progress after the first session and simplify the design if the remaining work exceeds your available time.
Keep a clear project record
Save your original sketches, progress photos, materials list and time log. Photograph the complete outfit from useful angles once it is finished. Use a plain location that makes the construction visible, and check that photos accurately represent what you made.
For an entry, use the organizer's submission checklist alongside the applicable rules. Verify required photographs, written or video material, permissions and file requirements before submitting. Avoid other people's artwork, music, logos or photographs unless the rules allow the use and you have the necessary rights. Leave time to resolve an upload problem and keep the submission confirmation.