Start with one person, one light source, and one intended use. A profile photograph, a family keepsake, and an environmental portrait call for different framing. Agree on the use and the subject’s comfort before choosing a location. A phone or camera, a window or open shade, and a quiet background are enough for the practice session below.
Decide what the portrait needs to show
Ask where the image will appear, whether it needs a square or vertical crop, and how much of the person’s surroundings should be visible. For a headshot, leave room around the hair and shoulders for the final crop. For an environmental portrait, include one meaningful feature of the setting and remove distractions from the frame.
Explain the session in a few sentences and ask before changing clothing, touching hair, or moving personal belongings. Show an early frame so the subject can help shape the result. For publication, agree on the audience and any retouching expectations.
Build the picture around one light source
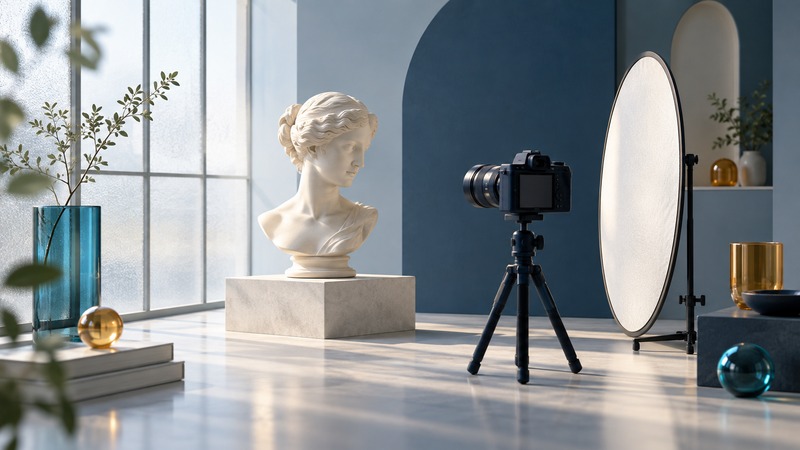
Place the subject near a window with indirect light, then turn their face gradually toward and away from it. Watch the shadow beside the nose and the light in the eyes. A sheer curtain can soften direct sunlight; a white wall or reflector opposite the window can brighten the shadow side. Move it closer for more fill and farther away for stronger modeling.
Mixed room lighting can create different color casts on either side of the face. For a first experiment, switch off nearby lamps and work with the window alone. Nikon’s discussion of light and shadow demonstrates how window light and the exposure choice shape a portrait. Outdoors, look for open shade with a view of bright sky and a background that stays comfortably within the camera’s tonal range.
Set focus and exposure for the person
Choose the camera position before chasing background blur. Start near the subject’s eye level and step back if a very close viewpoint makes the nose disproportionately prominent. On a phone, use an ordinary photo mode for the first frame; this gives you a comparison for any simulated portrait blur.
Focus on the nearer eye when the face is angled. If your camera has eye detection, confirm that its indicator sits on the intended eye. With a camera that allows aperture control, f/4 is a reasonable experiment for one person in good light; adjust after inspecting both eyes. A lower f-number reduces the margin for focus error. For two people, place their faces at similar distances and stop down if necessary.
For a relatively still adult, try 1/125 second as an initial shutter-speed test, then use a faster speed if movement remains visible. This is a starting exercise, not a guarantee of sharpness. Raise ISO as needed rather than accepting unwanted motion blur. Check the bright cheek and forehead for lost detail and use exposure compensation if the camera’s automatic result misses your intention.
Give one small instruction at a time
- Ask the subject to settle into a comfortable stance or seat, with shoulders relaxed.
- Make one change: turn slightly toward the window, lower the chin a little, or move a hand. Explain what you are trying to improve.
- Take a short sequence while talking, then pause. A natural expression often appears between formal poses.
- Review the eyes, background edges, and hands before changing the entire setup.
Review the cause before applying a fix
On a narrow screen, scroll the table sideways. Keyboard users can focus the table region and use the arrow keys.
| What you see | What to inspect | Next experiment |
|---|---|---|
| Eyes soft, background sharp | The focus indicator and the actual focus plane | Select the intended eye and repeat; reduce subject movement. |
| Everything smeared in one direction | Shutter speed and camera movement | Use a faster shutter or steadier support, then compare. |
| One eye sharp, the other soft | Face angle and depth of field | Turn the face slightly toward camera or use a higher f-number. |
| Bright patch competes with the face | The full frame at normal viewing size | Change viewpoint or crop while preserving breathing room. |
Select for expression and purpose first, then check technical quality. Keep skin texture during retouching and compare edits with the original. Export a separate delivery copy and confirm its crop at the size the viewer will actually see. Download the portrait session checklist (plain text) for planning and recording the three-frame exercise.