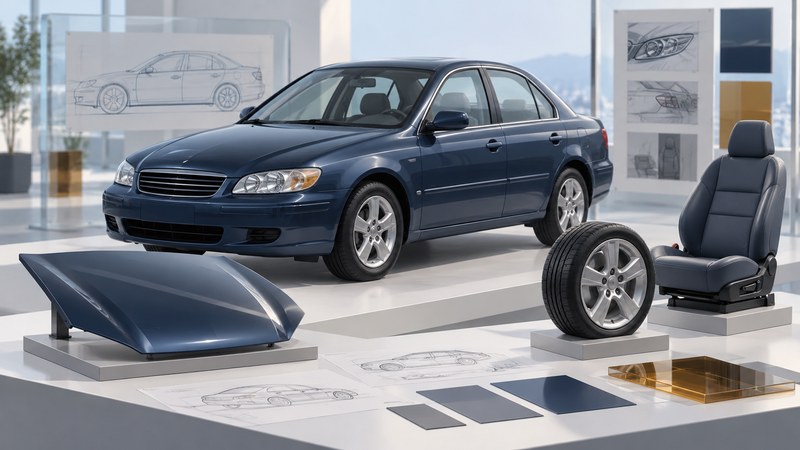
The Roush Pontiac G6 offers a look inside a show-car project: a familiar sedan became a coordinated study in bodywork, cabin details and chassis components. Its lasting interest lies in how those pieces were developed into one vehicle.
The 2005 SEMA project
Roush's November 2005 announcement described a Pontiac G6 sedan created for SEMA and a GM award for its exterior. The work drew on the company's design, body-engineering, rapid-prototyping, composites, paint and trim teams. That mix of disciplines makes this a useful case study in the path from an idea to a finished display vehicle. Source: Roush's contemporary announcement, November 14, 2005.
A map of the changes
The announcement identifies the following groups of modifications. Read across the groups to see how the visual theme extended beyond the body panels.
Body and stance
Hood, front and rear fascias, rocker panels, spoiler, modified headlamps, exhaust tips and 19-inch forged wheels.
Cabin
Sparco seats and Auto Meter instruments brought the interior into the project.
Chassis and airflow
Brembo brakes, Eibach springs, a DC Sports strut brace, an AEM intake and a GM performance exhaust were listed.
These are the show car's reported components. A production G6, this Roush project and a later owner-modified example each need their own specification record.
What has to happen between sketch and display
The sequence below is an editorial explanation of the work such a project requires. It helps interpret the named disciplines without claiming access to Roush's internal build schedule.
- Set the design intent. Establish the proportions, surfaces and repeated details that make the vehicle read as a whole. A wheel treatment and a rocker shape should support the same visual direction.
- Resolve interfaces. A new panel still meets adjacent panels, mounting points and openings. Designers and engineers need to agree on those boundaries before a finished surface becomes an expensive part.
- Make and assess parts. Prototypes let a team inspect shape, fit and access on the vehicle. A successful photograph captures only one view; a physical build exposes the joins and clearances from every direction.
- Integrate the finish. Paint, trim and component presentation bring the separate pieces together. Consistent gaps and carefully resolved transitions matter as much as a dramatic outline.
How to study the car
Begin with a full side view, then compare the front, rear and cabin. Note which details change the silhouette and which are visible only close up. For a simple design exercise, choose one body feature and trace its consequences: a deeper front fascia changes the apparent stance, but also creates questions about ground clearance, attachment and access.
For performance comparisons, first establish the exact donor trim, engine, transmission and test conditions from records for the vehicle concerned. This announcement provides a parts list and development context, so the useful comparison here is the scope of the design work. A measured acceleration or braking improvement would require additional evidence.
Continue with custom-car design and build planning or explore how to read a concept-car design.
Explore Autos: vehicle guides, technology and design · Cars: buying, maintenance and ownership