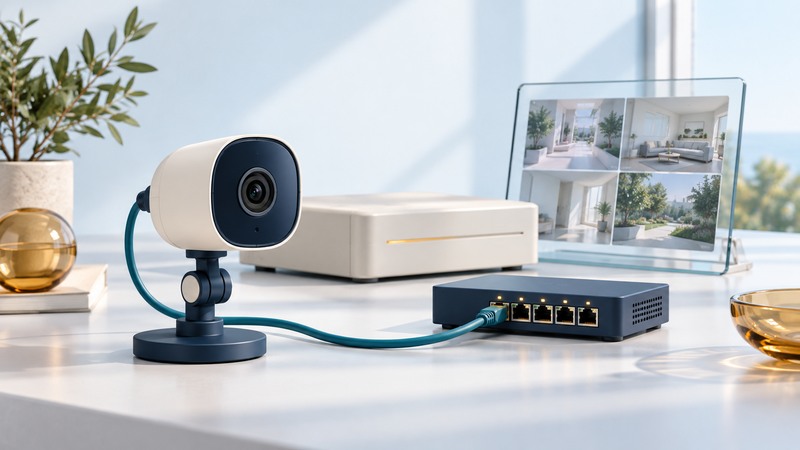
A network camera is a small computer with an image sensor and network services. Its built-in web server can provide settings or viewing through a browser. Secure operation depends on the camera, the surrounding network and every account allowed to see or change the video.
Begin with the exact model, current firmware, manufacturer support status, router or switch, recording destination and intended viewers. Configure only equipment and networks you own or administer. A built-in web server does not require opening that server to the public internet.
Draw the path from lens to viewer
Record where images travel: camera to local recorder, camera to a cloud service, or camera to a viewing application. A system can use several paths. Identify which account controls each one and which connection needs internet service.
For a local recorder, check camera compatibility, supported video protocols, power requirements and storage before purchasing. For a cloud system, check subscription features, retention, exports and what happens when the service ends. Verify the manufacturer's security-update policy for the exact device.
The FTC's camera guidance recommends considering encryption, network security and viewer permissions. These are separate checks: encrypted transmission says little about whether an account has excessive privileges.
Establish controlled local access
- Connect according to the manual. Use the specified power supply or compatible Power over Ethernet equipment. Locate the camera with the supported discovery method on your network.
- Set unique administrator credentials. Keep them in a password manager. Create a separate viewing account where supported, so ordinary viewing does not require administrator access.
- Update and document. Install the appropriate supported firmware and record its version, date and support source. Back up configuration using the manufacturer's procedure.
- Use supported encrypted access. Prefer HTTPS for browser administration. Resolve certificate setup through the manual or administrator rather than making routine warning bypasses part of the workflow.
- Limit unnecessary services. Review anonymous viewing, unused integrations and automatic port-opening features. Confirm the intended recorder and viewer still work after changes.
The AXIS OS hardening guide recommends unique credentials, HTTPS and limited network exposure. Its menu paths and defaults depend on AXIS OS version; use the equivalent current manual for other brands. The historical AXIS 205 specifications do not establish present-day support or suitability.
Choose a remote-access method deliberately
| Approach | What you must manage | Verification |
|---|---|---|
| Local viewing only | Local users, device security and recording. | Confirm viewing works on the intended local network and unnecessary remote features are disabled. |
| Manufacturer-supported remote service | Cloud account, MFA, sharing, service support and privacy terms. | Test a viewer account from another network and remove a temporary share afterward. |
| Managed VPN or approved remote gateway | Gateway updates, authentication, routing and access rules. | Verify only authorized users and required resources are reachable. |
| Direct camera port forwarding | Internet-exposed camera services and their vulnerabilities. | Avoid this default shortcut; seek a supported remote-access design. |
A separate camera network can reduce access between cameras and business or household devices. It only provides that separation when the router, firewall or VLAN rules enforce it. A guest Wi-Fi network may also prevent the recorder from reaching the camera; test the intended traffic path.
Keep a record of every router forwarding rule and remote integration you intentionally use. Axis explicitly advises against exposing devices as public web servers. If remote access fails, consult the supported setup instead of opening additional ports experimentally.
Check the recording you could actually use
Point the camera at the event you need to understand. Inspect daytime and nighttime recordings at the intended distance, with people moving normally through the scene. Check timestamps and time zone, glare, motion blur, obstruction and audio settings. A live picture does not prove recordings are being saved.
Export a short harmless test clip, open it on another device and check that its time and content are understandable. Record who can export and delete footage. Choose retention from the purpose and applicable obligations; limit access to recordings that reveal household or workplace routines.
Test outages and review access
Schedule a controlled test when it will not interrupt needed monitoring. Distinguish loss of the internet connection from loss of camera or recorder power. Check whether local recording continues, whether notifications arrive and whether everything resumes afterward. Keep manufacturer-recommended power backup and restart procedures with the system notes.
Review sharing after a house move, staff departure or provider change. Protect the phone that receives notifications and opens video. The smartphone guide covers that dependency; the household assessment helps decide which camera functions are useful in the first place.