A good computer-speaker setup matches the desk, the available connections and the material you listen to. Start with a simple signal path and balanced placement, then add a subwoofer or surround channels when the source and room can use them.
Choose the arrangement you can place properly
A 2.0 system uses two main speakers. A typical 2.1 desktop package adds a subwoofer for low frequencies. A 5.1 arrangement adds a center and surround channels as well as a low-frequency-effects channel. The package label alone leaves open how inputs are decoded, how bass is managed and which source formats it accepts.
Powered speakers contain amplification; passive speakers require a suitable amplifier. Check where the volume control and inputs actually live, whether a cable joins the speakers and how much room their power supplies need. A larger package is useful only if you can place and connect its parts.
For calls, spoken material and general desk use, begin by evaluating a stereo pair. For surround playback, confirm that the application, audio device, connection and speaker system all support the intended multichannel path. A stereo input may be distributed or processed by the speakers; that differs from receiving discrete surround channels.
Trace the signal from application to speakers
On narrow screens, focus the table and use the arrow keys or swipe to see every column.
| Connection | Check | Common confusion |
|---|---|---|
| Analog 3.5 mm or line input | Correct output jack, input selection and fully seated plugs | A microphone input resembles some output connectors. |
| USB audio | Speaker appears as an audio device; use a supported data connection. | Some speakers use USB only for power and a separate cable for sound. |
| Bluetooth | Paired host, selected output and any competing connected device | Pairing alone does not prove that the app is sending sound there. |
| Monitor or dock output | Computer output selection and monitor/dock audio routing | Changing displays or docks can change the default audio destination. |
Before connecting, turn playback down. Select the intended output in the OS and the application, then raise volume gradually with familiar speech or music. Keep the first test free of equalizer presets, surround effects and bass boosts so there are fewer variables.
Microsoft's no-sound troubleshooting guidance covers output selection, mute, enhancements and driver checks. In Windows 11, start with Settings → System → Sound and the intended output device. Also check the application's own device and volume controls.
Set up a clear listening position
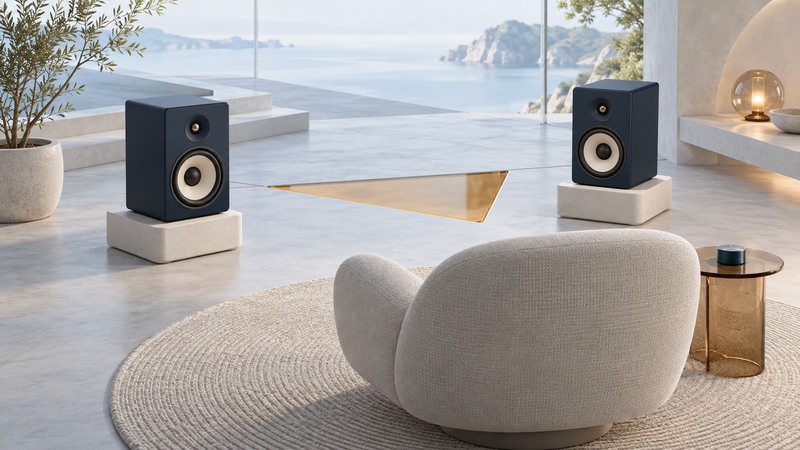
Place the left and right speakers symmetrically around your usual seated position, with their intended acoustic axes directed toward your ears. Keep the sound path clear of monitor edges and piles of objects. Stable stands or suitable isolation supports can help position the speakers without crowding the keyboard.
An approximately equilateral triangle between the two speakers and listener is a useful stereo starting point. Genelec's placement guidance explains listener geometry and room-boundary effects. Follow the exact speaker manual for wall clearance, orientation and acoustic-axis height; a universal distance would ignore different cabinet and port designs.
Listen to a centered voice. It should form a stable image between the speakers when you sit centrally. If bass is uneven, compare a small position change before reaching for more bass boost. A desk, wall or corner can change what reaches the listener. Move one thing at a time and keep track of the result.
Isolate the problem with controlled swaps
- No sound: verify speaker power, selected input, OS output, application mute and the cable path. Test another known recording.
- Only one side: check balance and channel connections with volume down. Where supported, swap left/right signal inputs. A fault that follows the signal points upstream; one that stays with a speaker points downstream.
- Distortion: reduce level at the source and speaker, disable boosts and compare another recording. Change one stage at a time to find where the problem begins.
- Hum or buzz: compare a supported alternate cable or source with power handled according to the manuals. Keep signal leads away from noisy power equipment. Never remove a protective earth connection to suppress hum.
- Delay: compare a supported wired path when timing matters for games or video. Record which connection mode you used.
Speaker wattage is an electrical/amplifier specification with stated test conditions, not a complete loudness or sound-quality rating. Compare useful listening level, distortion, noise at rest and placement in the actual room. Match volume reasonably when auditioning two systems so “louder” does not become the whole verdict.
Finish with the real workload
Test a call, a familiar music track and the application you use most. For calls, place the microphone to favor your voice and check for echo at the other end. A headset offers a useful comparison. See laptop webcam and sound setup for a repeatable meeting test.
Keep a record of the selected output and input, cable route and normal volume settings. Label hard-to-see connections using the cable-labeling guide. A clearly documented working setup is easier to restore after moving the desk.