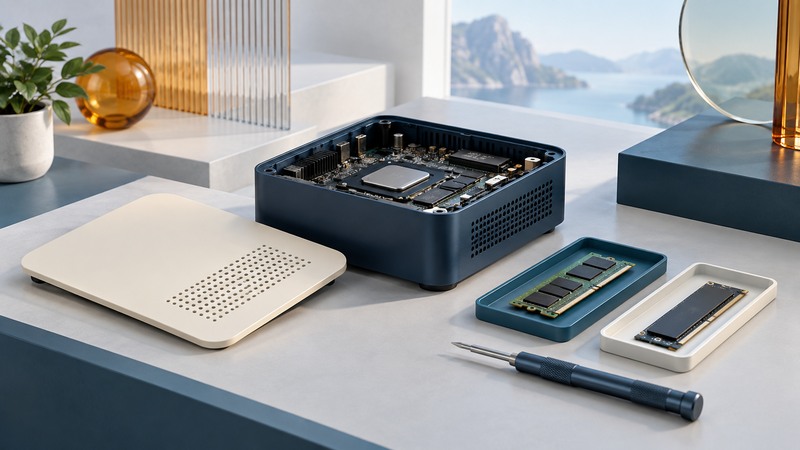
A modular computer is valuable when a part you may need to replace has a documented, affordable replacement path. Look past the word “modular” and establish which components can change, which parts remain compatible, and who will supply them when you need a repair.
Identify what is actually modular
The term can describe several different designs. A removable computing core moves the processor and its associated hardware between compatible enclosures. A serviceable laptop or desktop lets you replace selected internal components. A docking arrangement connects external equipment while leaving the computer itself unchanged. Each can be useful, but they answer different needs.
On narrow screens, focus the table and use the arrow keys or swipe to see every column.
| Claim | Evidence to request | Potential limit |
|---|---|---|
| Upgradeable memory or storage | Service manual, slot count and supported part specifications | Soldered components, occupied slots or firmware limits |
| Replaceable mainboard | Explicit compatible chassis and board generations | Different cooling, connectors, firmware or power requirements |
| Repairable screen, keyboard or ports | Part numbers, instructions, tools and current parts availability | A small failed part may belong to a much larger assembly |
| Removable core or external modules | Documented compatible docks, enclosures and interfaces | Physical fit does not establish cross-generation support |
Do not count an ordinary external accessory as proof that internal repairs will be easy. Make a list of the failures that matter to you: a worn battery, damaged charging port, inadequate memory or a broken display. Check each one independently.
Inspect a real replacement procedure
A useful service guide shows disassembly, cable handling, replacement parts and reassembly. Read the whole procedure before treating a component as a simple swap. Check whether adhesives, fragile cables, special tools or paired components affect the job.
For a concrete example, Framework's Laptop 16 mainboard guide explains that a processor upgrade requires a mainboard replacement. Its replacement boards include a heatsink, while storage, memory and Wi-Fi components are transferred separately. That is a documented upgrade path for a specific product; it is not a universal promise that laptop processors are individually replaceable.
Check the replacement part's exact identifier and supported configurations. Record the current firmware and operating system, but install updates only as the manufacturer directs. If the manufacturer has not documented compatibility with a future generation, treat that upgrade as unconfirmed.
Compare repair with the work still needed
Include the part, delivery, labor, tools, downtime and any other component required by the change. Then ask what limitation remains. More memory will not repair a damaged hinge, and a faster board may leave an aging display or battery unchanged.
Illustrative cost example: a replacement assembly costs $220, labor $60 and shipping $20, making the immediate repair $300. A suitable replacement computer is assumed to cost $850. These invented figures show a method, not current prices: the repair saves $550 initially, but the decision still depends on the machine's condition, remaining support, downtime and suitability for the workload.
Ask for a written parts and labor estimate when you cannot inspect the hardware yourself. For component-level decisions, the memory guide and SATA guide cover their own compatibility checks.
Prepare data and recovery before opening the case
- Verify a backup by opening representative restored files. Keep it separate from the computer being serviced.
- Ensure you can retrieve any device-encryption recovery information and required application credentials. Follow the manufacturer's instructions for encryption settings around a board change.
- Save the service manual, exact part identifier and current configuration. Photograph cable routing where the procedure permits.
- Follow documented shutdown, power isolation, battery and static-control steps. Use professional service if the procedure exceeds your tools or experience.
- After reassembly, check charging, display, ports, networking, audio and the workload that motivated the change.
Keep the replacement path usable
Retain the service record and part identifiers with the computer inventory. Recheck parts availability when a warranty ends, a fleet grows or a major software requirement changes. A repairable design and available replacement stock are separate facts.
Modularity can let you retain functioning parts, but environmental savings depend on what is replaced, how long it remains useful and how the retired parts are handled. Avoid assigning a savings percentage without a relevant lifecycle study. Use the computer retirement guide when reuse or repair is no longer practical.