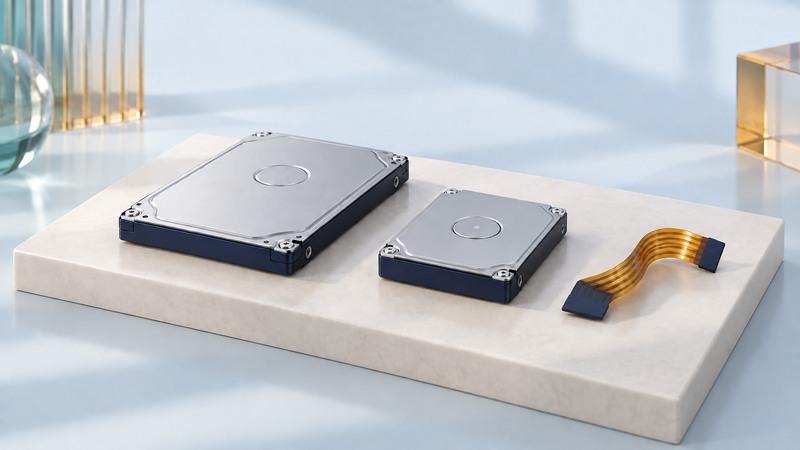
An embedded miniature hard drive belongs to a complete portable device: its cable, power supply, firmware and mounting all matter. Start with the exact drive model and host revision before buying a replacement or USB adapter. The one-inch and 1.8-inch labels describe a product class, not a promise that two drives connect the same way.
Record the drive and the host together
Photograph the device label, drive label and both ends of the cable before disconnecting anything. Record the full model suffix, capacity, firmware if available, dimensions and orientation. A seller’s listing that says only “mini hard drive” leaves the most important compatibility questions unanswered. Keep screws, brackets and insulating pieces associated with their original positions.
Decide whether the priority is recovering files, preserving the original device, or making the device usable again. A replacement that boots successfully may still lose historical software or user data. If the original medium is readable, preserve its contents before experimenting with replacement storage. For a removable CompactFlash-format Microdrive, use the separate Microdrive migration guide; this page focuses on embedded drives.
Separate the connector from the protocol
ZIF means zero insertion force: it describes a connector mechanism. It does not identify the signal protocol, pin assignment, supply voltage or cable orientation. A ribbon that fits mechanically can connect incompatible devices. Establish the interface from the manufacturer’s model-specific documentation and the host service information.
The CE-ATA revision 1.0 specification illustrates why names need care. It defines an embedded storage interface using MMC electrical signaling and access primitives, with an ATA-related command model. It does not promise complete legacy ATA software compatibility. A passive cable cannot be assumed to translate CE-ATA into parallel ATA or SATA.
On narrow screens, focus the table and use the arrow keys or swipe to see every column.
| Check | Record from documentation | Why it matters |
|---|---|---|
| Mechanical fit | Width, length, thickness, mounting and clearance | The cover must close without pressure on the drive or cable. |
| Connection | Protocol, pinout, pitch, contact side and cable part | Matching ribbon width alone does not establish compatibility. |
| Power | Supply voltage, startup demand and host limits | An adapter and host must supply the specified electrical conditions. |
| Host behavior | Supported capacities, firmware, sector layout and boot requirements | A drive can be electrically recognized yet unusable by the device. |
Read a real data sheet by exact model
Hitachi’s Travelstar C4K60 Slim data sheet lists an ATA-7 interface, a ZIF connector and a 3.3 V supply for that family. Its 20 and 30 GB models are 5 mm thick; the 40 and 60 GB models are 8 mm thick. These are specifications for the named products, not all miniature drives.
Build a comparison using the exact original and candidate models. For each row, write “confirmed,” “different” or “unknown,” and attach the source. An unknown pinout is a reason to investigate further. It is not evidence that a cheap adapter will work. An advertised solid-state replacement needs the same mechanical, electrical and firmware review.
Plan extraction before changing the source
For readable media, make a documented image or copy using a confirmed-compatible interface and a method that avoids changing the source. Record the tool, adapter, reported capacity, read errors and verification result. Work from a copy for file-system repairs. A successful directory listing is useful evidence, but it does not establish that every file can be read.
If a drive clicks repeatedly, disappears during reading or contains irreplaceable data, stop repeated trial connections and assess recovery options. Opening the sealed drive is different from removing a drive from a device. Follow the host’s service procedure for the latter and keep the sealed mechanism intact.
After preserving the source, test the candidate in stages: identification, expected capacity, required formatting or restoration, boot, representative file access and normal power transitions. Keep the original and the records until the replacement has passed the intended use test. Download the miniature-drive compatibility record to capture the evidence before ordering parts.