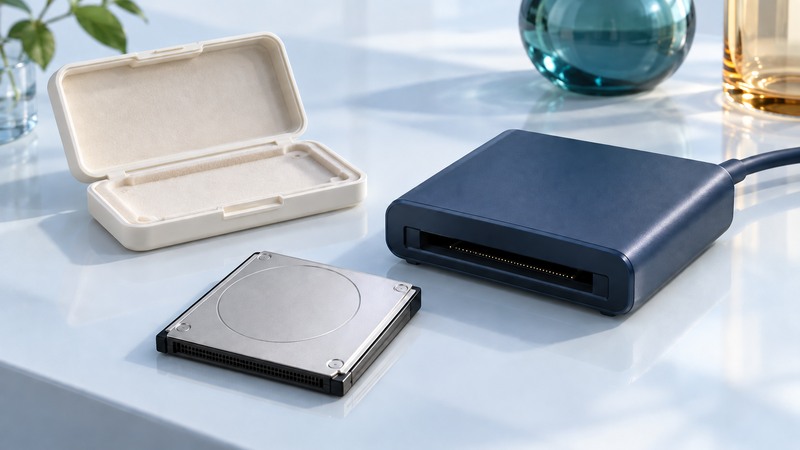
A Microdrive is a miniature hard drive used in some older cameras and handheld equipment. To retrieve its contents, identify the exact device, select a reader documented to support it, and make a verified copy before considering reuse or repair.
Start with the label and the host
The Hitachi Microdrive 3K4 manufacturer datasheet, preserved by Hama, describes 2 and 4 GB models with a one-inch disk and a CF+ Type II interface. That specification applies to the named family. Match your own part number to its documentation instead of identifying every small metal card by appearance.
Keep the card's cover intact. Record its part number and capacity along with the camera or device from which it came. A working original host can provide valuable information about file organization and supported transfer methods. Photograph labels and note which cable or reader has previously worked.
On narrow screens, focus the table and use the arrow keys or swipe to see every column.
| Question | Evidence | Decision |
|---|---|---|
| Does it physically fit? | Card format and reader slot specification | Use the documented format; never force insertion |
| Does the reader support a Microdrive? | Reader manual naming the drive type | Resolve interface and power support, beyond slot shape |
| Can the host read the volume? | Device manual and a recognized filesystem | Preserve existing data; decline initialization |
| Is the source stable? | Normal, consistent detection and error-free reading | Proceed with copying or stop for recovery advice |
An adapter's physical fit is only one condition. Check explicit compatibility with the drive and host, especially when assembling a chain of older cards, adapters and modern USB readers. Obtain the right reader before repeatedly testing uncertain combinations.
Copy a readable drive with minimal changes
Prepare a destination folder with enough free space for the entire card and a name that identifies its source. Keep ordinary editing and photo-import cleanup operations away from the source. Copy first; organize and rename the destination afterward.
- Connect the documented reader or use the original device's supported transfer procedure. Allow the host to finish detecting it.
- Confirm that the expected folders appear. If prompted to format or initialize, cancel and reassess the reading path.
- Copy the complete visible folder tree, preserving file names and available metadata. Include non-photo files that may belong to the device's application.
- Save any read-error report. If errors recur, stop treating the task as a routine transfer and evaluate specialist recovery.
- Complete verification, then eject through the host's supported procedure before disconnecting.
Keep the device steady during access and follow its handling instructions. Do not open the drive, attempt platter access, or experiment with mechanical fixes. When unique files are involved, the value of another troubleshooting attempt should be weighed against preserving the remaining recovery opportunity.
Check completeness and usability separately
Compare source and destination file counts, relative paths and total bytes. For a stable readable source, file hashes provide a stronger byte-for-byte comparison. Microsoft documents Get-FileHash for this purpose. A hash comparison needs both files; it cannot prove that a missing source file once existed or reconstruct unreadable sectors.
A small transfer acceptance check
Suppose a healthy card contains 600 images and four sidecar files. A photo-only import producing 600 images may omit useful metadata. A complete-folder copy should account for all 604 files. Record the four sidecars before deciding whether an image-only export also meets your needs.
Open representative recovered files, including the oldest and newest and any unusually large ones. For proprietary formats, preserve the originals even if you also export a convenient viewing copy. Keep a second independent copy and test that it opens before deleting or reformatting any source.
Preserve the reading knowledge
Store a short note beside the recovered files: card model, original device, reader, transfer date, software, verification method and unresolved errors. That note turns a one-time successful setup into a repeatable process for another card from the same collection.
The REV archive guide covers the additional software dependencies of backup cartridges. For maintaining the new copies, use the portable storage guide to plan independent copies and a later restore test.