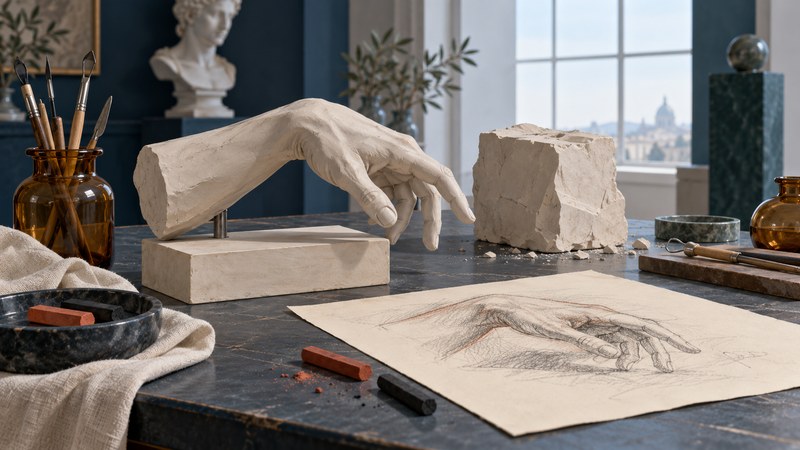
Michelangelo’s drawings make artistic decisions visible. A turn of the shoulder, the balance of a foot or a change in contour can explain how a monumental figure began as a problem on paper. Start with one study and follow what it helps the artist resolve.
Drawing as both image and design
Michelangelo Buonarroti (1475–1564) worked in sculpture, painting and architecture. The Italian term disegno brings drawing and design together: the marks on a sheet and the conception of a work are connected. The Metropolitan Museum of Art’s account of his drawing practice explains this relationship across his projects.
Different drawings served different audiences. A quick study might help an artist work out a pose; a carefully finished design could explain a proposal to a patron. Look for the problem a sheet addresses before judging how complete or polished it appears.
You can follow this guide with the linked museum images and a notebook. Keep each work’s title, medium, date and collection number together. Those details make a comparison repeatable.
Follow the turn of the Libyan Sibyl
Open the Met’s Studies for the Libyan Sibyl, about 1510–1511, accession 24.197.2. The main figure is drawn in red chalk, with small white-chalk accents. The sheet develops a figure for the Sistine Chapel ceiling. The museum explains that Michelangelo worked from a male model for the female prophet.
- Find the torso’s axis. Follow the back from the neck toward the waist. Then compare the direction of the shoulders with the hips.
- Look at the raised arms. Notice how their placement changes the outline and opens space around the head.
- Find the separate details. The studies of a head, hand and foot let Michelangelo concentrate on parts of the larger action.
- Compare with the fresco. In the Met’s Sistine ceiling gallery illustration, locate the Sibyl and the book. Look at how clothing and the book develop the action studied in the body.
The figure’s volume comes from both outline and shading. Hatching means parallel strokes used to build tone; their spacing can suggest a plane turning away from light. Follow the marks across the torso, then step back to see whether the form remains convincing when individual strokes become less prominent.
Read a searching line
A repeated outline can record the search for a position. Choose a place where more than one contour appears. Describe the alternatives first: farther out or closer in, higher or lower, more curved or straighter. Then ask what difference that change would make to balance or movement.
A screen reproduction can obscure faint marks and alter the color of the paper. If you cannot distinguish a revision confidently, record it as a question and consult a higher-resolution image or technical discussion.
Compare a figure study with a complete proposal
Now open the Met’s Design for the Tomb of Pope Julius II. Look for the overall architectural arrangement before examining individual figures. The sheet has a different job from the Sibyl study: it presents relationships among parts of a monument.
Compare the two drawings with three questions. How much of the intended work does each show? Which features receive the most detail? What could another person understand from the sheet without watching the artist draw? This is a practical way to distinguish a working study from a presentation design.
The tomb project changed over many years. Read the Met’s attribution and project history before treating a particular drawing as a blueprint for the monument that was eventually built. A proposed design records one stage in a developing commission.
Carry the comparison into three dimensions
Drawing, carving and fresco have different physical constraints. Drawing adds marks to a surface; carving removes material; fresco painting works with plaster. A related pose therefore has to function in a particular medium and at a particular scale.
The Met’s exhibition discussion includes Apollo-David and Brutus in its treatment of unfinished sculpture. Use its images to compare smooth and rough areas. Describe which part of the body has become clearly defined and where the block remains visually present. Non finito means an unfinished state; the reasons for that state require the history of the individual work.
For a simple exercise, draw your resting hand twice: once using only its outer boundary, then using light and dark to describe its volume. Keep the same viewpoint. Compare what each drawing communicates about weight and direction. Use the looking worksheet to record the result, or explore Leonardo’s studies of cloth and natural forms.
Explore all seven artist guides · Browse the broader art library