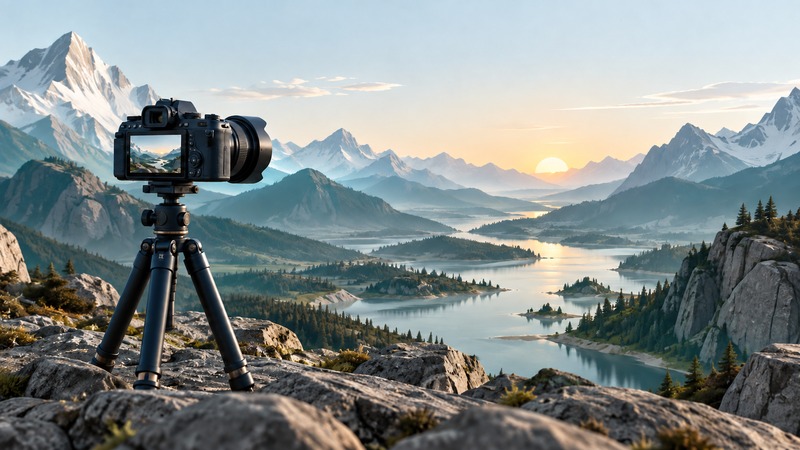
Choose one place you can revisit and one visual idea: a curve through the scene, layers of distant hills, a bright rock against a dark bank, or a pattern in a small patch of ground. A clear idea makes camera settings easier to choose. You can practice with a phone or camera; a tripod helps when deliberate long exposures are part of the plan.
Plan access and a picture, then adapt
Check the land manager’s current access rules, opening times, weather, and any relevant tide or trail information. Plan a route and a return time appropriate to the location. Stay on permitted surfaces and leave plants and rocks where they are; a different viewpoint often solves a composition more effectively than rearranging the place.
At the scene, spend a minute looking without the camera. Identify the subject and the brightest area. Walk a short distance in each direction and compare how foreground objects overlap the background. A lower position can give a rock prominence; a higher position can separate it from the distant shore. Keep the version that clarifies your idea.
Make the edges and layers do useful work
Inspect all four edges before releasing the shutter. Bright fragments, cut-off branches, and half-visible objects can pull attention away from the subject. Decide whether the sky contributes texture and light or merely takes up space. A horizon placed centrally can suit symmetry; moving it changes the balance between ground and sky.
Historical landscape photographs are useful exercises in scale and selection. The Nelson-Atkins record for Timothy O’Sullivan’s Canyon de Chelly photograph identifies a specific work and its survey context. Study how the cliff and buildings relate in size, then distinguish what is visible from what the catalog tells you. A photograph frames a viewpoint; it does not provide the complete history of a place.
Choose depth of field and verify it
On a camera with aperture control, f/8 is a useful first test for many general scenes, while closer foreground objects may require a different focus point, smaller aperture, or revised composition. Nikon’s aperture guide explains the relationship between f-number and depth of field. The result also depends on focal length, distance, format, and the final viewing size.
Focus on an important part of the scene, then magnify both near and distant detail in a test frame. If one is soft, change focus or aperture and compare. Automatically focusing on the nearest rock can leave a distant mountain outside the acceptable focus range. Stopping down to the smallest aperture can introduce diffraction softness; use the amount of depth of field the image needs.
On a phone, tap the intended subject and inspect the result, especially when something is very close to the lens. Move back or simplify the foreground if the camera cannot keep the important distances acceptably clear.
Decide what movement should look like
Shutter speed controls the appearance of moving leaves, water, and clouds as well as camera shake. A tripod steadies the camera while the scene may continue moving. Check foliage at full size after a long exposure. Raise ISO or open the aperture when freezing motion matters more than the advantages of a slower exposure.
Use the histogram and highlight warning to locate possible clipping, then examine which areas matter. A tiny specular reflection may be expendable; a large textured cloud may be central. If scene contrast exceeds what a single exposure can retain, change the light, composition, or capture approach. Bracketing can provide material for a blend, but moving leaves and water can complicate alignment.
Return with a question you can test
Keep three frames that answer different questions: your clearest composition, a deliberate alternative, and a technical test. Record the location, light direction, focus choice, shutter speed, aperture, and what you would change. At home, compare at normal viewing size first, then inspect detail. This separates a weak composition from a small technical defect.
On the next visit, change one decision. Try a different camera height, a tighter frame, or light from another direction. Study Ansel Adams’s visualization and tonal decisions for another way to connect an intended picture with capture and finishing choices.