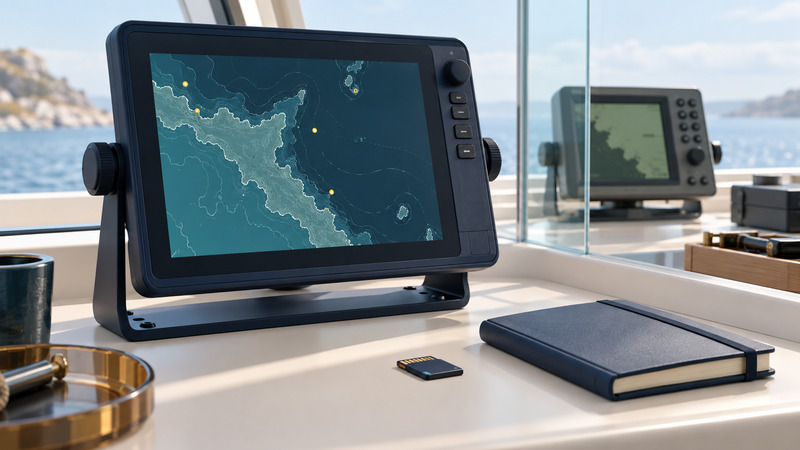
Plan a Garmin chartplotter upgrade around the equipment and data you need to keep. The display is one part of a system that can include charts, transducers, sonar modules, antennas, network devices, power wiring and saved waypoints. Identify each part before choosing a replacement.
An older GPSMAP 172C or 178C installation and a recent networked display can have very different chart and connection requirements. The useful starting point is the exact model and installation, followed by documented compatibility for the proposed equipment.
Build an inventory first
Photograph model labels and accessible connector labels when it is safe to do so. Record software versions from the device's system-information page. Keep serial numbers in your private equipment record; they need not be posted publicly to compare products.
| Component | Record | Verify for the proposed display |
|---|---|---|
| Existing display | Full model, software and mounting dimensions | Supported update path and physical installation |
| Charts | Product, region, card type and entitlement | Exact supported cartography and transfer rights |
| Transducer | Part number and installation type | Sonar support, connector and any documented adapter/module |
| Networks and sensors | Device models and connection types | Which data and functions can be shared |
| User data | Waypoint, route and track counts; export format | Import support and model limits |
| Power and mounting | Existing installation documentation | New model's installation requirements |
A matching plug or family name is insufficient evidence of full compatibility. Ask Garmin or the installer to identify the supported combination in writing, including required adapters, modules and software. Treat “works” as a question about specific functions: basic position, sonar imagery, radar, user-data sharing and other features may follow different paths.
Separate charts from saved user data
Chart files supply the geographic background. Waypoints, routes and tracks are user records layered over it. Moving user data does not transfer a chart license, and buying a new chart does not automatically recover saved routes.
Record the chart region and the waters you need, the update terms and the devices it supports. Check whether a chart card must remain inserted for use and whether the new display accepts that product and card format. Use the exact product's compatibility information before purchasing; older proprietary cards and newer storage formats should be treated as different systems until documentation establishes otherwise.
For navigation preparation after installation, use the marine GPS guide. It covers chart currency, route review, coordinate settings and backup navigation.
Back up before changing equipment
Keep the existing installation working until you have a verified copy of the data you need. Use the export or backup procedure in its own manual, then copy the resulting file to a second storage location. Label it with the source model, software version, export date and counts of important records.
As one model-specific example, the GPSMAP x3 manual documents saving user data to a card and copying the file from the Garmin/UserData folder to a computer. Its restore procedure uses a replacement operation. Menu names and behavior on older devices can differ; use the correct manual and preserve a destination backup before importing.
Choose merge or replace deliberately if the target offers them. A replacement operation can remove destination records. Network sharing also deserves attention: the GPSMAP 8000/8500 documentation explains that changes to shared user data synchronize across compatible connected displays. Back up before enabling such sharing.
Test a small migration
Create a separate test export where supported, or use a clearly identified subset prepared through the documented workflow. Include a recognizable waypoint, a route with several turns and a saved track. Keep the untouched original backup.
Illustrative example: the old display contains 120 waypoints and 8 routes. A migration reports 120 waypoints and 8 routes. Those counts are useful but incomplete evidence. Open several known waypoints, compare coordinate formats, and inspect every important route's turns. A route can retain its name while points are truncated, reordered or interpreted differently.
Compare saved track timestamps and any important names or comments. If the target has lower limits or omits a field, document the difference and retain the original file. Do not treat a successful import message as proof that navigation is ready.
Commission the complete installation
Use the new model's installation instructions for wiring, fusing, mounting, ventilation and sensor connections. A qualified marine installer is appropriate when changing electrical or network hardware beyond your competence. Preserve the required compass-safe distances and other model-specific installation constraints.
At the dock, confirm software, chart coverage, position source, units and recognized sensors. Then perform an appropriate controlled check of the functions you intend to use, with the vessel's normal navigation precautions. Inspect important routes on the new charts before relying on them. If a sonar view is absent, check display, module and transducer support together; see Garmin fishfinder capabilities.
Use the chartplotter upgrade and migration checklist to record compatibility evidence, backups and acceptance results. Keep it with the installation documents. Revisit it after major software changes, chart-service changes or replacement of a networked component.