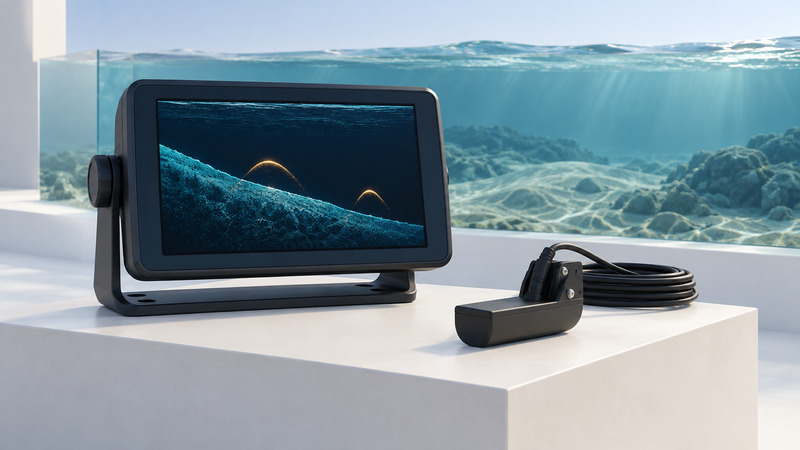
A Garmin fishfinder's useful capabilities come from the exact display, sonar hardware, transducer and installed software. Identify those parts before comparing features. Traditional sonar, scanning sonar, GPS waypoints and detailed chart navigation answer different questions, even when one display offers several of them.
Begin with the model label and transducer part number. Save the corresponding owner's manual and installation instructions. A manual that covers a family can describe features available only on some models; read its compatibility notes alongside the specification for your own unit.
Separate the four functions
| Function | What it contributes | What to verify |
|---|---|---|
| Traditional CHIRP sonar | Echoes through a frequency sweep, used to interpret bottom and targets | Display support, transducer and selectable frequencies |
| ClearVü scanning sonar | A detailed view of structure beneath the boat | Both the sonar hardware and a compatible transducer |
| GPS waypoint display | Saved positions, tracks or routes supported by the model | The position being marked and the route functions available |
| Chartplotting | Geographic context from compatible cartography | Chart product, coverage, updates and model compatibility |
The base STRIKER 4 is a useful example of a compact unit with traditional CHIRP sonar and GPS waypoint functions. Keep it distinct from similarly named Plus, Vivid and scanning-sonar variants. Garmin's small-boat fishfinder explanation describes the STRIKER 4 in those terms. Check the specific product identification before applying a feature list.
Garmin's ClearVü documentation identifies a compatible transducer as necessary. Buying a scanning transducer by itself does not establish support in a display that lacks the required sonar capability. Confirm the complete supported combination with Garmin's model documentation.
Understand the scrolling sonar view
On a conventional scrolling sonar display, the newest returns appear at one edge and earlier returns move across the screen. Horizontal screen distance therefore represents a history of observations, not automatically the physical distance between objects. Boat speed, scroll rate and transducer coverage affect the picture.
Start by locating the depth scale, bottom return, selected range and frequency. Then compare what changes when the boat moves or stops. An arch or colored mark is an echo to interpret; its appearance alone does not establish fish species or an exact count. Avoid treating an illustrative marketing screenshot as the appearance every location should produce.
Use the model's normal automatic settings as an initial reference. If you change gain or range, make one change and note the effect. The STRIKER series manual explains the controls and sonar pages for that family. Installation and transducer selection should follow the instructions for the actual hardware.
Save the location you mean
Before marking, establish whether the command saves the boat's current position, a chosen map location or a position associated with an earlier sonar return. Those can differ after the boat has moved. Give important waypoints useful names and record enough context to recognize them later.
The STRIKER manual documents creating a waypoint from coordinates, the map or the current position. Use that distinction when practicing at a known place. Verify the saved point on the display before collecting a long list.
Illustrative example: you see a bottom feature in the sonar history after passing it. Pressing a command that saves the current boat position records where the boat is now. It does not retroactively identify the earlier feature. Use the model's documented history-marking function if available, or revisit and record the feature through a controlled observation.
Troubleshoot with observations
| Symptom | Check | What to record for support |
|---|---|---|
| No sonar return | Selected source, transducer connection and documented setup | Display/transducer models, frequency and screenshot |
| Bottom disappears as speed rises | Installation, turbulence and suitable operating conditions | Speed and conditions when the loss starts; mounting photos taken safely |
| Excessive clutter | Gain, interference and range settings | Baseline and one changed setting at a time |
| Waypoint seems displaced | How and when the point was saved | Position source, coordinate format and marking method |
| A sonar option is missing | Hardware support and software version | Exact part numbers rather than the product-family name |
For electrical, fuse, mounting or in-water installation work, use the supplied installation instructions or a qualified installer. A generic sonar setting cannot correct every installation problem.
Decide whether you need a chartplotter
A waypoint display can help you revisit a recorded place. Detailed navigation also needs appropriate chart context and route review. User-recorded depth contours, where supported, represent the observations collected and their limitations; they should not be treated as a comprehensive chart of hazards.
Choose a chartplotter when supported cartography and integration are central to the task. Use marine GPS preparation for chart and voyage checks, and the Garmin chartplotter upgrade guide for compatibility and data transfer. The fishfinder setup record helps retain exact hardware, baseline settings and waypoint-test results for your own unit.