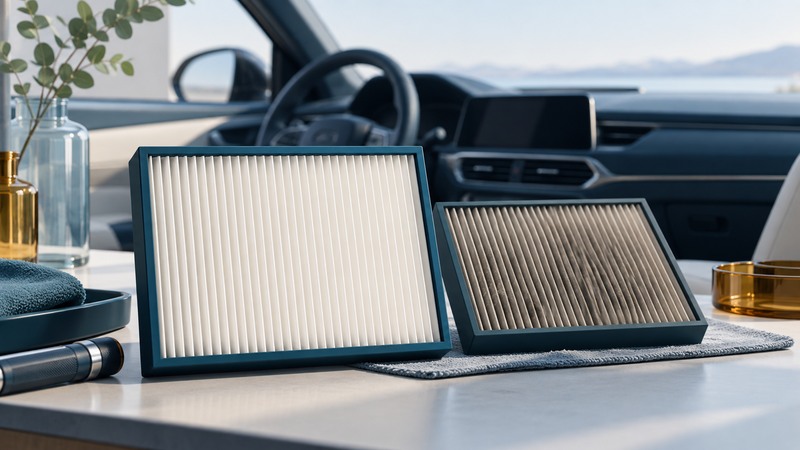
A cabin air filter treats air moving through the vehicle’s heating and ventilation system. Start with the exact vehicle application and the owner’s manual, then choose suitable media and verify the installation. A new filter can address a dirty filter; persistent odors, poor airflow or exhaust intrusion deserve their own diagnosis.
Identify the application before choosing media
Find the year, model, engine or powertrain and any build-date distinction in the parts catalog. Confirm whether the vehicle has one filter, a paired set or a separate additional filtration system. The engine intake filter is a different component with a different job.
Locate the filter and service instructions in the manufacturer’s manual, such as Ford’s vehicle-manual lookup. Access may involve a glovebox, a footwell or an under-hood housing. Read the whole procedure before removing trim. An owner-accessible filter and a workshop-only assembly call for different plans.
Scroll the table horizontally; keyboard users can focus the table region and use the arrow keys.
| Choice | Useful information | Question to resolve |
|---|---|---|
| Particulate media | Particle capture, fit and airflow restriction | Is the part listed for this exact vehicle? |
| Activated-carbon media | Specified gas or odor reduction in addition to particle capture | Which gases were tested, and under what conditions? |
| High-efficiency marketing | Test method, particle size and measured pressure drop | Does the evidence apply to this part and this HVAC system? |
Bosch’s cabin-filter product information illustrates why airflow and the vehicle’s maintenance schedule belong in the selection discussion. Treat supplier performance claims as part-specific; a more expensive label alone does not establish better installed performance.
Separate particles, odors and carbon monoxide
Particle media captures material such as dust and pollen. Gas removal needs appropriate sorbent media, and performance varies with the gas, media quantity and use. EPA’s technical explanation of particle and gas filtration is about residential equipment, not a test of a car filter; its distinction between filtration mechanisms is useful here.
Do not rely on a cabin filter for carbon-monoxide protection. An odor change cannot verify removal of an odorless gas. CDC explains that exhaust leaks can allow carbon monoxide to build up inside a car. Exhaust smells require a prompt vehicle inspection. If occupants develop symptoms such as headache, dizziness or confusion and exposure is suspected, stop safely, get everyone into fresh air and seek emergency medical help.
Avoid interpreting fewer visible particles as a guaranteed health outcome. People with respiratory conditions should make exposure plans with their clinician; the filter remains one vehicle component, not a medical treatment.
Plan the replacement and check the result
- Park, switch off the vehicle and HVAC, and follow the manual’s access and shutdown instructions. Have the correct part, required tools and a bag for the old filter ready.
- Photograph the housing, cover and orientation markings before removal. Distinguish an “UP” orientation mark from an “AIR FLOW” arrow; follow the housing and replacement-part instructions for airflow direction.
- Remove the filter gently and contain loose debris. Clean only the accessible area using the approved method. Keep debris out of the blower and avoid spraying cleaners onto electrical components.
- Compare old and new frame dimensions and seals. Insert the specified number of elements without crushing pleats; seat the cover and restore trim and glovebox supports.
- Run the blower in the manual-approved operating state. Listen for new rattles or whistling, compare airflow at the same fan setting, and confirm that the cover and trim are secure.
If the new part needs force, stop and recheck its application and orientation. If access requires work near airbag wiring or unfamiliar electrical assemblies, use a qualified technician. Record the date, mileage and part number after a successful installation.
Choose a service interval and investigate persistent symptoms
Use the vehicle’s scheduled interval and any instructions for dusty conditions. Inspect sooner when the manual calls for it or when airflow changes. A fixed mileage copied from another car may miss a time limit or different duty cycle.
Musty smells, water in the footwell, a noisy fan and recurring debris can point to problems beyond the filter. Note when the symptom occurs—fresh-air mode, recirculation, rain or air-conditioning use—and give that record to the shop.
Save a practical worksheet
Download the cabin air filters worksheet (plain text). Open it in any text editor, save a private copy, and fill in the prompts while you work. It includes the article link and supporting references. Record “unknown” when a question still needs evidence.