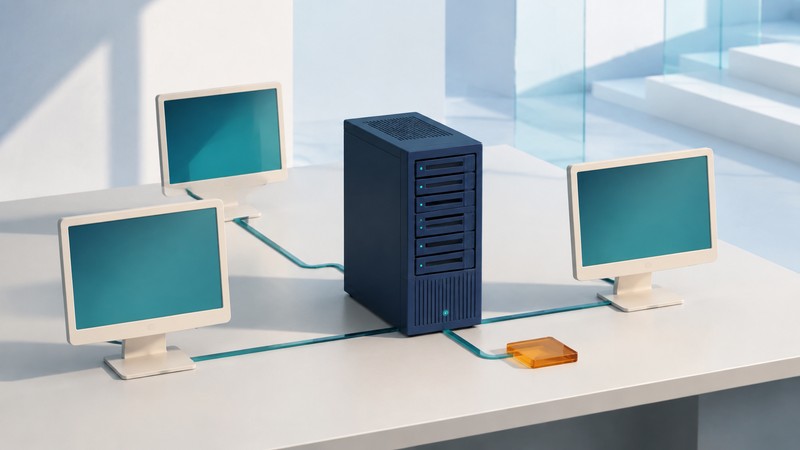
A diskless computer obtains the software or storage it needs from elsewhere, commonly over a network. To plan a dependable lab, separate the startup path from the storage used after startup, then decide which changes should survive a reboot.
This is an architecture and pilot guide for authorized IT staff. Begin with a supported operating system, representative client hardware and an isolated test network whose addressing and boot services you control. Keep a working recovery route for the test clients.
Separate three commonly confused designs
On small screens, scroll the table horizontally. Keyboard users can focus the table region and use the arrow keys.
| Design | Startup | During use |
|---|---|---|
| Network installation | Loads an installer from the network. | The installed system commonly runs from the client’s local disk. |
| Diskless local execution | Loads boot components and reaches a remote image or storage. | Applications run on the client; required files or blocks can continue arriving over the network. |
| Remote desktop / thin client | Starts a client environment. | Much of the application work runs on a session host; the client carries display and input. |
Real deployments can combine these patterns. Record where the operating system, applications and user files actually live. That determines which machine needs CPU and memory, which traffic crosses the network and what fails when a server becomes unavailable.
Draw the startup chain and the runtime path
A typical network-boot chain begins with firmware and a supported network adapter. Network services provide addressing and boot information; a boot program then retrieves the selected operating-system components. The operating system must still obtain its root filesystem and any required writable storage.
iPXE provides network boot firmware and scripting tools. In an LTSP deployment, the project’s installation documentation describes image preparation, iPXE configuration and an NFS export of a client image, with SSH-based access to user home directories. Those are implementation-specific choices, not requirements for every diskless design.
List the dependencies in order: client firmware and NIC → address and boot services → boot files → runtime image or storage → authentication and user data. Put an expected success observation beside each stage. A client that gets an address but fails to load the next file has reached a different failure point from a desktop that starts but cannot open a user’s home directory.
Decide which writes should survive
A shared read-only image can give clients a consistent base. Temporary writable state may live in memory or an overlay, while user documents live in persistent storage. Specify the behavior for downloads, browser profiles, application settings and documents individually. “Resets on reboot” should be a tested property of defined data locations.
Persistent user storage needs backup and access controls of its own. Resetting the base image can remove local changes while leaving an unwanted browser extension or file in a persistent profile. Define and test the entire user environment.
Run a small, observable pilot
- Inventory client architecture, firmware mode, NIC, memory and display needs. Include each hardware variation in the test set.
- Choose the supported image and network-boot method. Verify its signing and firmware requirements while keeping the intended protection policy enabled.
- Configure the isolated pilot’s addressing and boot service with the network owner. Record the boot-file path and image version.
- Boot one client and observe each dependency. Save the logs or error text at the first failing stage.
- Test authentication, application launch, printing if needed, persistent saves and a reboot.
- Start several clients together and measure time to a usable session. Repeat after an image update and after a planned recovery test.
The iPXE Secure Boot documentation describes signed builds and their feature constraints. Select the documented path for the client architecture and operating system. A successful first-stage signature check still leaves later components and configuration to validate.
Plan for contention and failed dependencies
Measure simultaneous starts on the intended network. In a fictional capacity estimate, 20 clients each read 600 megabytes during startup: 12,000 megabytes in total. At a shared effective transfer rate of 100 megabytes per second, moving that amount alone takes 120 seconds. This is an idealized transfer floor, excluding processing, protocol overhead and competing work; actual boot behavior and caching require measurement.
Record what happens if the image service stops before boot and during a session. Some designs continue partly from memory while others stall on later reads. Test only in the pilot with disposable data, then define the required redundancy, recovery time and fallback procedure.
Keep the previous known-good image and a documented selection method. Test a rollback before rollout, including applications and user-data compatibility. Move to a larger deployment only when persistence, concurrent performance and recovery meet the lab’s written requirements.
Continue exploring
Guide and linked documentation reviewed September 7, 2026. For product-specific procedures, verify the deployed version, permissions and organization settings.