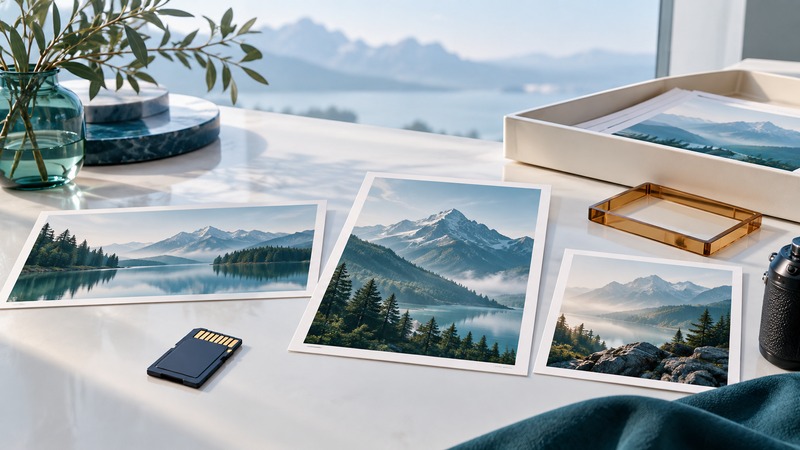
A reliable print order begins with the finished size and the lab’s requirements. Prepare a copy of the original, preview every crop, and order a small representative set before committing to an album or large wall print. The method below applies to local and online labs; their file specifications and correction options remain product-specific.
Choose the finished shape before resizing
Aspect ratio describes the relationship between width and height. A 4 × 6-inch print has a 2:3 ratio; an 8 × 10-inch print has a 4:5 ratio. A file composed for one can lose important edges when made to fill the other. Choose whether to crop, add borders, or order a different size before uploading.
Check the lab preview even if you cropped beforehand. Borderless printing can trim slightly at the edges, and album bindings introduce their own clearances. Keep essential text and features away from trim boundaries according to the chosen product’s template.
Calculate pixels per inch after the crop
For each dimension, divide pixels by print inches. The cropped 4000 × 5000 file above gives 500 pixels per inch at 8 × 10 inches. A 2400 × 3000 file gives 300 ppi at the same size. These calculations describe sampling density; focus, motion blur, compression, paper, and viewing distance also affect the result.
On a narrow screen, scroll the table sideways. Keyboard users can focus the table region and use the arrow keys.
| Print size in inches | Pixel dimensions | Shape |
|---|---|---|
| 4 × 6 | 1200 × 1800 | 2:3 |
| 5 × 7 | 1500 × 2100 | 5:7 |
| 8 × 10 | 2400 × 3000 | 4:5 |
| 8 × 12 | 2400 × 3600 | 2:3 |
The table is an arithmetic planning aid, not a universal lab requirement. Changing a resolution label while keeping the same pixels changes the implied print size. Resampling actually adds or removes pixels, as Adobe’s resizing documentation explains. Upsampling can make a delivery file larger, but its extra pixels do not establish extra captured detail.
Follow the selected lab’s export instructions
Read requirements for file format, color space, bit depth, embedded profiles, and maximum upload size. Convert an export copy into the required color space; merely assigning a new profile changes how existing values are interpreted. Keep your editable master separately.
As a concrete example checked in September 2026, Mpix’s preparation guide calls for JPEG files in 8-bit sRGB, gives product-specific pixel recommendations, and distinguishes soft-proofing profiles from delivery profiles. Its profile-embedding instructions are specific to that service. Follow the current directions for your actual lab and product.
Decide whether to request the lab’s automatic or operator color correction. If you have already matched a carefully edited image, an additional correction may change its intended tone. Record the option so repeat orders can be compared fairly.
Build a small test order that answers a question
- Select three photographs you know well: a face, a scene with deep shadows and bright highlights, and an image with fine detail or strong color. Use photographs you have permission to print.
- Order the same files at a modest size on the paper you expect to use. If comparing papers, keep the files and correction settings constant.
- Inspect in consistent neutral light. Compare skin tone, retained highlights, dark detail, crop, surface reflections, and visible sharpening.
- Write down the file version, paper, size, correction setting, date, and what you would change. Alter one factor for the next test.
Glossy and matte surfaces change how reflections affect viewing. Judge the sample where the print will be used, including behind glass if that is the plan. A screen emits light; a print reflects it. A very bright display can encourage edits that look too dark on paper, so review display brightness and viewing conditions before brightening every file.
Resolve a disappointing result methodically
For a wrong crop, compare the delivered print with the saved order preview. For softness, inspect the uploaded file at full resolution and verify the pixels remaining after cropping. For a color shift, check the export color space and correction selection before changing saturation. Contact the lab with the order number and exact file version; those details make a reprint discussion more useful.
Download the print-order worksheet (plain text) to record file dimensions, ppi, crop choices, and test results. It includes the same worked example and spaces for a repeat order.