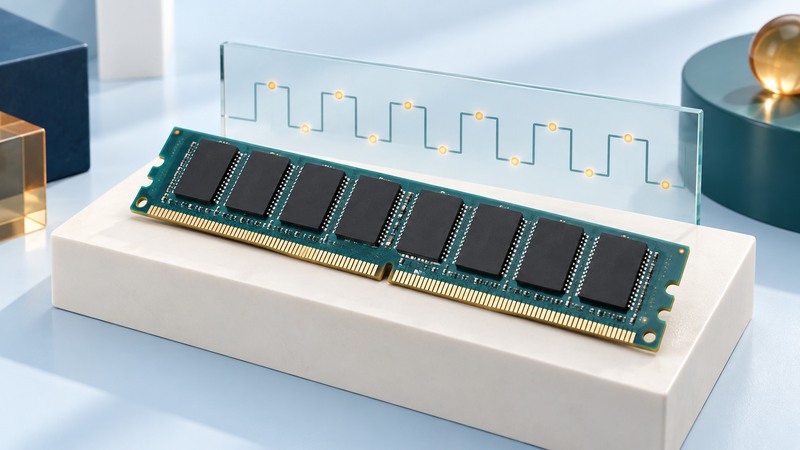
DDR SDRAM transfers data on both edges of a timing signal while storing working data in cells that require refresh. For a legacy computer, identify the memory generation and complete module part number first. For an embedded design, start with the exact chip data sheet and controller requirements. These two levels of specification answer different questions.
Read clock, transfer rate and bandwidth together
First-generation DDR is often labeled simply DDR; DDR2 and subsequent generations use different electrical and mechanical interfaces. In a DDR-400 example, a 200 MHz clock supports 400 million data transfers per second on each data line. The transfer rate is 400 MT/s. A conventional 64-bit data path carries eight bytes per transfer, giving a theoretical peak of 3,200 MB/s, the basis of the PC-3200 designation.
Actual application throughput includes command timing, row changes, refresh, controller scheduling and idle periods. The arithmetic describes an interface ceiling. It does not predict how quickly a particular program finishes. Micron’s archived DDR component data sheet identifies the double-data-rate interface, data strobe, banks and refresh modes.
Separate a chip specification from a module specification
The Kingston KVR400X64C3A/256 data sheet describes one 256 MB, CL3, 184-pin DDR400 DIMM requiring 2.6 V. Its illustrated configuration contains eight x8 chips. A marking on one chip describes that component; the module label describes the assembled memory product.
On narrow screens, focus the table and use the arrow keys or swipe to see every column.
| Level | Information to collect | What it establishes |
|---|---|---|
| Chip | Full part number, organization, voltage and timing grade. | Electrical and timing requirements of that component. |
| Module | Full assembly part number, capacity, ranks, buffering and ECC. | The memory product being offered or installed. |
| Computer | Exact motherboard or system, firmware and population rules. | Which module configurations the platform supports. |
The Kingston example is a documented part, not a universal voltage or compatibility rule. A laptop SO-DIMM, a desktop DIMM and a soldered chip require different checks. Physical fit is only the first gate. Confirm supported organization, capacity per slot, buffering, error-correction requirements and slot order in the system manual.
Understand what self-refresh preserves
DRAM needs recurring refresh to retain stored charge. During ordinary operation, the controller coordinates refresh commands with useful work. In self-refresh, the memory device supplies its internal refresh timing while the rest of the system can enter an appropriate low-power state. The supply and entry/exit timing requirements still apply.
This makes self-refresh useful for preserving working memory during a supported sleep state. It gives the memory a retention task; it does not turn DRAM into persistent storage. When reading a low-power claim, identify the exact operating state, voltage, temperature and measured device. Temperature-dependent specifications and controller behavior matter.
A component’s self-refresh current is one term in a system budget. Micron’s DRAM power tools separate memory operating assumptions and provide a DDR-specific calculation path. Use the matching device limits and measure the assembled system before predicting battery runtime.
Check a replacement in stages
Record a working baseline and preserve important data before servicing the machine. Follow its service instructions for shutdown, power isolation and electrostatic handling. Install a documented supported configuration, then check recognized capacity and settings in firmware and the operating system. Run the system’s memory diagnostics and the workload that motivated the change.
If capacity is missing or errors appear, return to the last known configuration and check one variable at a time: module part number, slot, population rule or firmware support. Keep the result with the module identifiers so a later repair starts from evidence.