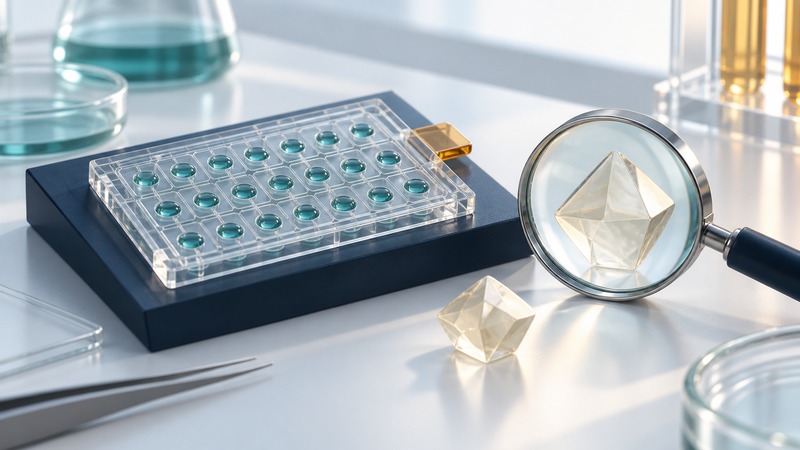
A protein-crystallization screen tests conditions that may allow an ordered crystal to grow. Miniaturized chips can conserve scarce sample and organize many trials, but useful progress depends on interpreting each result and preserving enough information to reproduce a promising condition. A visible crystal is a lead; a usable diffraction experiment is a further milestone.
This guide is for readers beginning structural-biology work or evaluating a screening platform. It explains planning and interpretation. Experimental recipes and instrument operations belong in the laboratory's validated methods and the chip's documentation.
Define what the screen is exploring
Crystallization depends on the sample and its chemical environment. Screens vary combinations such as buffer, pH, precipitant and additives to search for promising conditions. Different protein constructs, ligands and preparation batches may behave differently even when the screen has the same name.
Record the sample identity, construct, preparation and concentration along with the condition definitions. Include the screen version, chip identifier, loading arrangement, temperature and observation times. The phrase “condition 24 worked” is useful only if another reader can recover exactly what condition 24 meant.
Microfluidic devices use more than one physical method. Some mix small defined volumes; others establish changing concentration conditions through diffusion. The 2019 ChipX3 study, for example, investigated counter-diffusion and direct on-chip diffraction. Treat its demonstrated workflow as an example of one design, rather than assuming every chip provides the same sequence.
Compare the complete path from sample to data
On a narrow screen, focus this table and use the arrow keys to scroll.
| Decision | Why it matters | Ask before starting |
|---|---|---|
| Sample requirement | Small trials still require loading volume and may have losses. | How much usable sample is needed for the whole chip? |
| Condition coverage | Trial count and diversity of conditions are different. | Which variables and ranges are actually being tested? |
| Observation | A result may evolve between inspections. | Can images and timestamps be linked to each trial? |
| Follow-up access | A crystal may need harvesting, transfer or on-chip measurement. | How will an apparent hit reach a diffraction experiment? |
| Compatibility | Materials and geometry affect both growth and analysis. | Are the sample, solvent, detection method and beamline compatible? |
Miniaturization changes handling and observation as well as consumption. Assess filling reliability, bubbles, sealing and evaporation for the actual device. If a channel has not filled as intended, label that trial as a setup problem. It should not be counted as evidence that the nominal condition failed to crystallize the protein.
A platform comparison should include the follow-up work and the availability of compatible consumables. Legacy TOPAZ screening chips helped establish the historical interest in nanovolume screening; current instrument access and support must be checked separately from the scientific principle.
Keep observation separate from interpretation
Record what you see: clear solution, precipitate, phase separation, a crystalline-looking object or another defined category. Save the image and inspection time before assigning a conclusion. A clear trial can reflect several possibilities, including conditions that have not yet produced visible growth. A precipitate can be useful evidence about the region of conditions being explored.
A faceted object needs identification. Salt crystals and protein crystals can be confused visually. Appropriate follow-up may include a protein-sensitive detection method and ultimately diffraction characterization, depending on the sample and workflow. The ChipX3 paper demonstrates fluorescence detection as part of its study; such techniques have sample-specific capabilities and limitations.
Use a hit to plan a focused follow-up
Reproduce the promising condition, then explore a justified local range while keeping other factors traceable. A follow-up might vary one concentration or pH range, or use a structured design when interactions are important. Record which variables changed and preserve a reference condition. The research-design guide explains independent replicates and controlled comparisons.
Decide whether success means reproducible crystals, larger crystals, a particular morphology or better diffraction. These outcomes can diverge. A large crystal is easier to see and handle, but usable structural information depends on its order, diffraction quality and the collection and analysis method.
RCSB PDB-101's guide to structure factors, electron density and resolution explains the evidence connecting a diffraction experiment to a structural model. Crystal growth, diffraction data collection and model validation are linked stages, each requiring its own checks.
Make the record useful beyond the first screen
Download the screening and hit-follow-up record. It captures sample identity, condition definitions, setup problems, observations, confirmation and the next experiment. Preserve failed and ambiguous trials as well as apparent hits; their pattern helps direct the next screen.
The most useful result of a screening chip is a traceable set of observations that guides the next decision. A clear record makes it possible to distinguish chemistry, sample quality and handling problems and to connect a successful structure back to the condition that produced its crystals.
Related science guides
- Plan and verify automated liquid handling
- Understand diffraction evidence
- Design the follow-up comparison
Explore all science guides. Sources reviewed September 11, 2026.