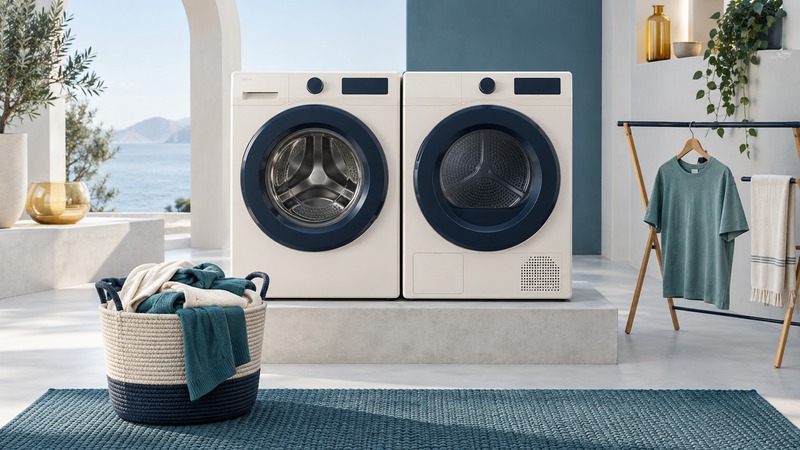
Start with the garment care label, then choose a compatible cycle on the actual machine. Automatic load sensing, moisture sensing and phone notifications can reduce routine work, while the user still decides which clothes belong together and which should stay out of the dryer.
Set the garment limits first
Read every unfamiliar garment's washing and drying directions before it joins a load. Separate items requiring hand washing, professional cleaning or a different drying method. The FTC Care Labeling Rule describes the regular-care instructions and warnings used for covered clothing in the United States. Follow the actual label rather than assigning a temperature from color or fiber alone.
Within compatible care requirements, group items by color-transfer risk, soil and fabric weight. A thin top and a heavy towel may allow the same wash temperature but behave differently during drying. Check pockets and prepare fastenings as the garment and machine instructions direct.
Find the washer and dryer model numbers and save their manuals. Cycle names, load limits, detergent requirements and maintenance tasks differ. A connected pair's recommended cycle remains a suggestion to compare with the clothes you put into it.
Separate temperature, dryness and time
| Choice | What it does | How to use it |
|---|---|---|
| Temperature | Sets the permitted heat option for that program | Stay within every garment label and the manual. |
| Sensor dryness level | Changes the target endpoint on supported automatic cycles | Start with the recommended setting; inspect the result. |
| Timed dry | Runs for a selected period under the chosen program | Use only when suitable, and check before adding time. |
| Damp alert | Signals an intermediate moisture stage on supported models | Remove only garments whose labels permit that treatment. |
GE explains several dryer sensing systems: some use contact moisture sensors, while others infer drying progress from air temperature. Its descriptions are system-specific. Match the feature to your model rather than assuming every appliance measures moisture identically.
GE's Damp Alert explanation says the cycle continues after the signal. An alert is useful only if you are there to act on it, and it does not make a tumble-dry-prohibited garment suitable for the drum.
Walk through a mixed-clothing example
- Confirm the load is suitable for the selected wash cycle and within the machine's loading instructions.
- Use the required detergent type and dose for the product, load and water conditions.
- After washing, remove items needing another drying method and untangle the remaining load.
- Choose a compatible drying program. Inspect thick seams, cuffs and pockets at the end.
- Record a useful adjustment for next time: smaller load, separate weights, different permitted dryness level or service investigation.
Investigate the result before adding heat
If thin items are dry but heavy ones remain damp, try separating fabric weights on the next load. If all items are consistently damp, check the selected program and the manual's loading and maintenance guidance. A small load, restricted movement or a model-specific sensor issue may need a different approach; use the manual's troubleshooting sequence.
Clean the lint filter and maintain vents, filters, condensers or water containers as specified for your dryer type. Persistent unusually long drying, overheating, error codes or a burning smell calls for stopping use and following manufacturer service guidance. Avoid improvising duct changes or testing with safety systems bypassed.
If garments shrink or develop damage, review both wash and dry limits and stop repeating the suspect cycle. A higher dryness target removes more moisture on supported systems; it is a separate decision from the allowable heat.
Judge smart features by the job they save
Before paying for a connected feature, identify the repeated task: end-of-cycle alerts, remote status, a stored routine or service information. Verify phone, account and network requirements in the current product documentation. Also check which controls work locally when the connection is unavailable.
When comparing machines, prioritize the permitted installation, load needs, accessible controls, maintenance and service support. Use each candidate's current efficiency label and specifications under comparable conditions. Historical efficiency percentages or prices for a different model provide little help with that decision.
Keep a short load log if results vary. Recording garments, cycle, settings and outcome is more useful than changing several controls at once.
Keep a working copy
Laundry load log (plain text). Save a copy in a text editor and fill in the fields. The file includes instructions, assumptions and a link back to this guide.